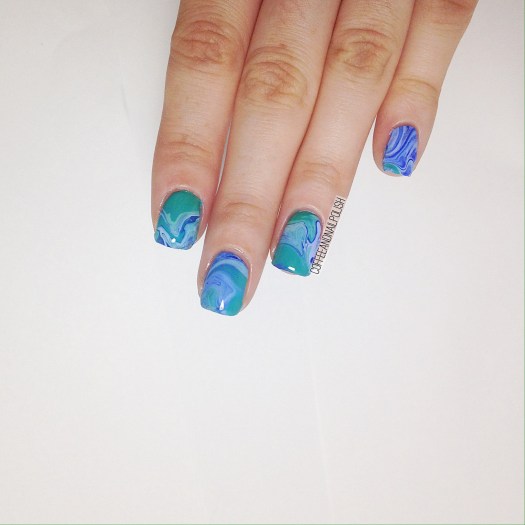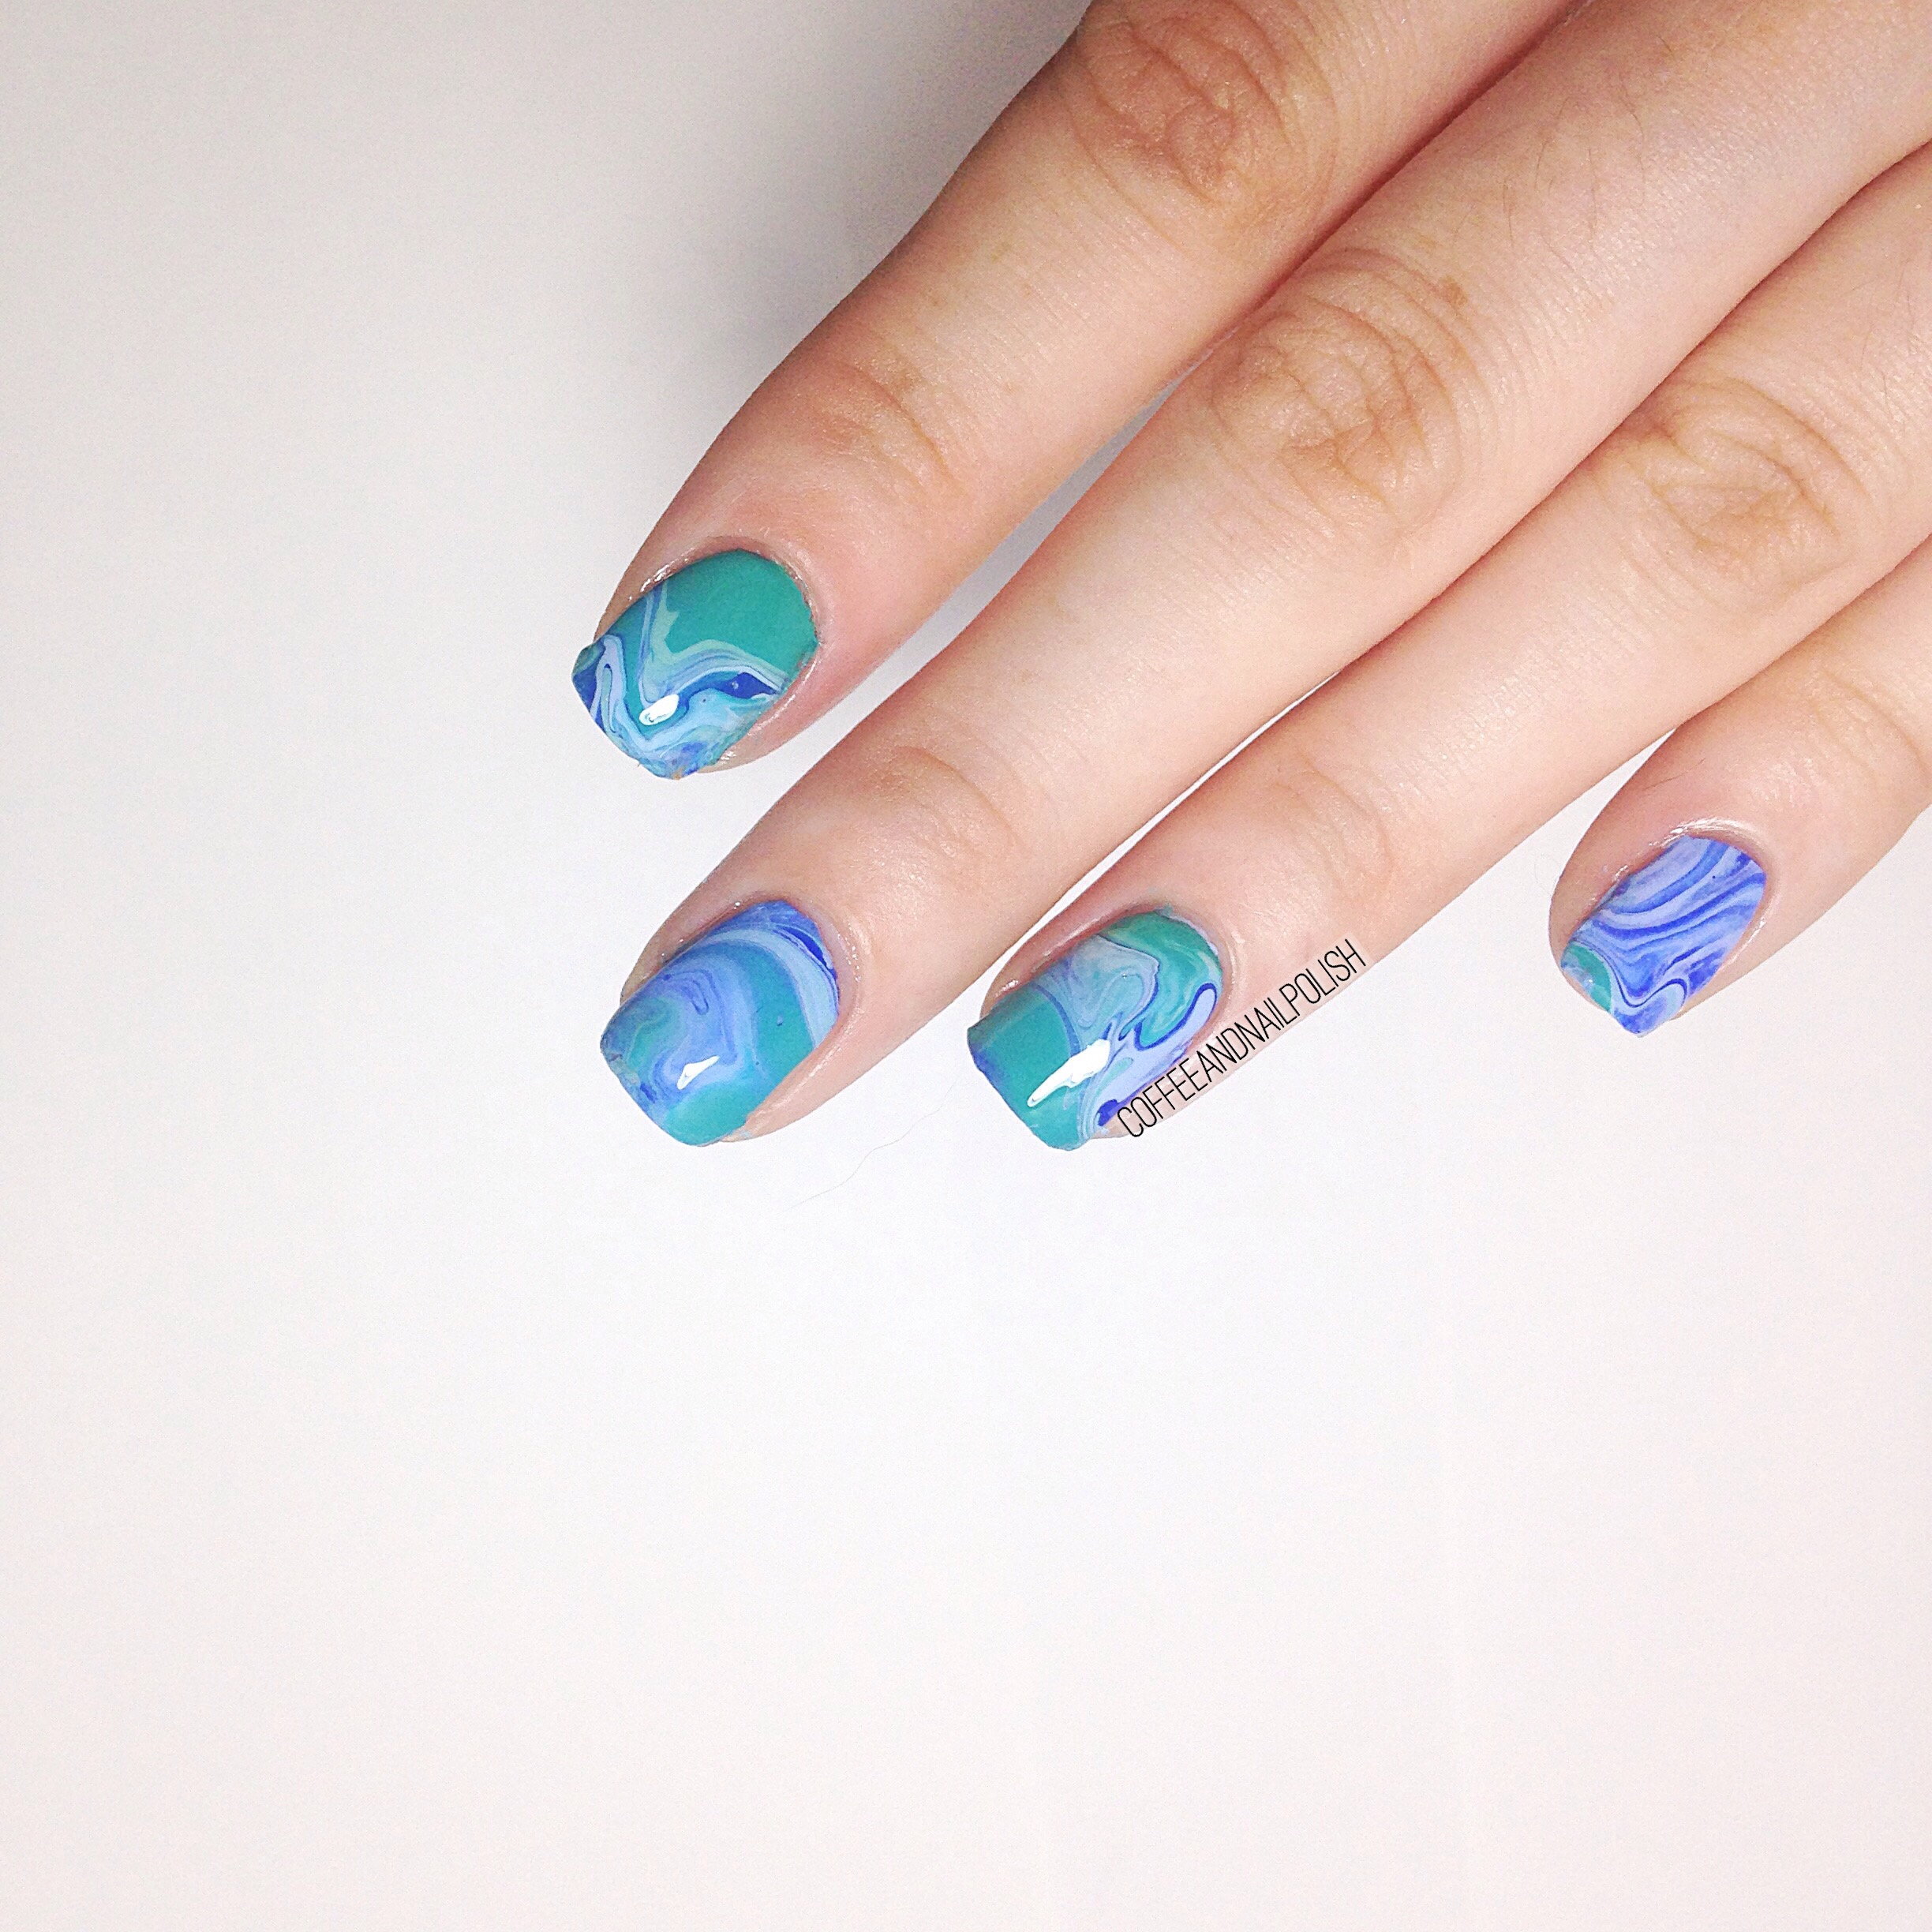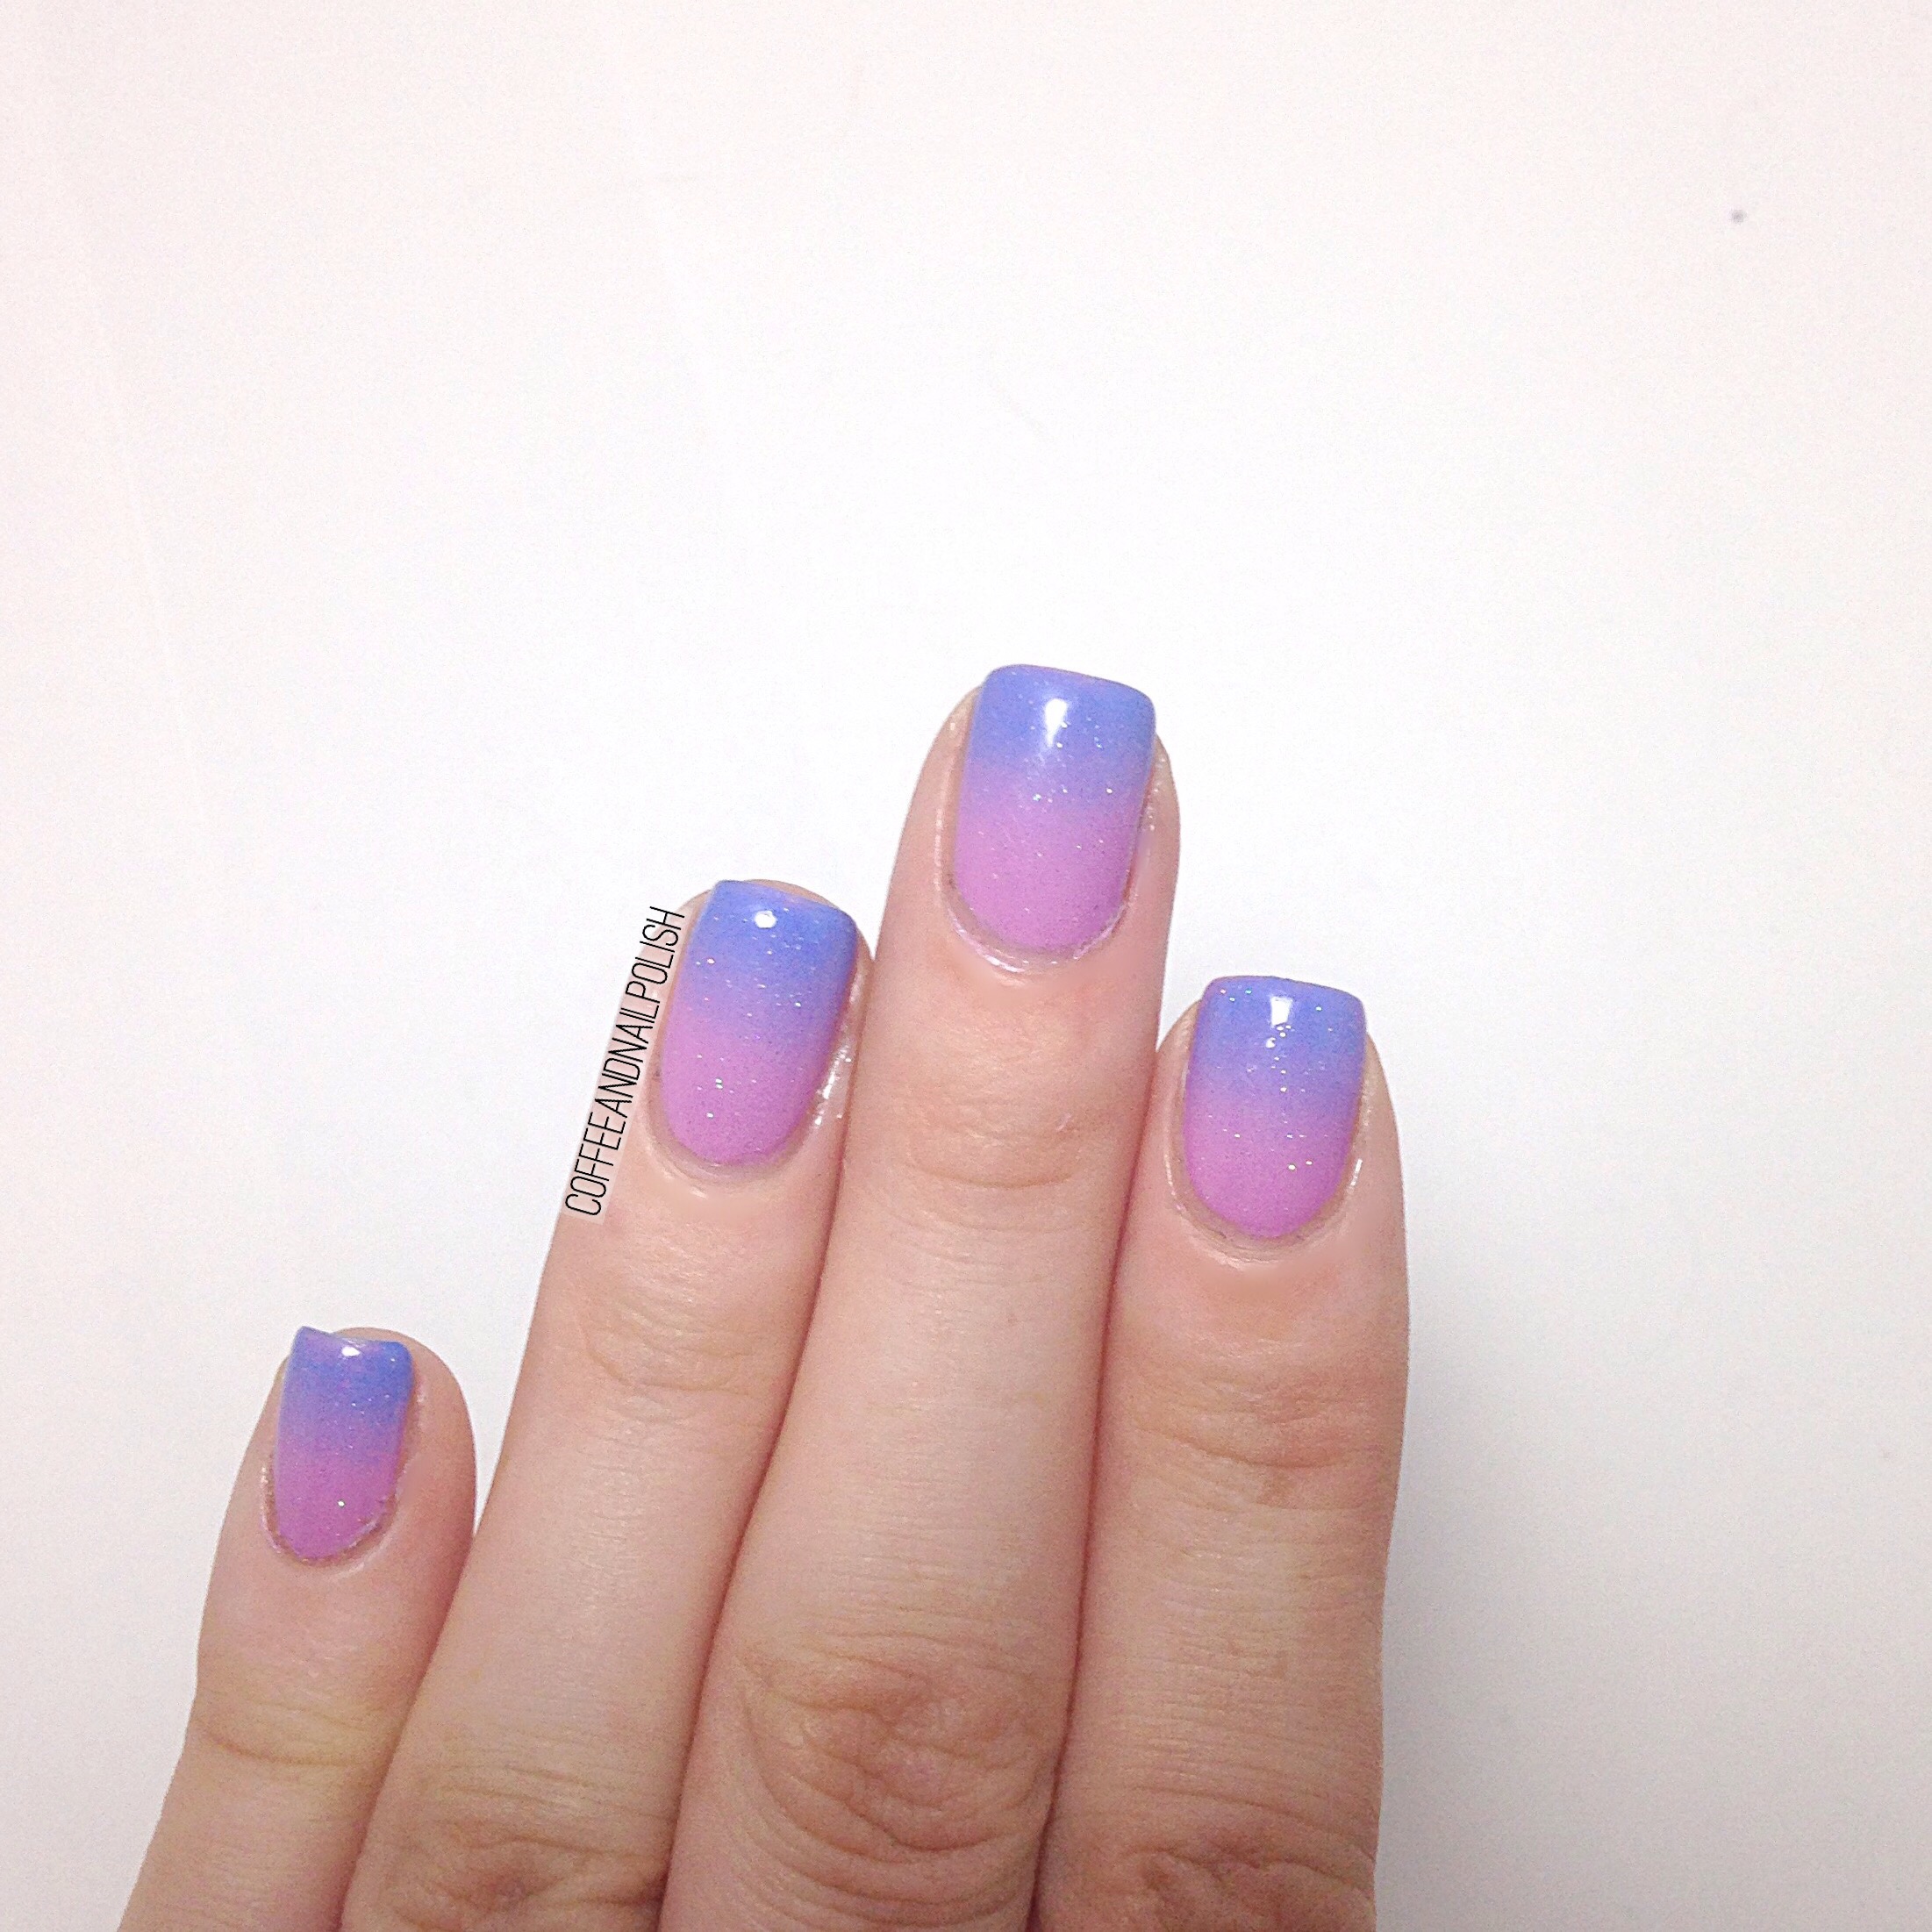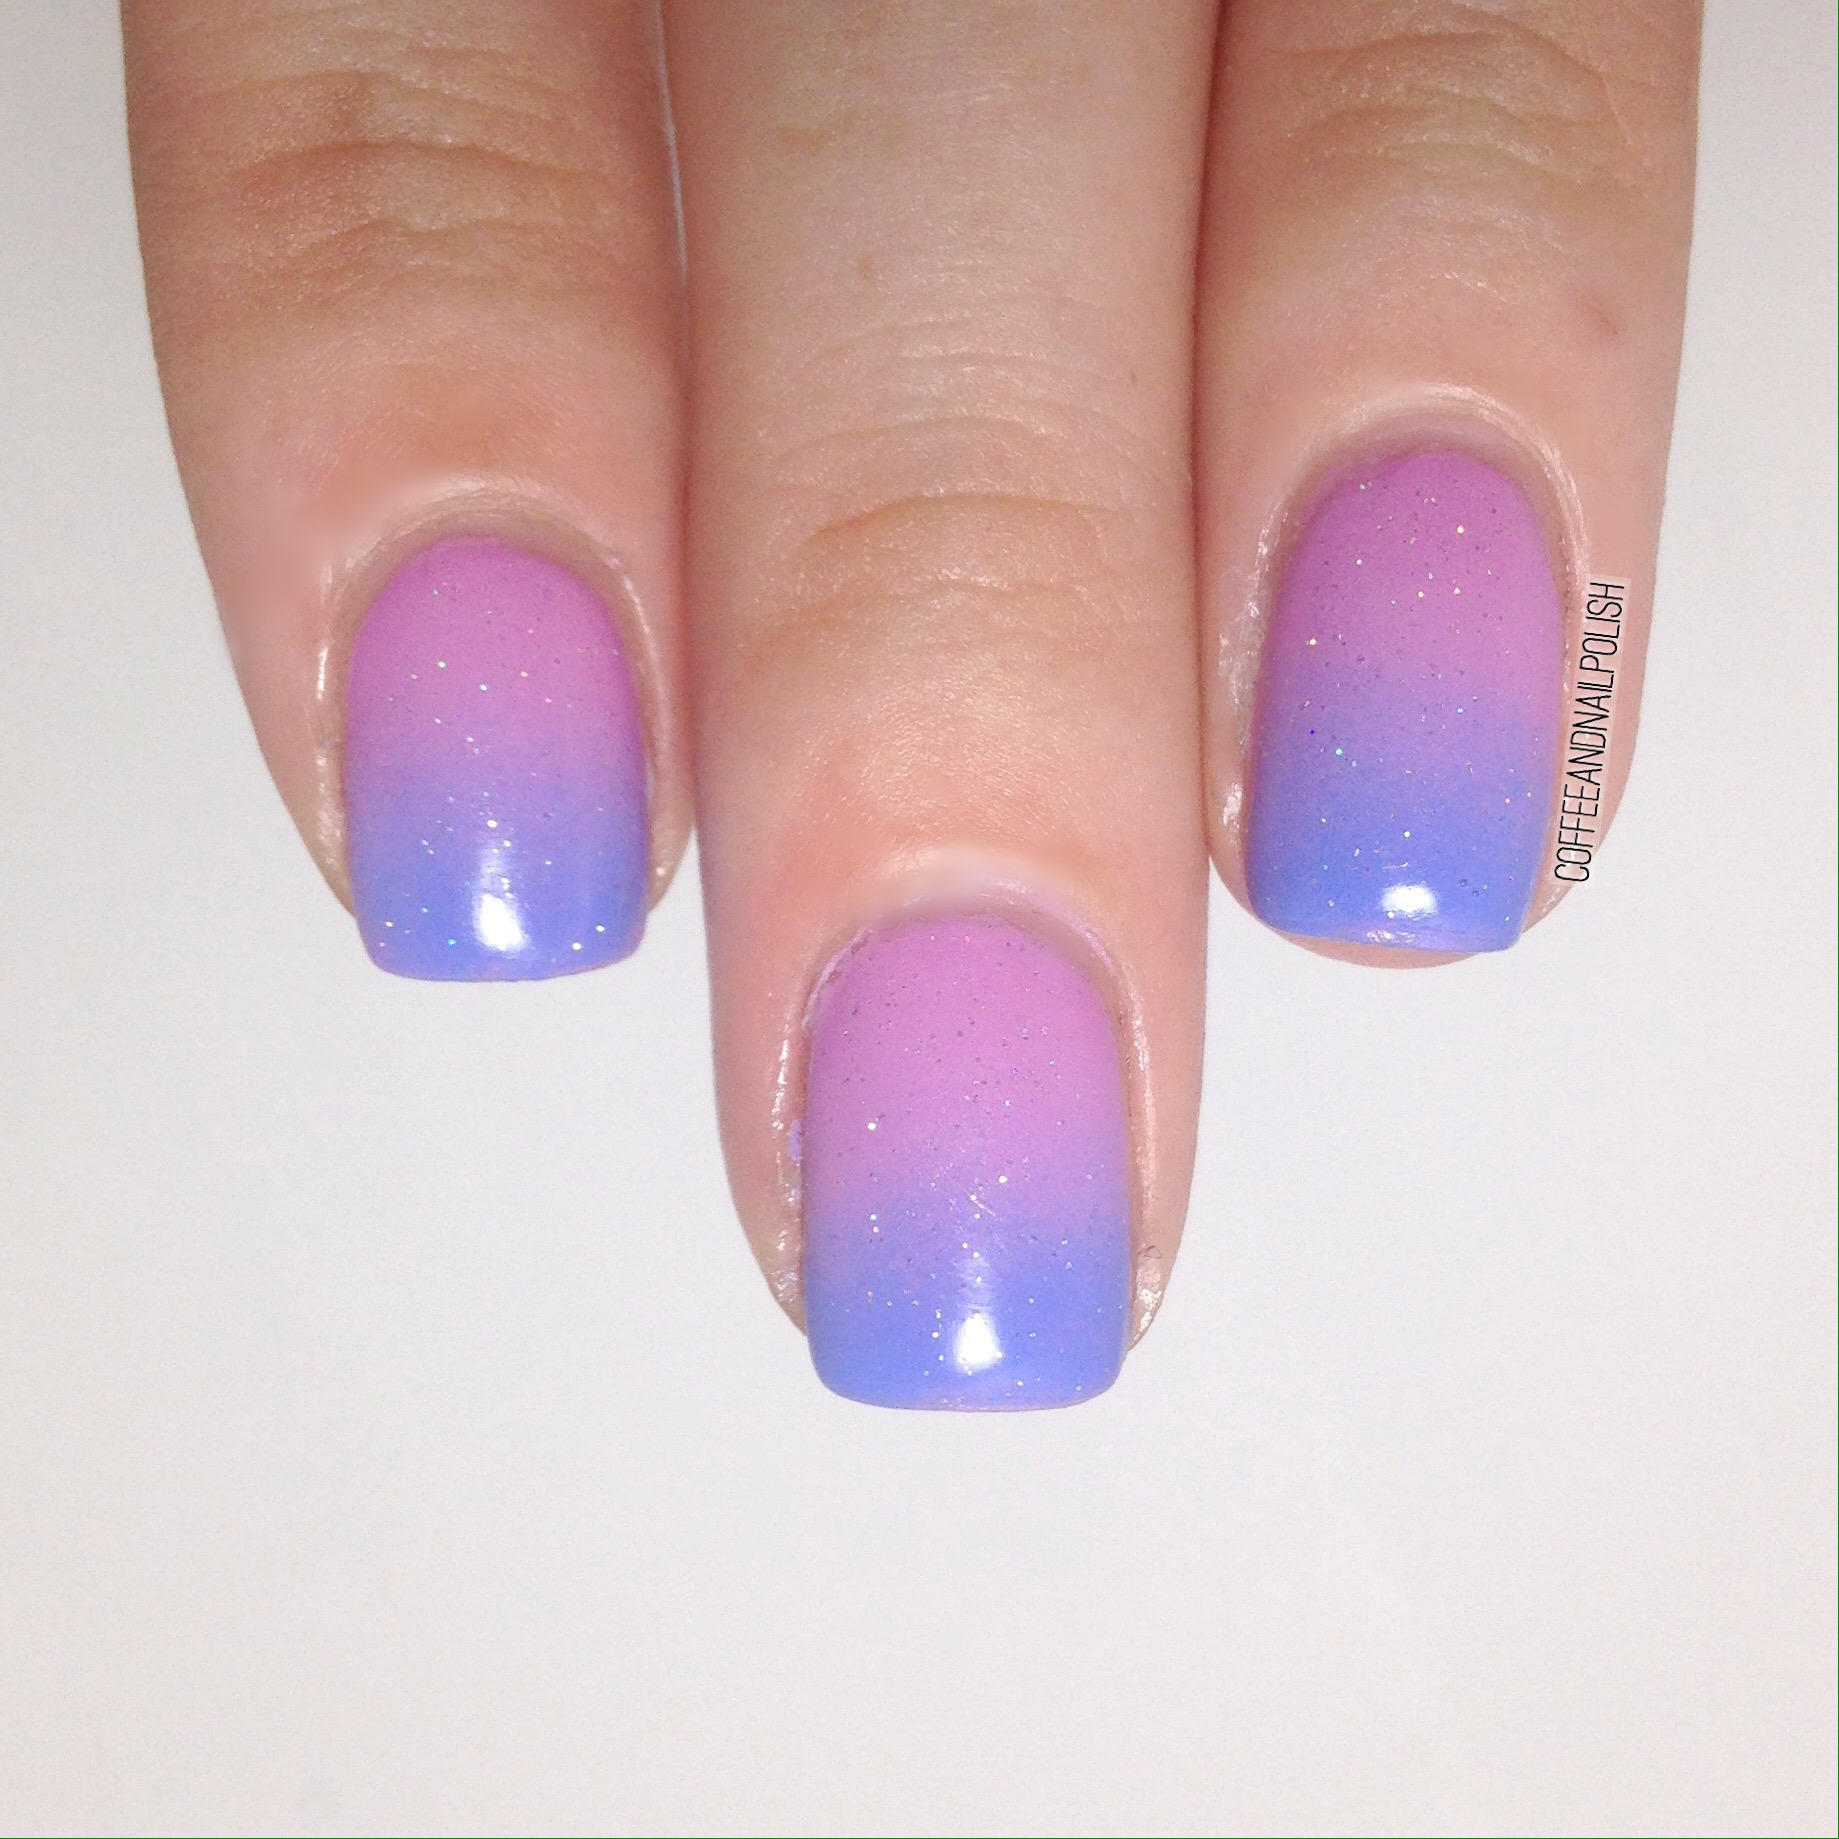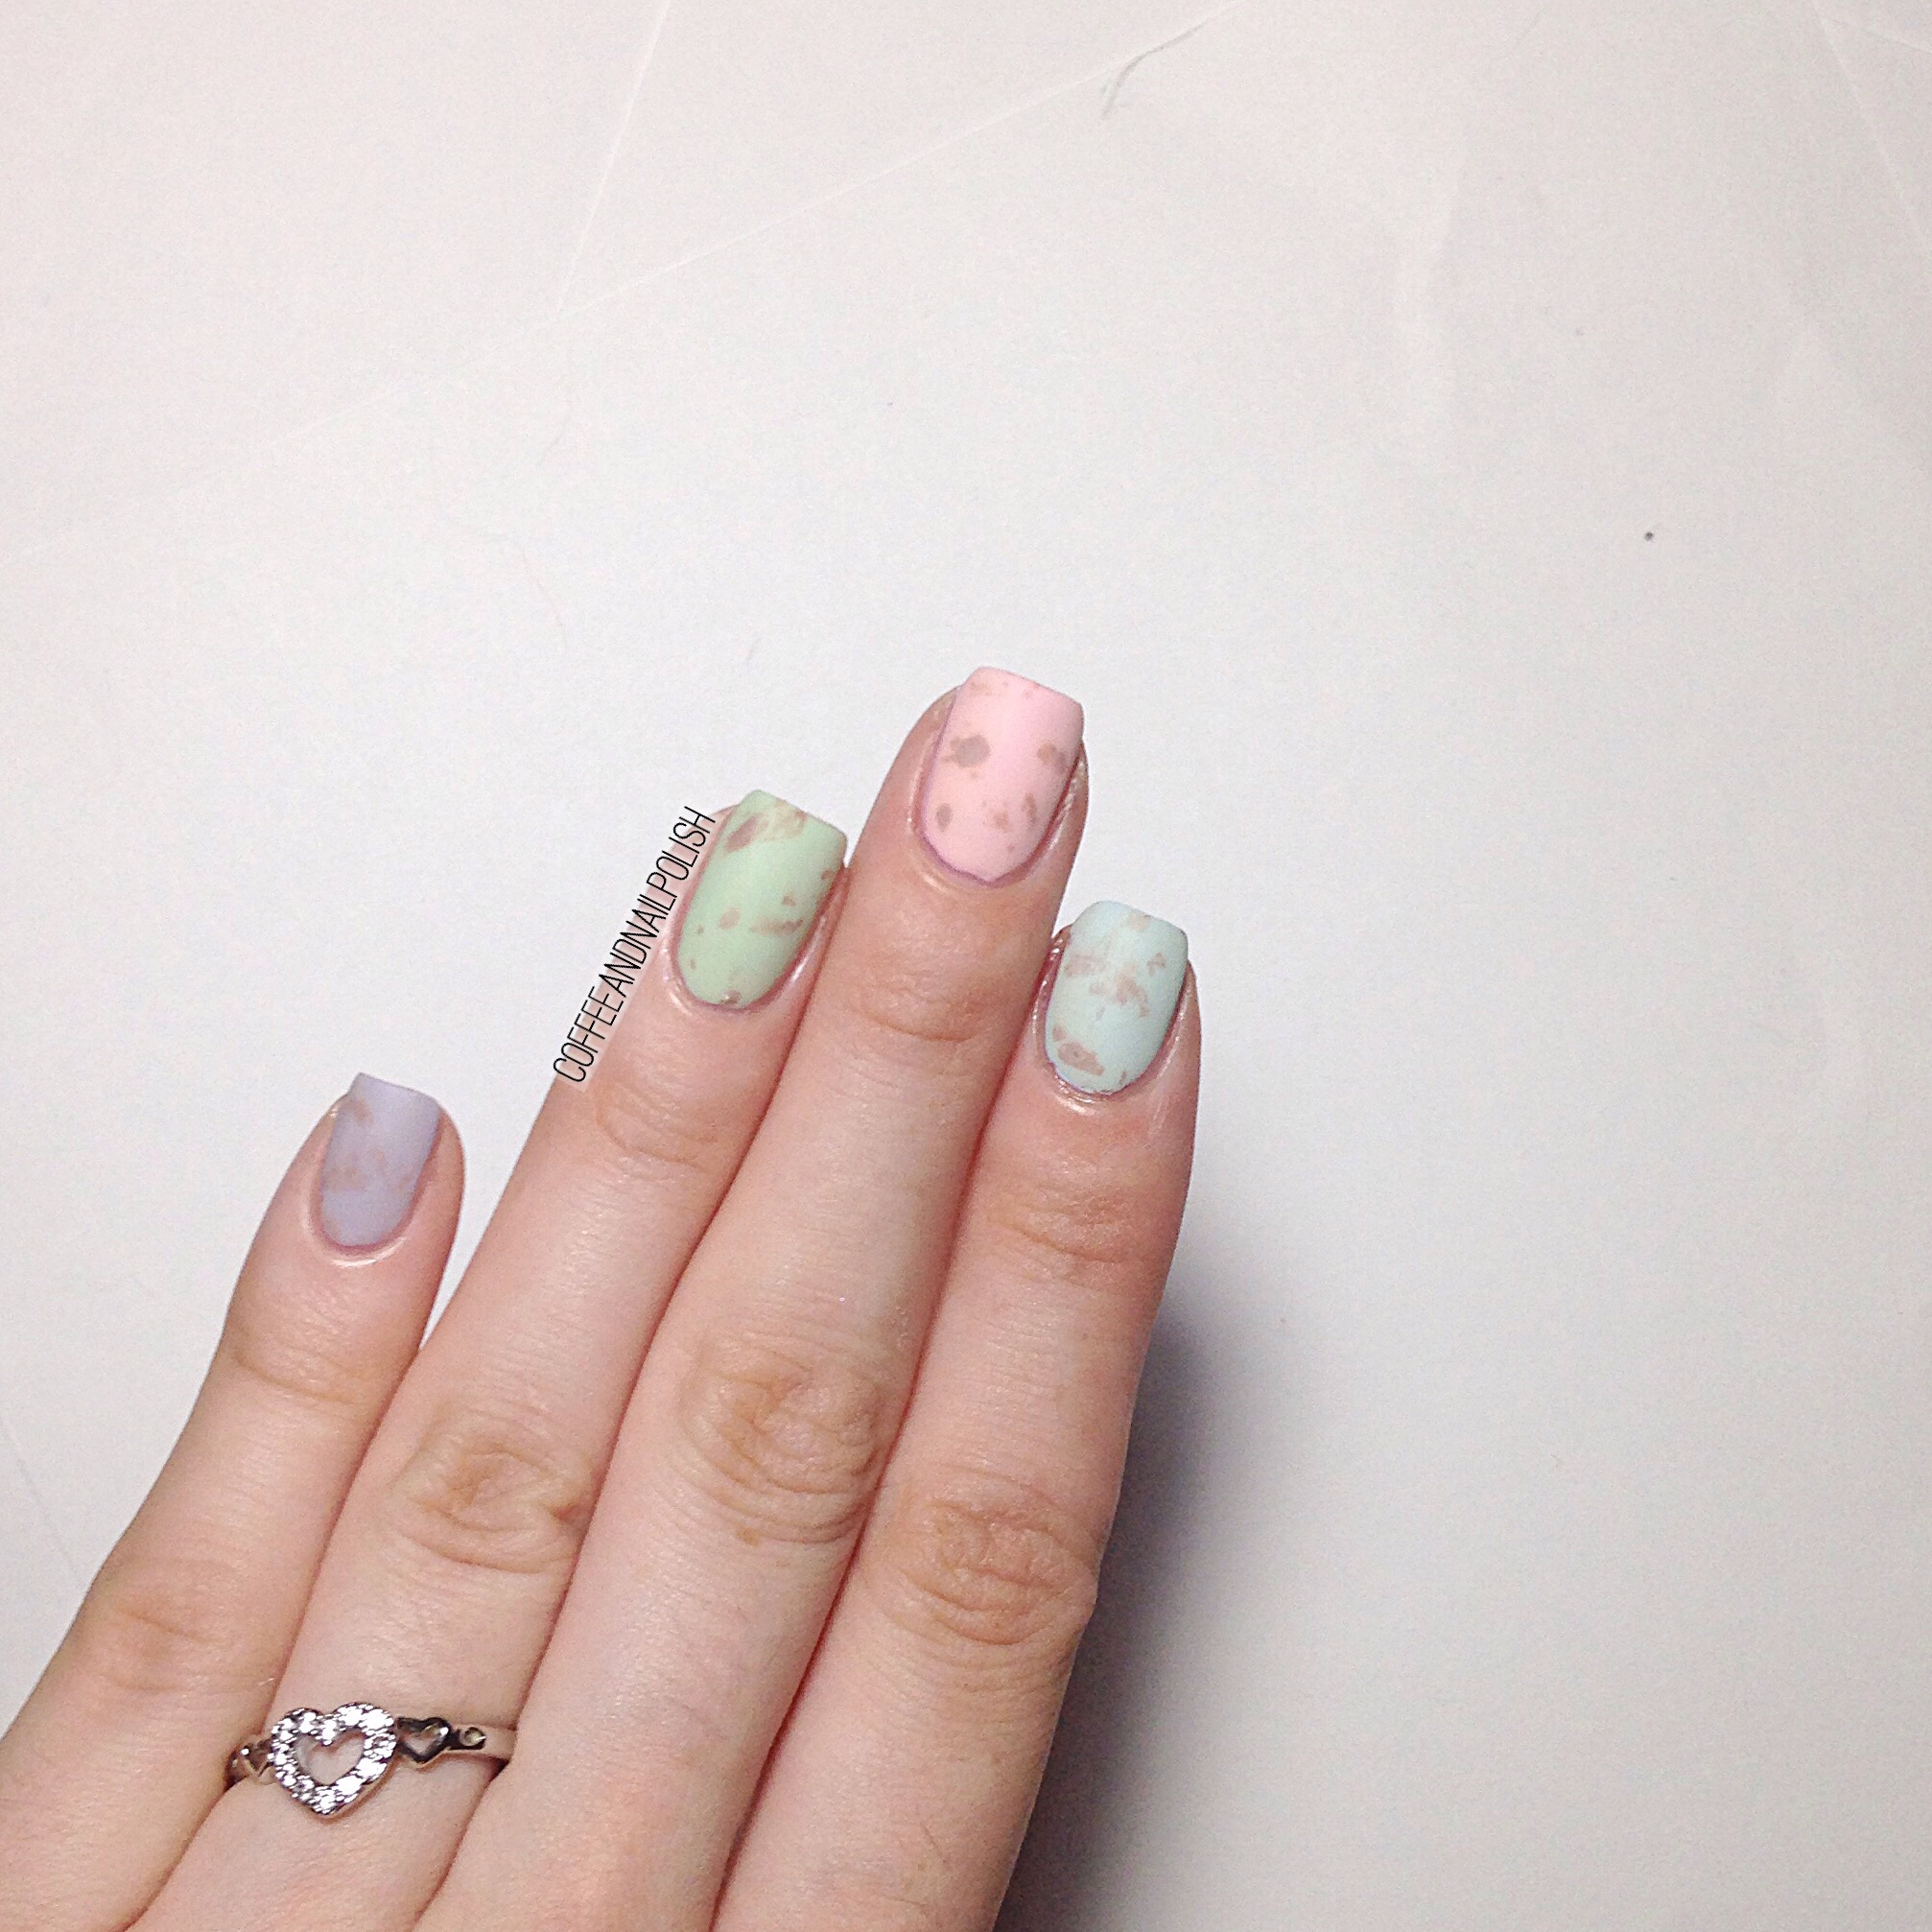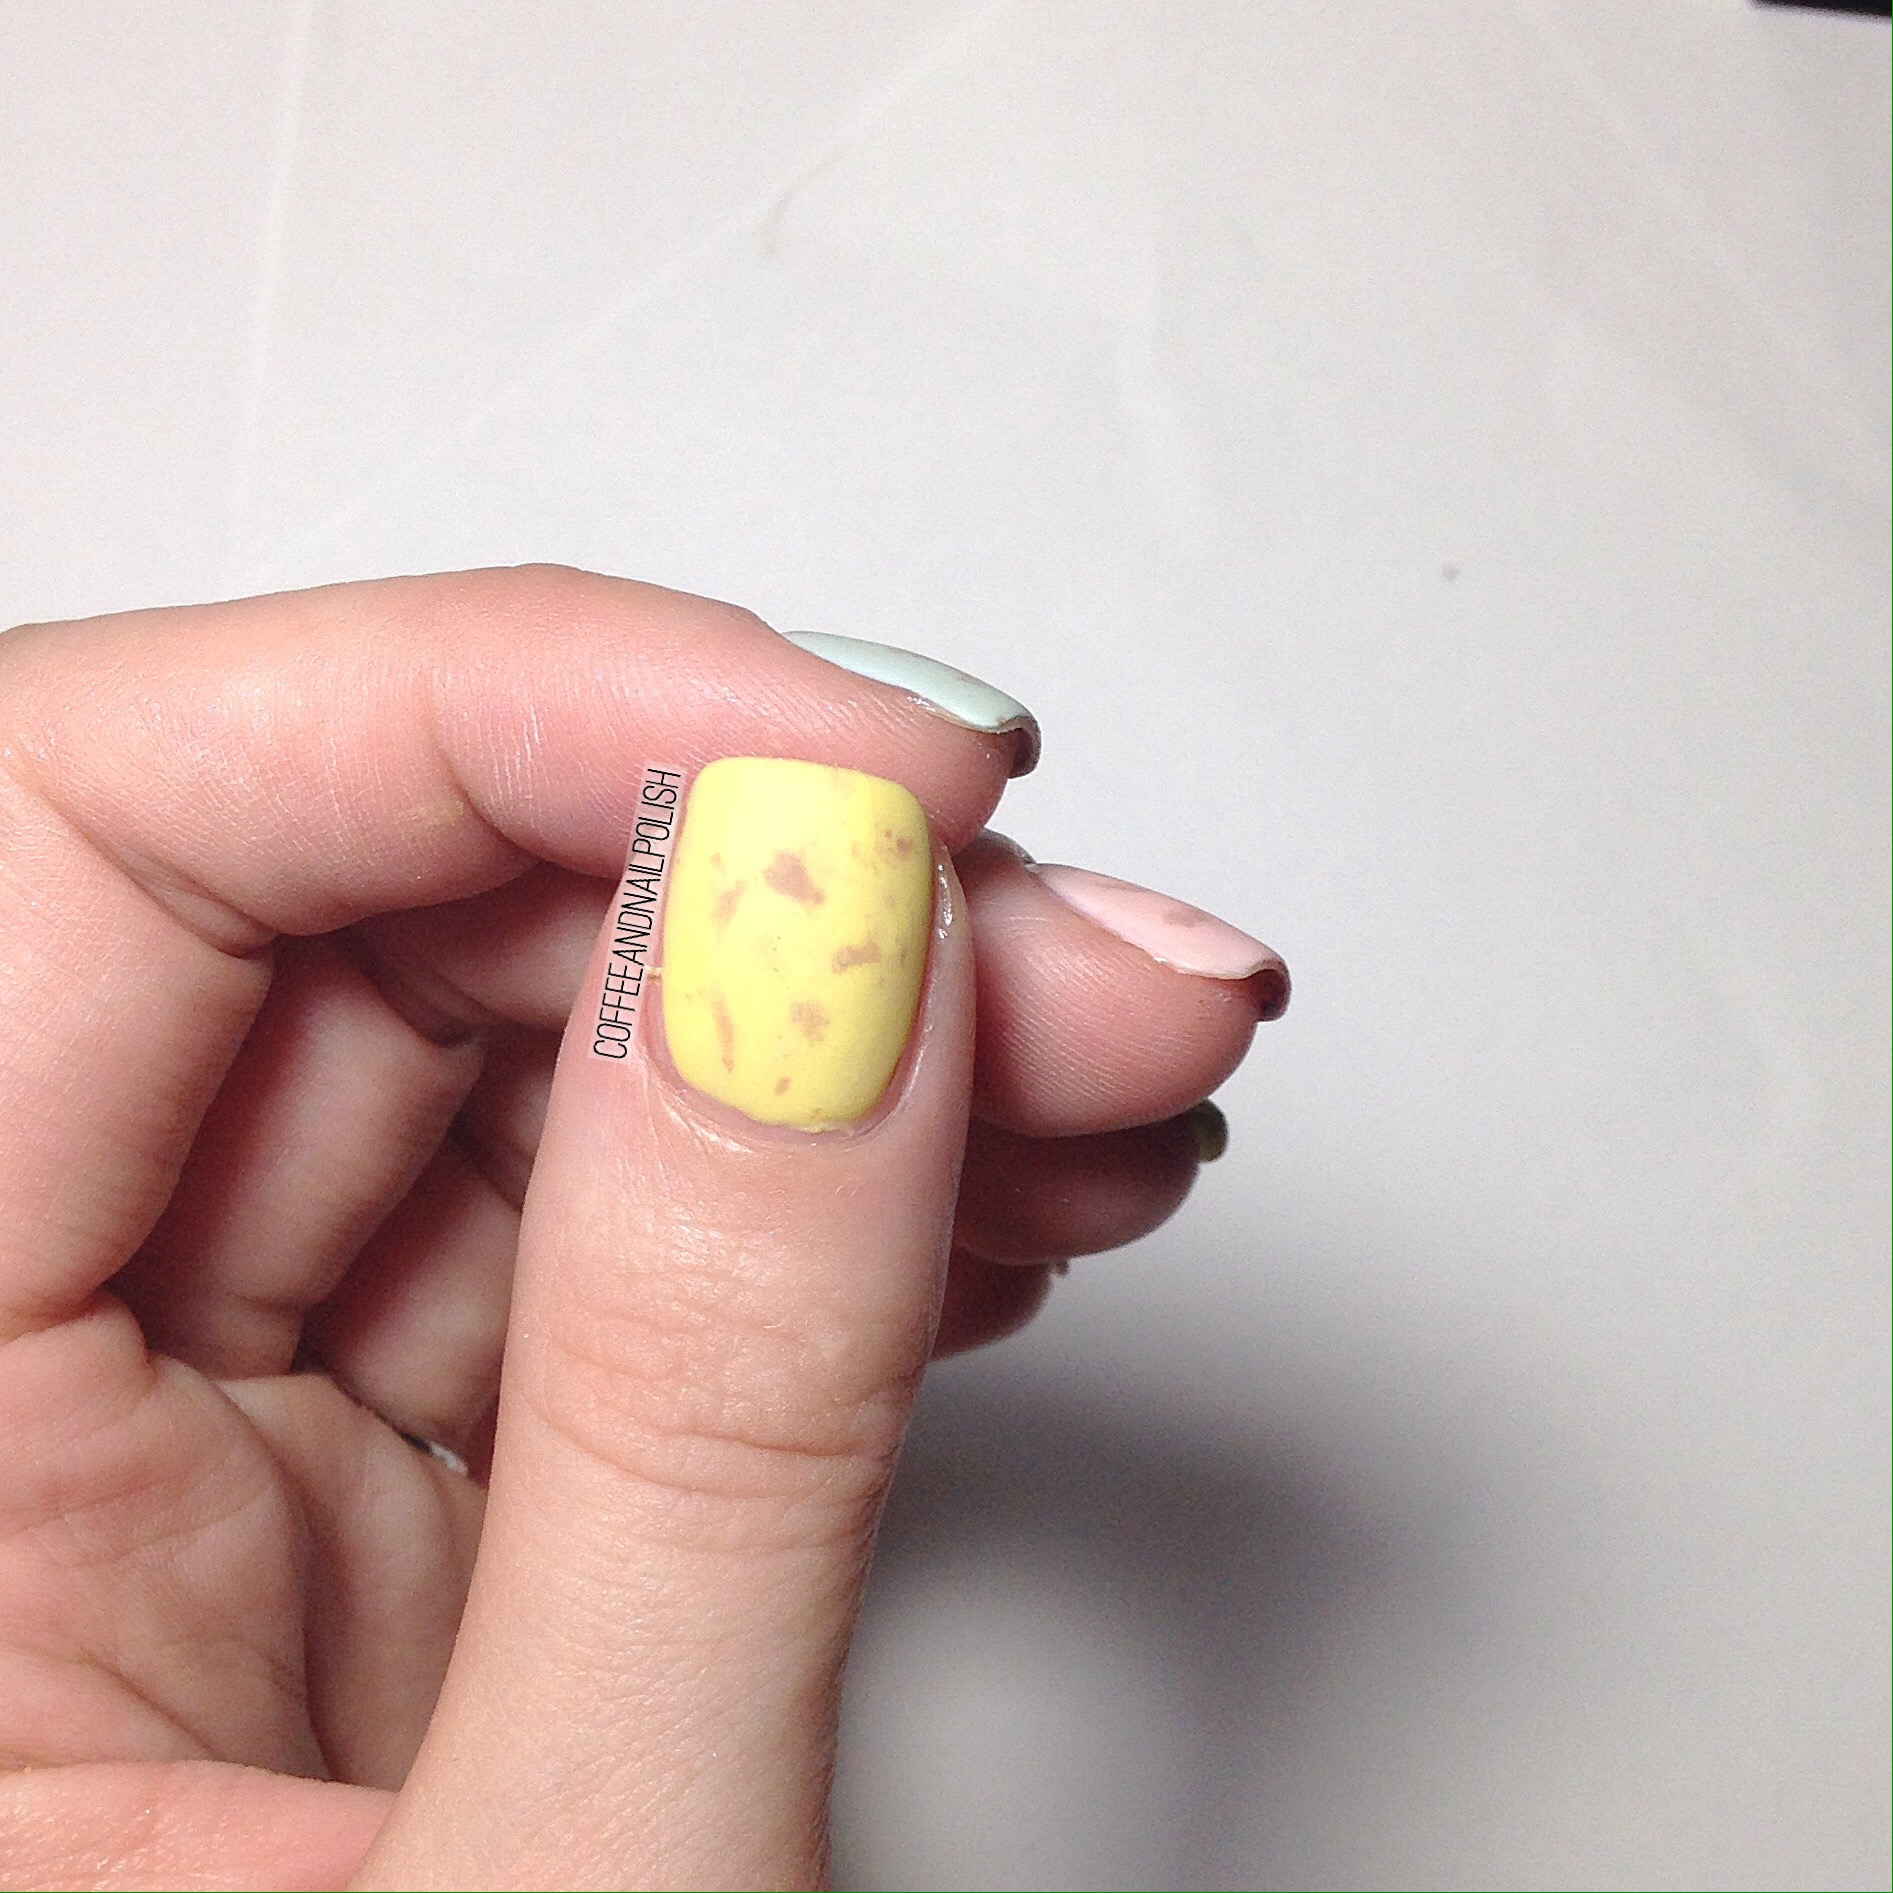
Easter Mini Egg Nails

Is there anything more Easter-y than  Cadbury Mini Eggs? Well, I mean back in the day when they only came out at Easter. Sadly my lactose intolerance has come back since having the little one, but that doesn’t mean I don’t still love those delicious chocolate eggs (it just means I can eat them.) & since I won’t be enjoying them in my Easter basket this year, I thought I would continue the tradition of recreating them again on my nails. (I did mini egg nails previously in 2015 here & 2016 here


For this mani, the polishes I used were:

  • Base Coat: Perfect Formula Pink Gel Coat Base Coat
  • Top Coat: Cutex Quick Dry Top Coat
  • Matte Top Coat: L’Oréal the Matte Velvet top coat. 
  • China Glaze Sun Upon My Skin
  • Hard Candy Sky
  • OPI Getting Nadi On My Honeymoon
  • Revlon Minted
  • Nubar New Mood
  • Essie Cocoa Karma
  • Wet N Wild 2% Milk
  • Crinkled Up Plastic Wrap


 I’ve been doing these nails every year and I love how each time year turn out differently depending on the polishes and techniques used. I also think it’s because they’re just so easy to do, but it looks fantastic & just the right amount of festive! But fair warning: they will make you crave chocolate mini eggs. & if you can’t eat chocolate that could become problematic. Haha.  Don’t say I didn’t warn you!


What’s your favourite Easter designs to create & recreate? Do you already have planned what you’re wearing on your nails for Easter? Let me know in the comments below! 🐰

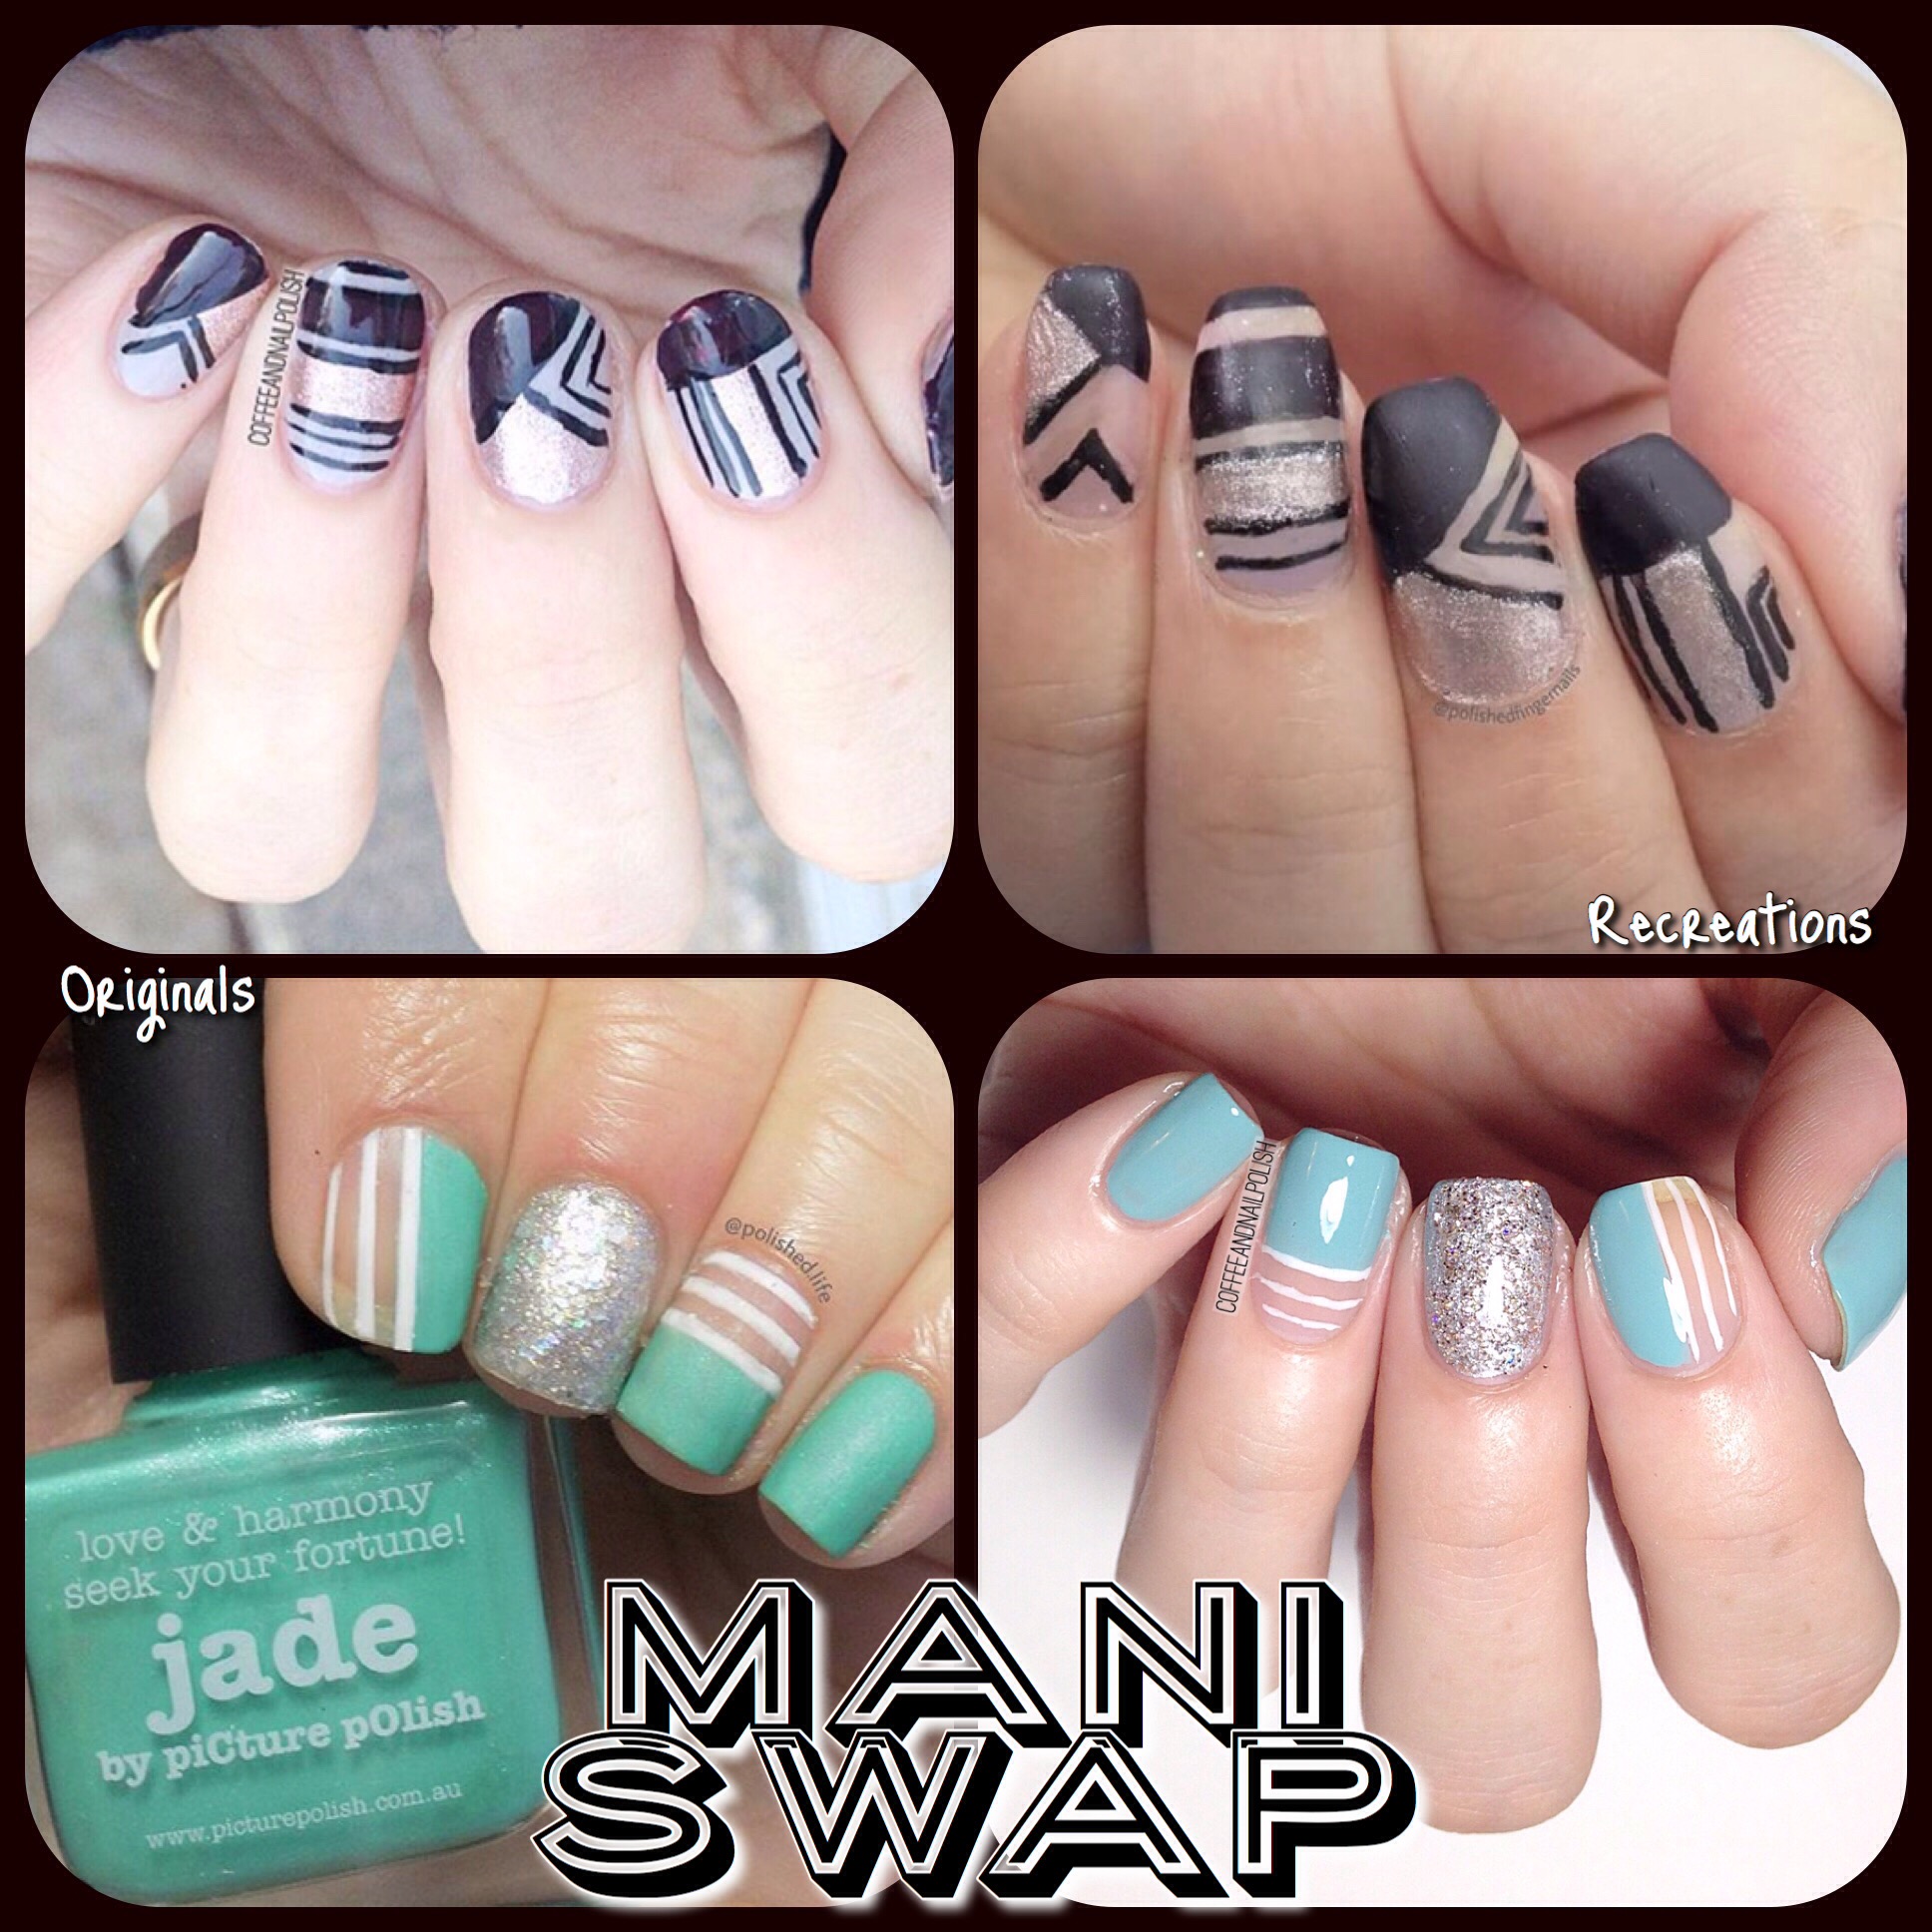
Mani Swap with @PolishedFingernails


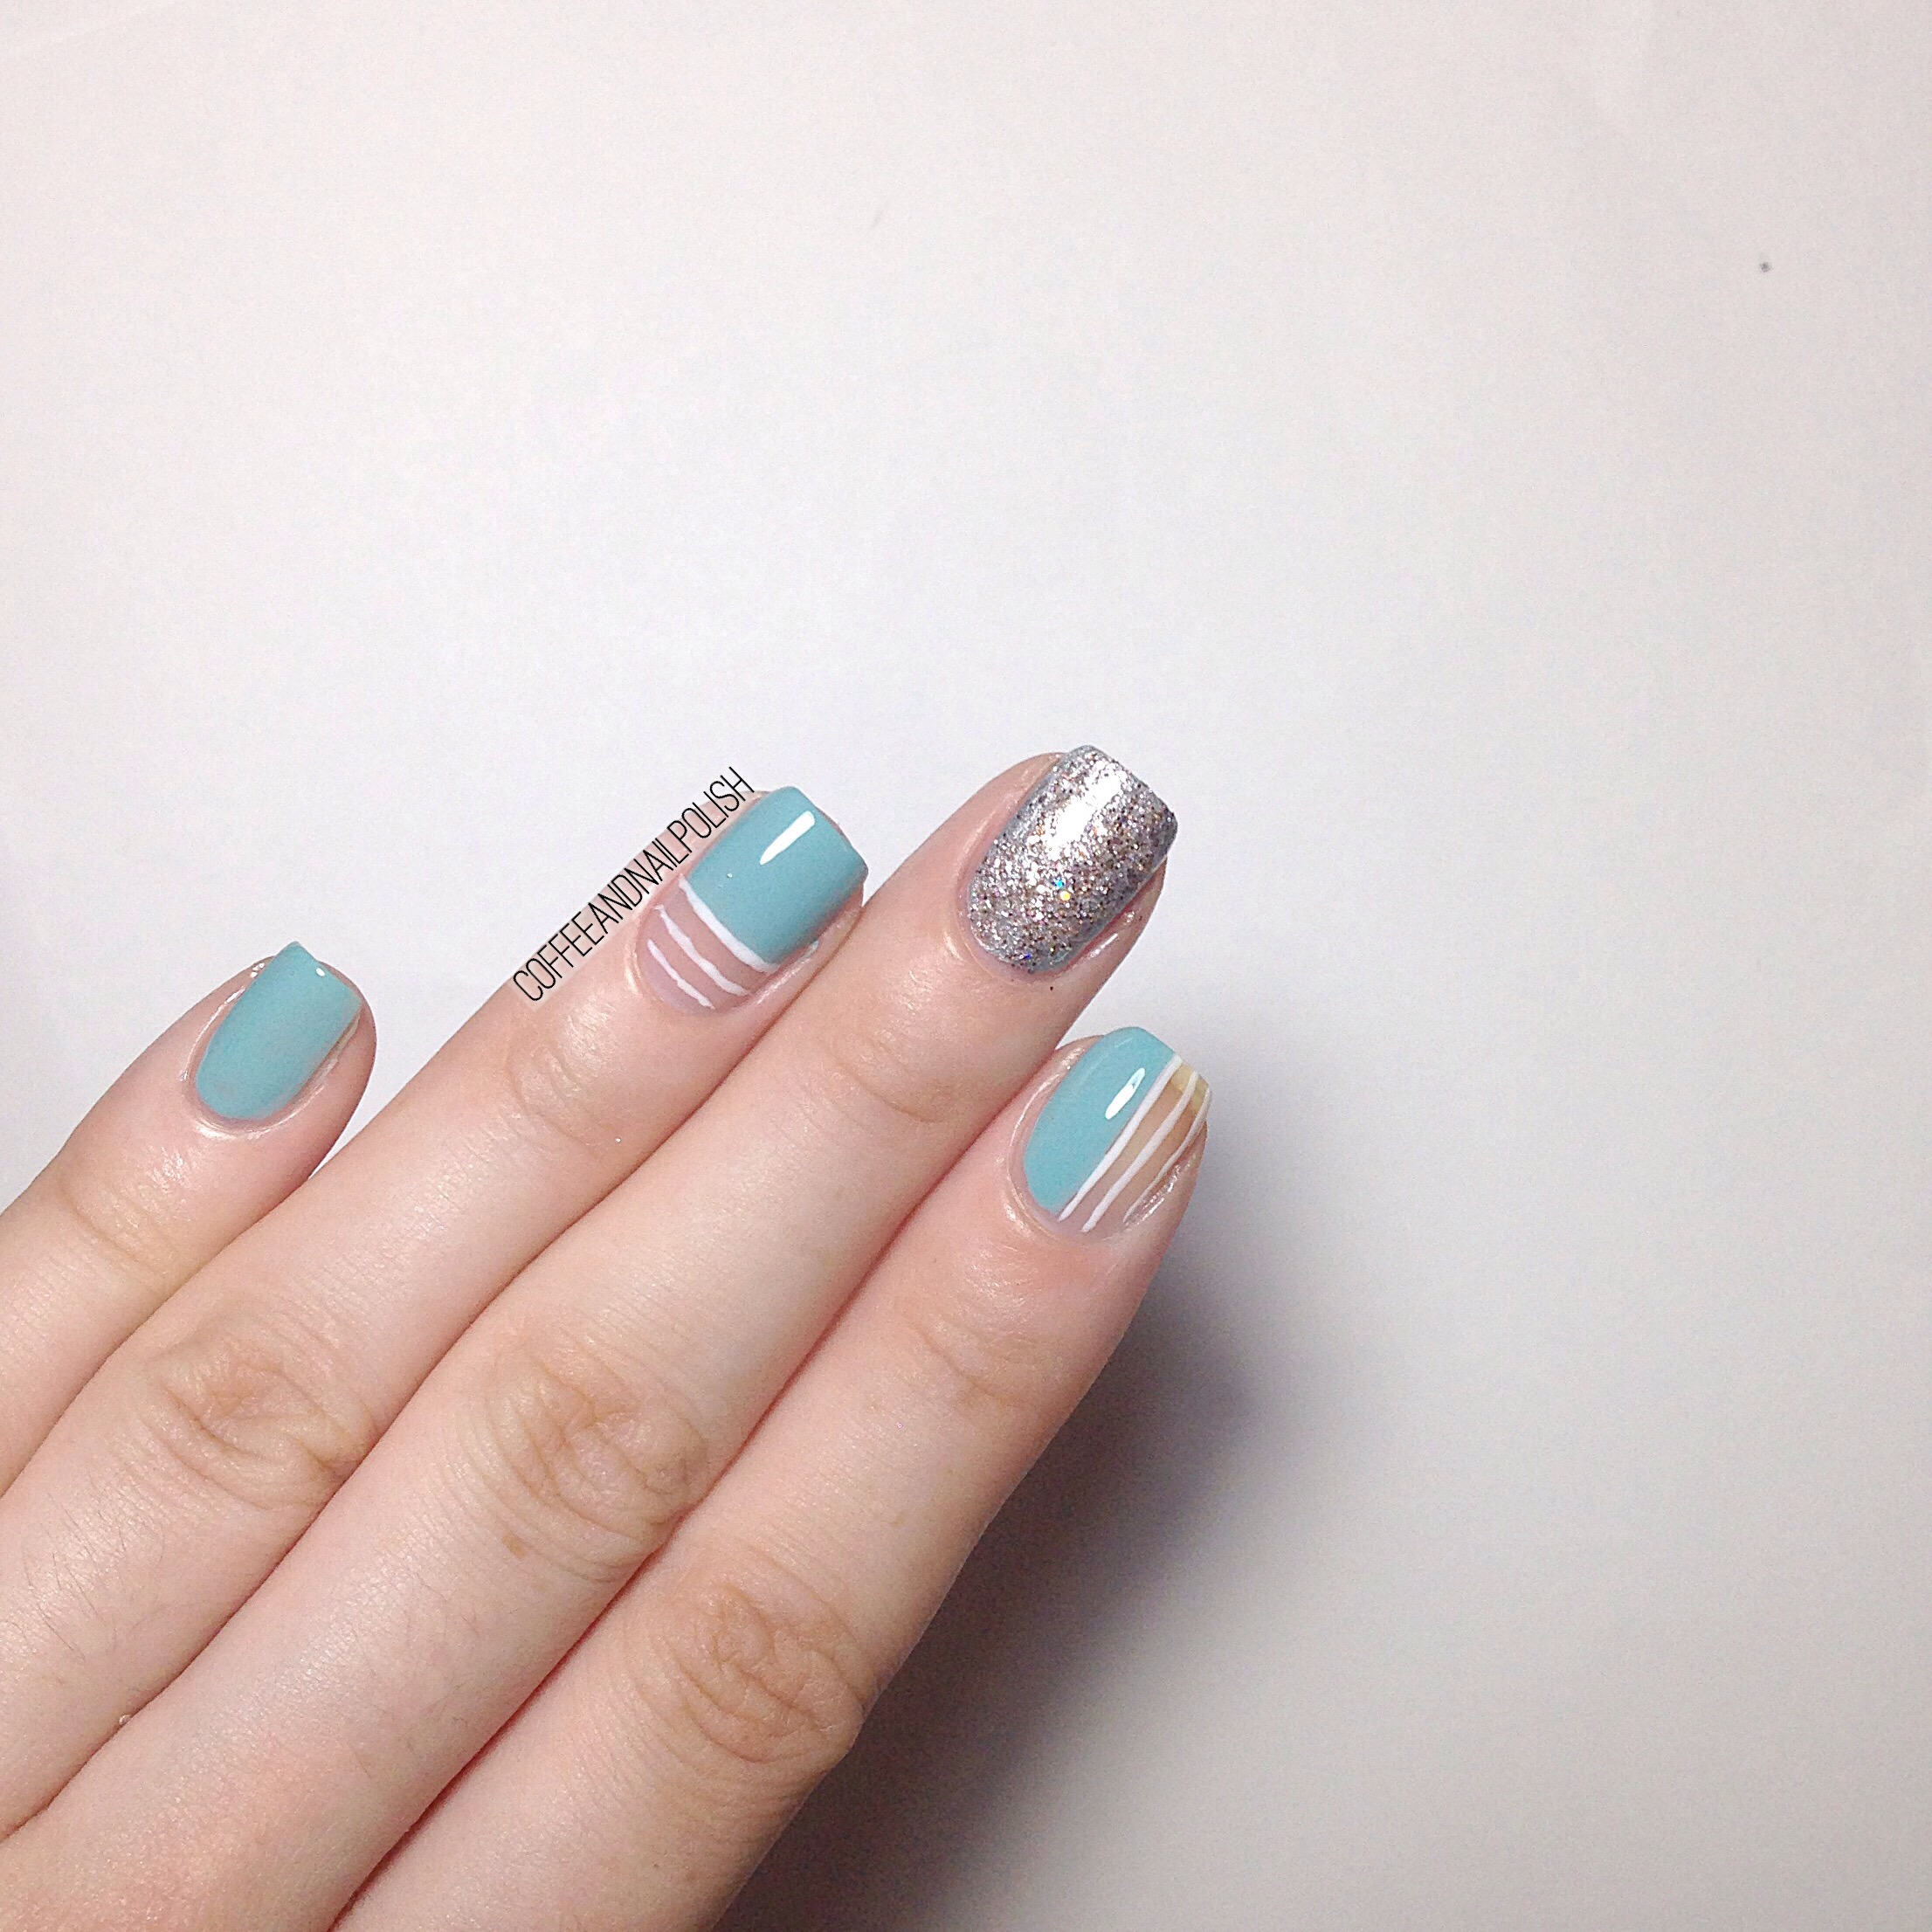
I hope you’re excited because Mani Swap week continues with a fun swap I did with Sophie (@polishedfingernails). For this swap, we both went similar directions picking Negative Space designs with line details–Sophie recreated my vampy colour blocking,  & I picked her pretty teal and white design!

For this manicure, the polishes I used were:

  • Base Coat: Perfect Formula Pink Gel Coat
  • Top Coat: Cutex Quick Dry Top Coat
  • Essie Where’s My Chauffeur?
  • OPI By The Light Of The Moon
  • OPI Ce-less-tial Is More
  • Kiss Products Nail Art Striper in White

I’m not going to lie, I love this mani extra amounts because I managed to freehand everything. I’ve been trying to practice my line work, & I’m so happy with how these turned out. Also I kind of improvised the thumb nail, adding my own touch which is kind of cheating, but I didn’t know what the thumb looked like so I gave it my own spin & I think it fits in so well with the design. 

So what do you think of this swap? Thanks to Sophie for joining me in this swap, & you definitely need to check out her Instagram account! She always had such unique designs! 

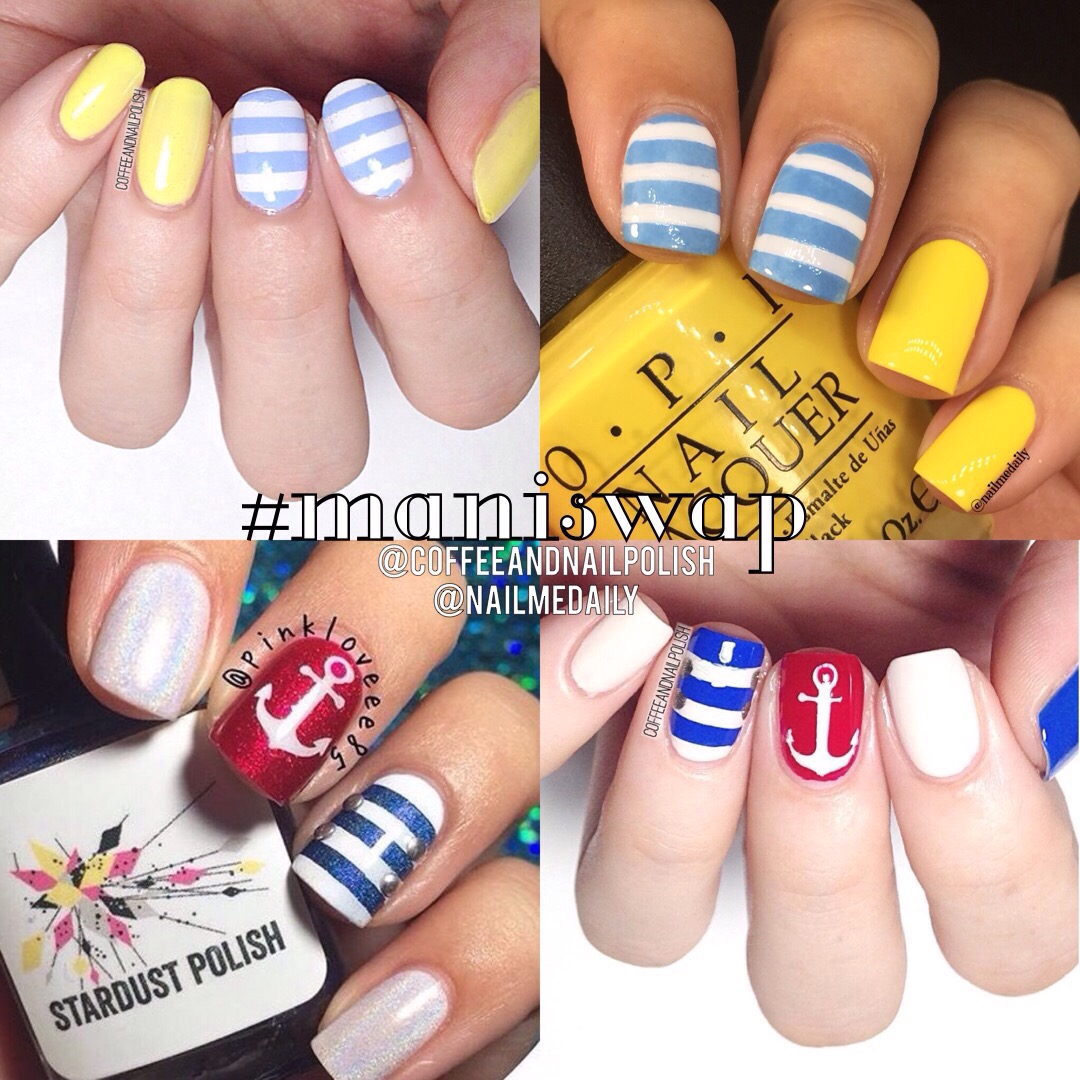
Maniswap with @nailmedaily


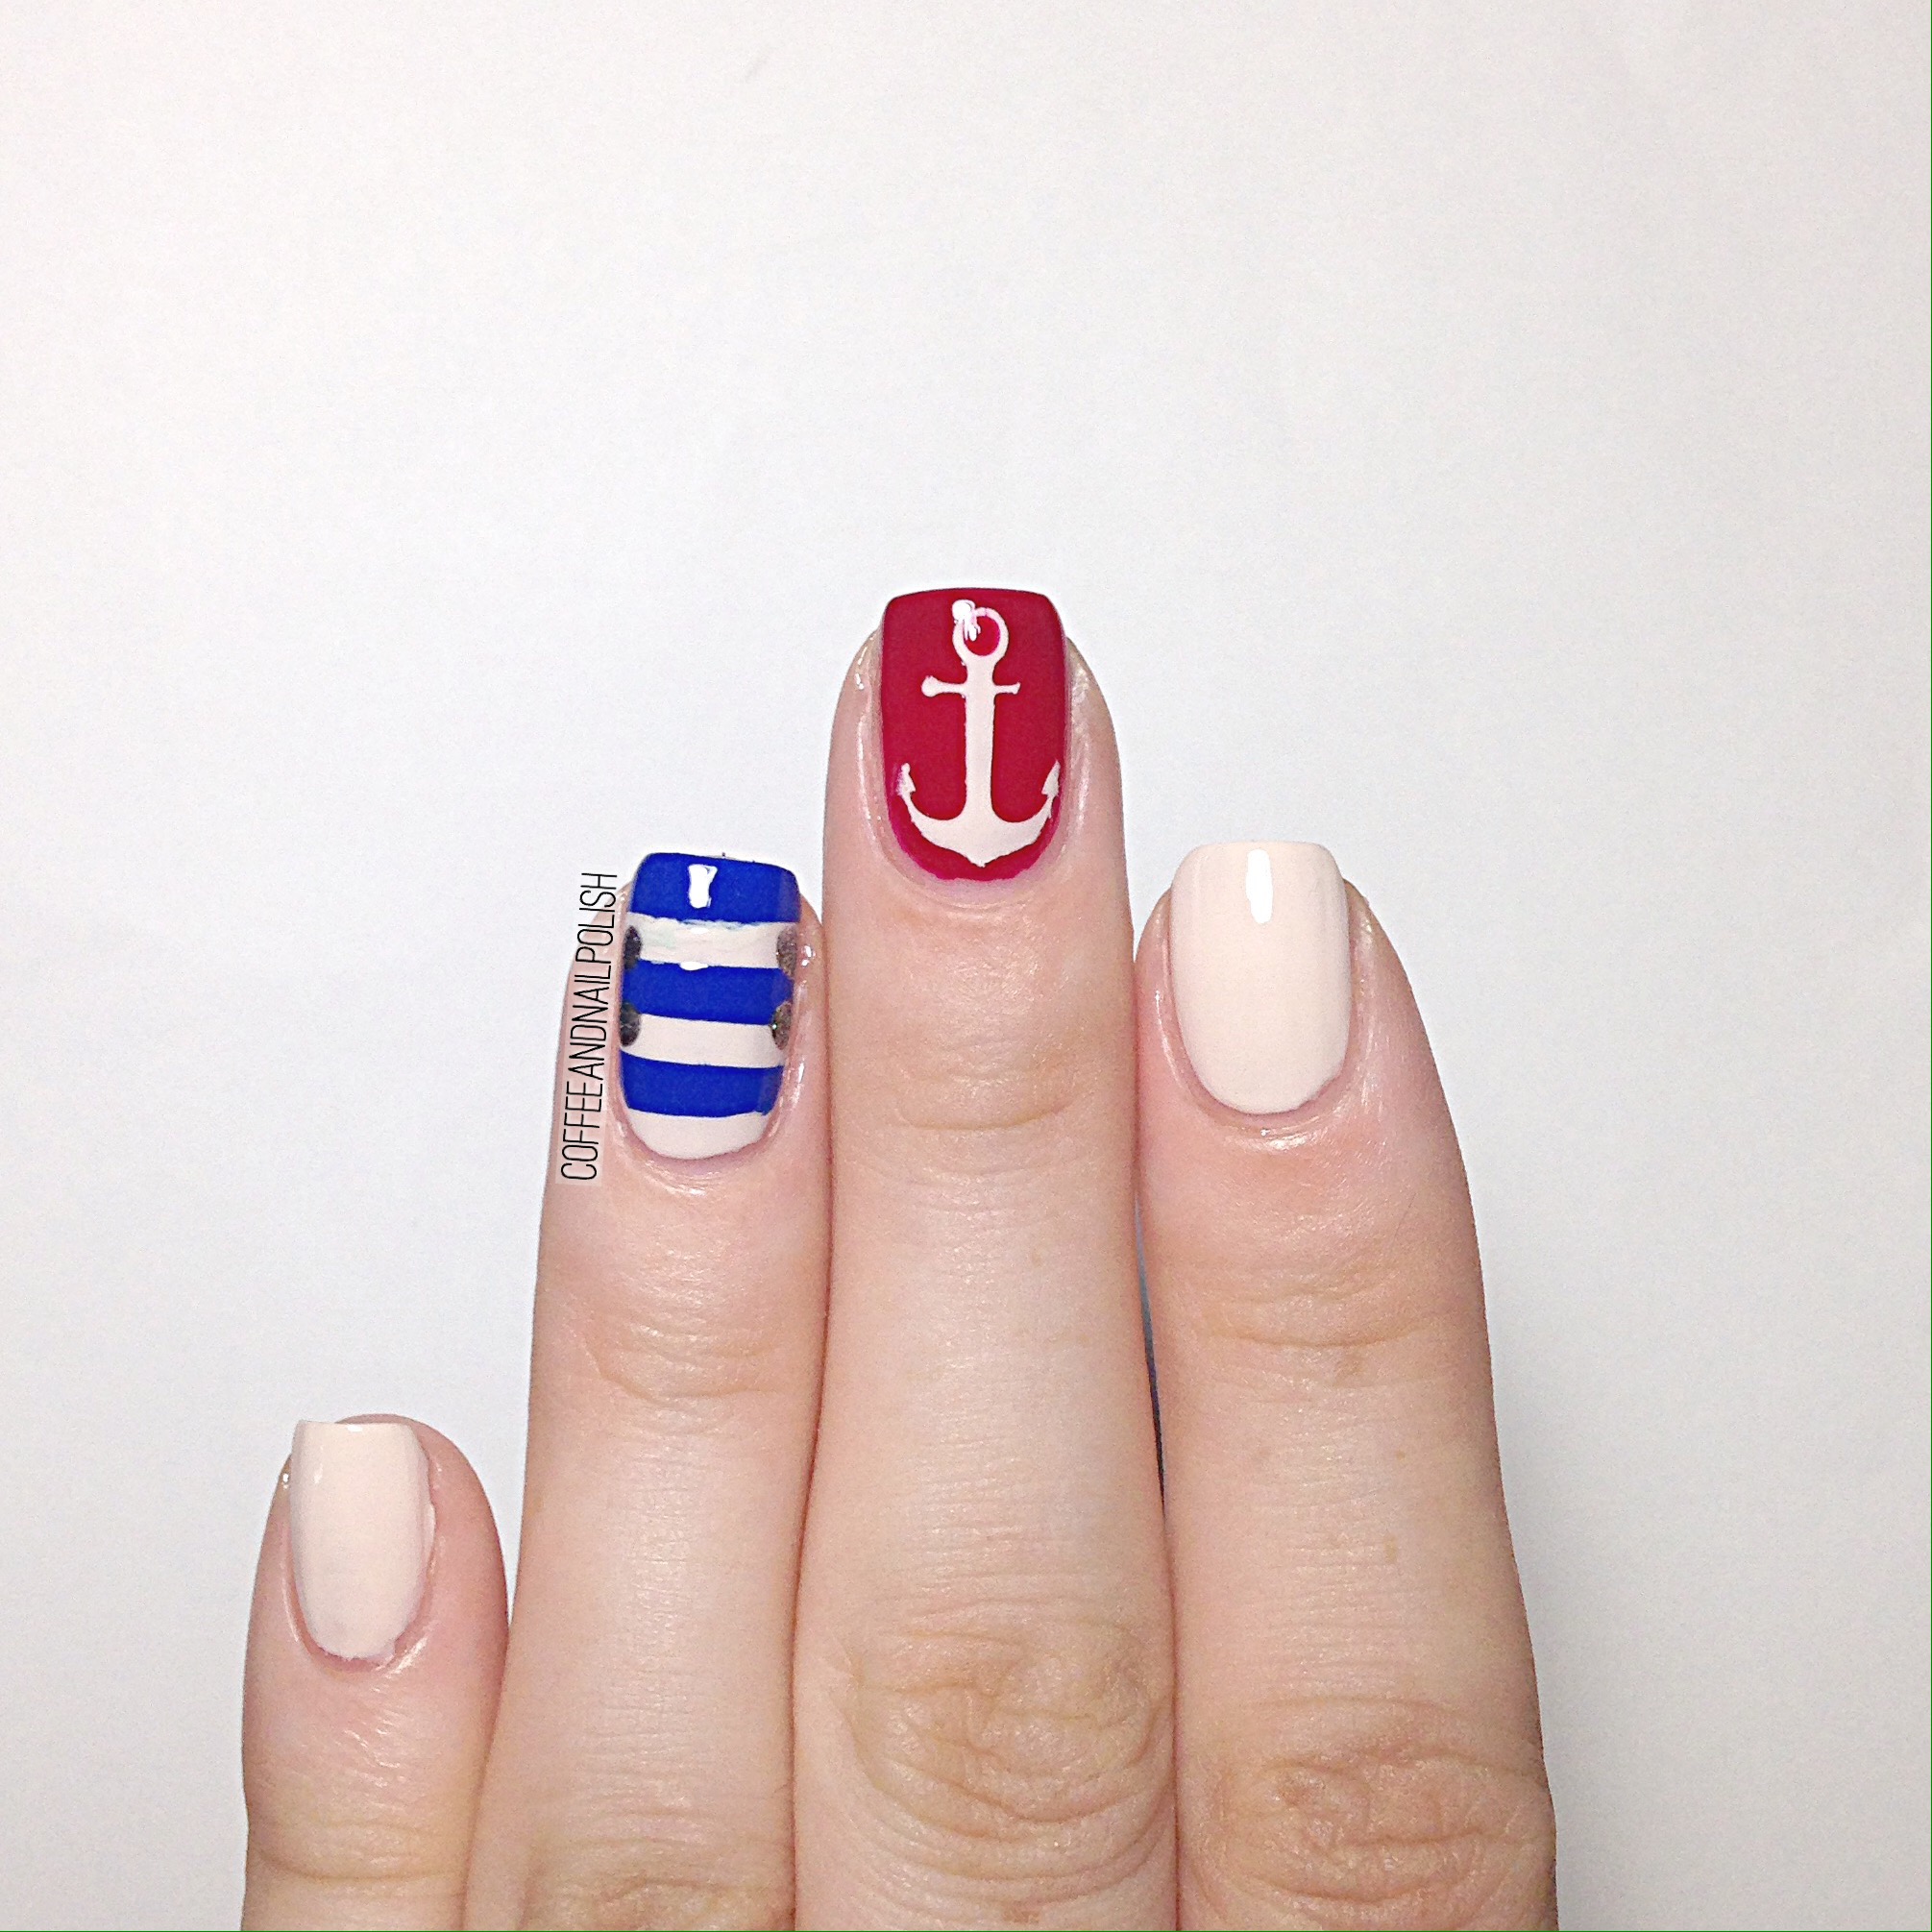
The mani swaps just keep coming! Today I’m sharing the swap I did with my fellow Instagram Nail rockstar, Jessica aka @nailmedaily. She did a gorgeous job recreating my blue & yellow Spring stripes mani, & I went nautical recreating her design!


The polishes I used for my swap were:

  • Base Coat: Perfect Formula Pink Gel Coat
  • Top Coat: Cutex Quick Dry Top Coat 
  • Essie Wrap Me Up
  • Essie A-List
  • Boho Greem Make Up Pacific Ocean
  • Nicole by OPI A Phil’s Paradise
  • Born Pretty Store thick striping tape. 
  • What’s Up Nails anchor stencil. 

I’m in love with how these turned out! I received these anchor stencils from What’s Up Nails in my order, & had been itching to use them. When I saw Jessica’s gorgeous nautical mani, I knew it was the perfect opportunity. 

Jessica’s original mani was just so pretty, & the colours complimented each other so well, I had to recreate it. The fun part about mani swaps is the chance to recreate manis you love, or maybe you missed the first time. Definitely having a lot of fun surrounded by all this awesome inspiration. 

What do you think of our recreations? Let me know in the comments below, & don’t forget to check out @nailmedaily on Instagram! 

Blue Chevron Claws


I received my Snail Vinyls nail vinyls order the other day, & immediately needed to break them out for some nail art. As part of my order, I ordered their Single Chevron Variety Pack because my selection of chevrons was sadly dwindling. & the ones I was most excited for from the collection? The Deep Single Chevron nail vinyls!

I’ve done Chevron claws a few times using straight vinyls or striping tape, but it’s not the easiest. I’m loving these vinyls because it takes the hard part out of it–all you need to do is line them up on the nail straight! Sure that took me a few tries to make sure they were straight, but the end result looks really awesome. Chevron claws are like the cool big sister to chevron moons, so obviously I love them! I’m really excited it will be so easy for me to do them now. 
For this mani, I used:

What do you think of these chevron claws? This was my first time using Snail Nail Vinyls, but they were easy to use, & produced nice clean lines (as you can see!) When it comes to a designs like this, clean & crisp lines are very important!

Also I really like the darkness of Bell Bottom Blues over In The Cab-ana. The shimmer of Bell Bottom Blues is just so pretty, especially when it catches the light. It just pairs with the light creamy  blue of In The Cab-ana so well. And they still have that Summer-y vibe, even with the darker blue sparkle.

Now that I have my lighting situation figured out, I’ve been working on taking different shots for the blog to show off my manis. Obviously I’ll never tire of my coffee shots, but I want to show off different angles of my designs so you get the whole look (including the occasional shot of my Cinderella hand!) I want to give my blog as much character as possible, so it’s as enjoyable to read as it is for me to write!


What do you think of these chevron claws? As always, let me know what you think in the comments below and stay tuned for more chevron nails featuring these awesome vinyls from Snail Vinyls!

Tribal Print Accent Nail

Today I have some more nail art to share with you! I’m really enjoying being able to do my nails again. It’s surprising how relaxing it is to be able to sit down & pull out my polishes at the end of the night.


It’s been a while since I did anything tribal-esque on my nails, so I felt like it was about time. Again, I continued the trend with some pretty Spring polishes that I haven’t pulled out in a while.

For this manicure, I used:

  • ACO by Ardene Whacky
  • ACO by Ardene Flawless
  • Essie Mint Candy Apple
  • Essie Lounge Lover 
  • Kiss Products Nail Art Striper in Black
  • Cutex Quick Dry Top Coat
  • Thick striping tape from Born Pretty Store.
  • Small dotting tool.

It’s been too long since I’ve tried to freehand lines like this, hence why I only did an accent nail, & used striping tape to create my thick lines. I really should invest in some acrylic paint for nail art, eventually. (Although I’ve been saying that for ages, & still haven’t.) Even with the wonky lines though, I really love this accent nail. Makes me feel like I’m officially back in the nail art game again!

I think if I went with some pastel polish, & white lines, these would be great for Easter Egg nails! I’m starting to plan my Easter manicures so I will have to try this again with the right colour palette.


What do you think of my tribal-esque accent nail? Let me know in the comments below!