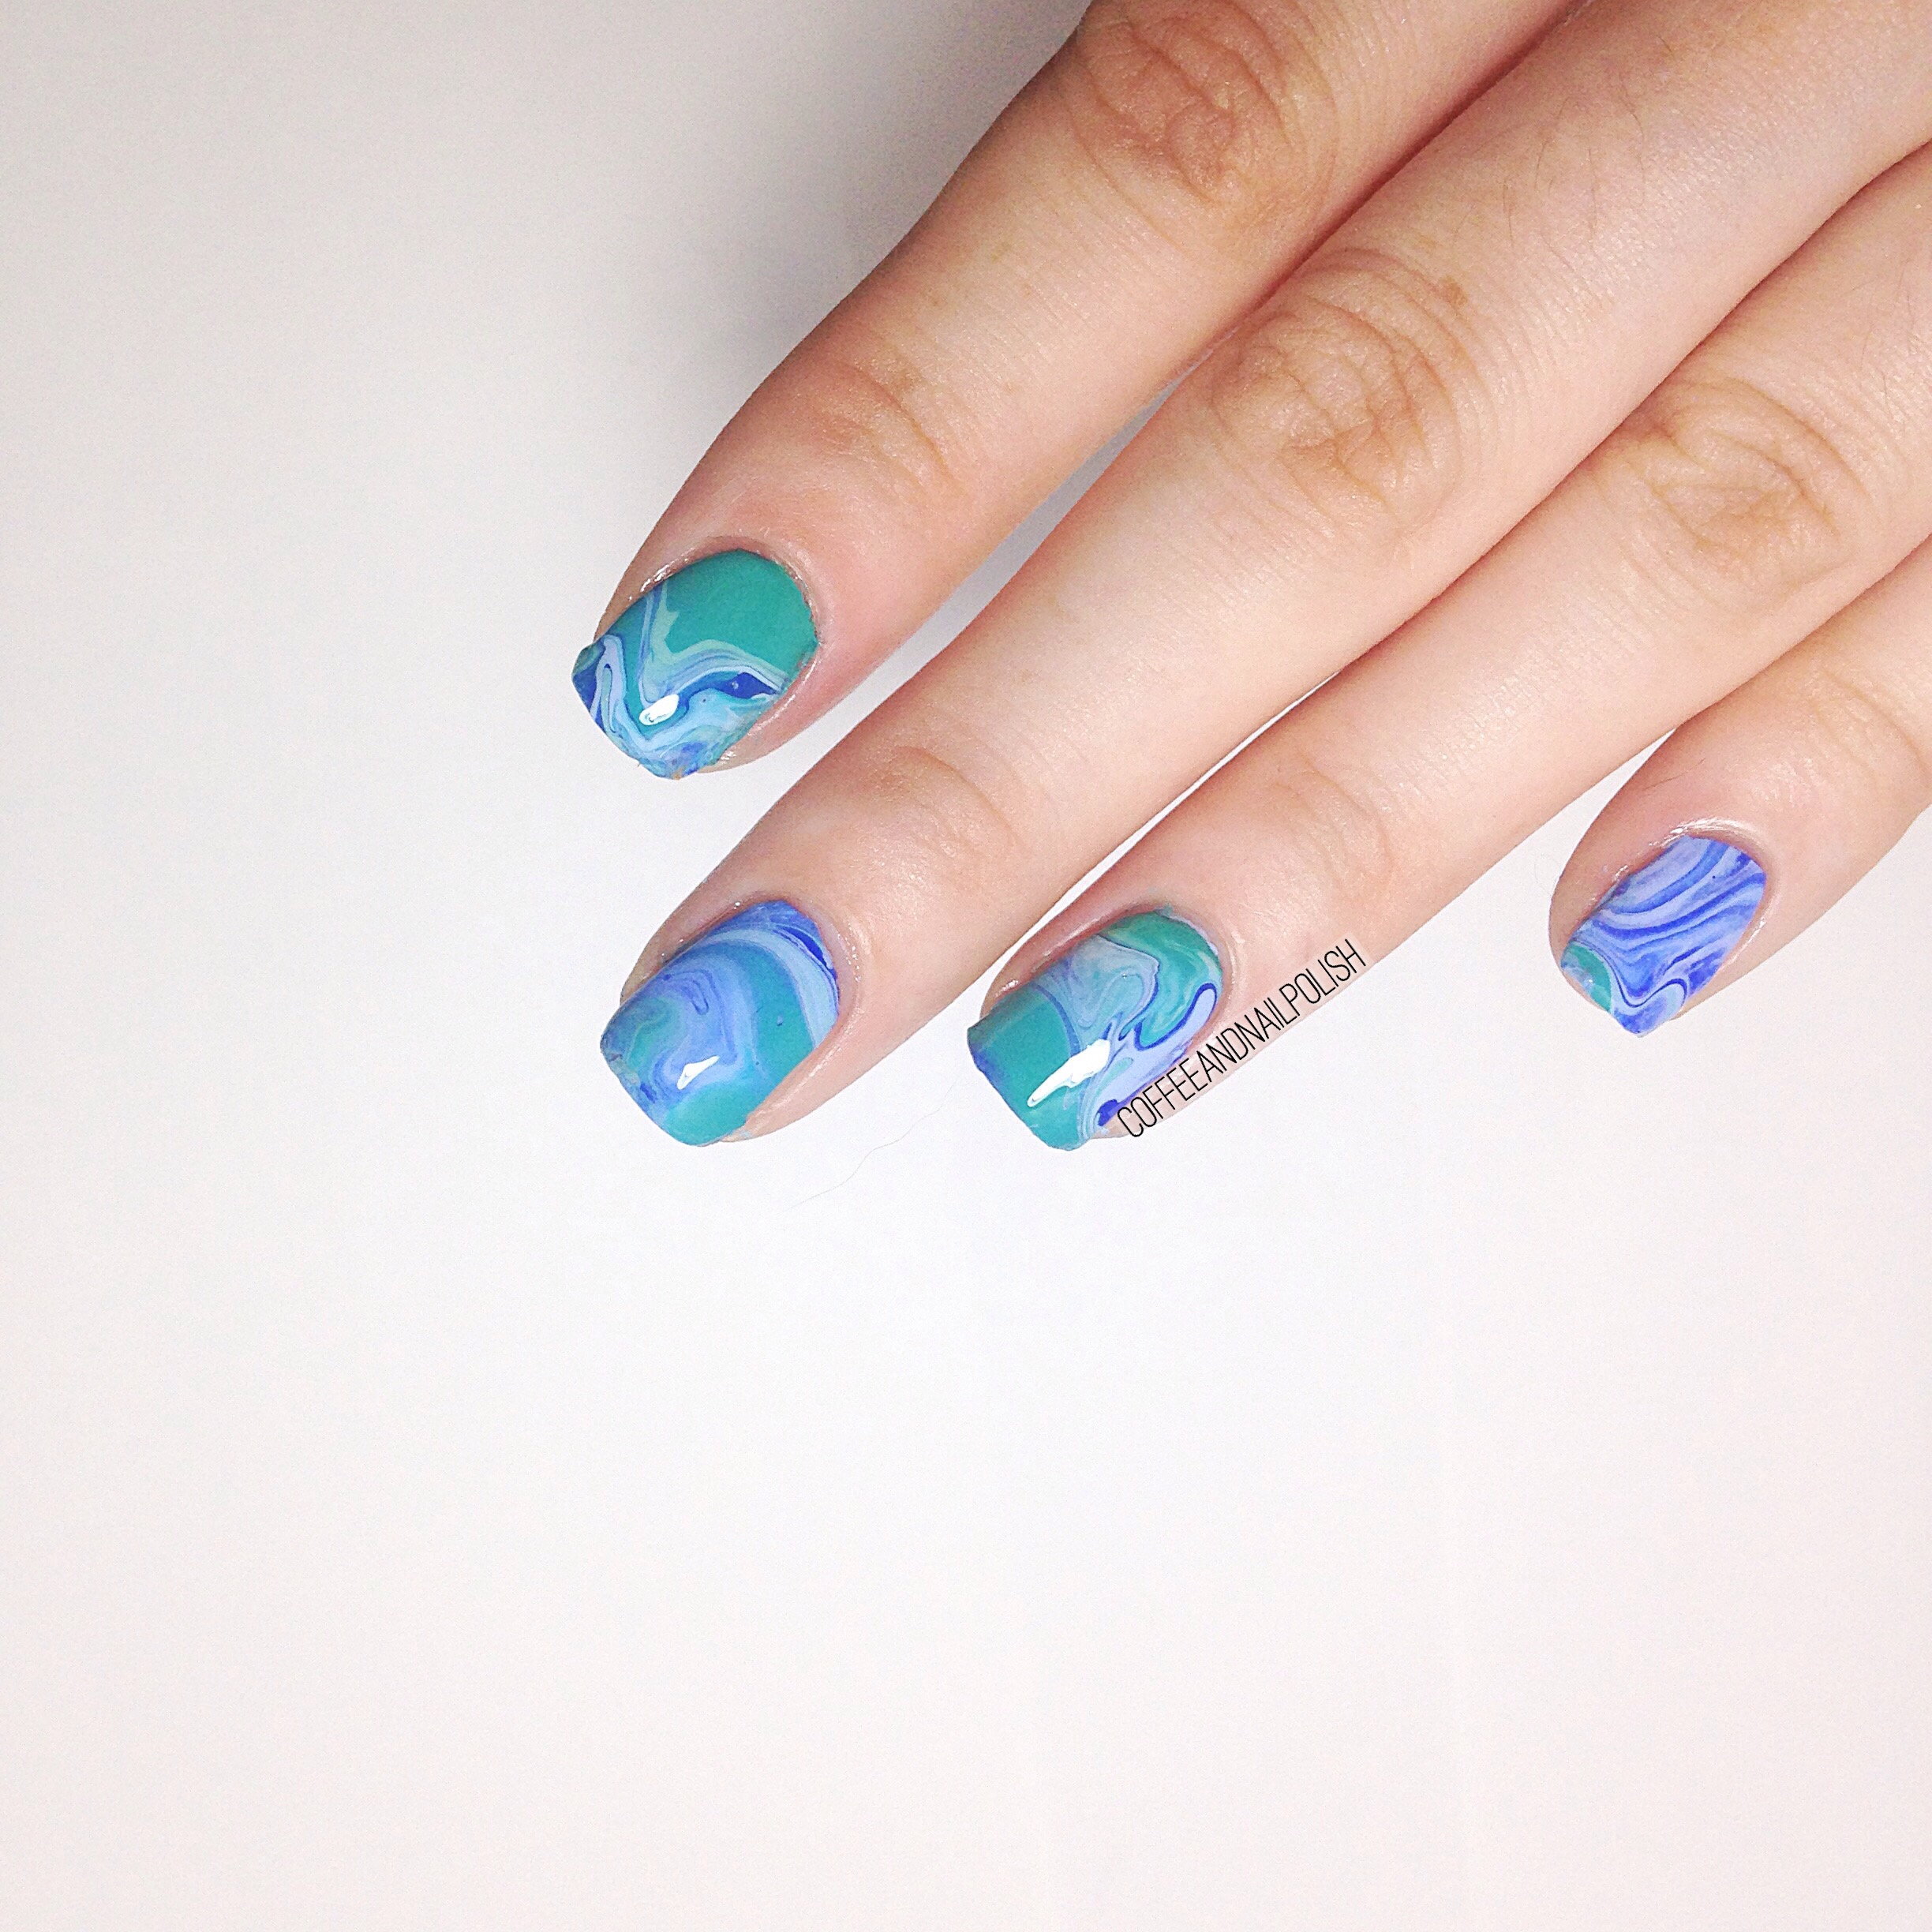
 Who doesn’t love a good mermaid manicure?
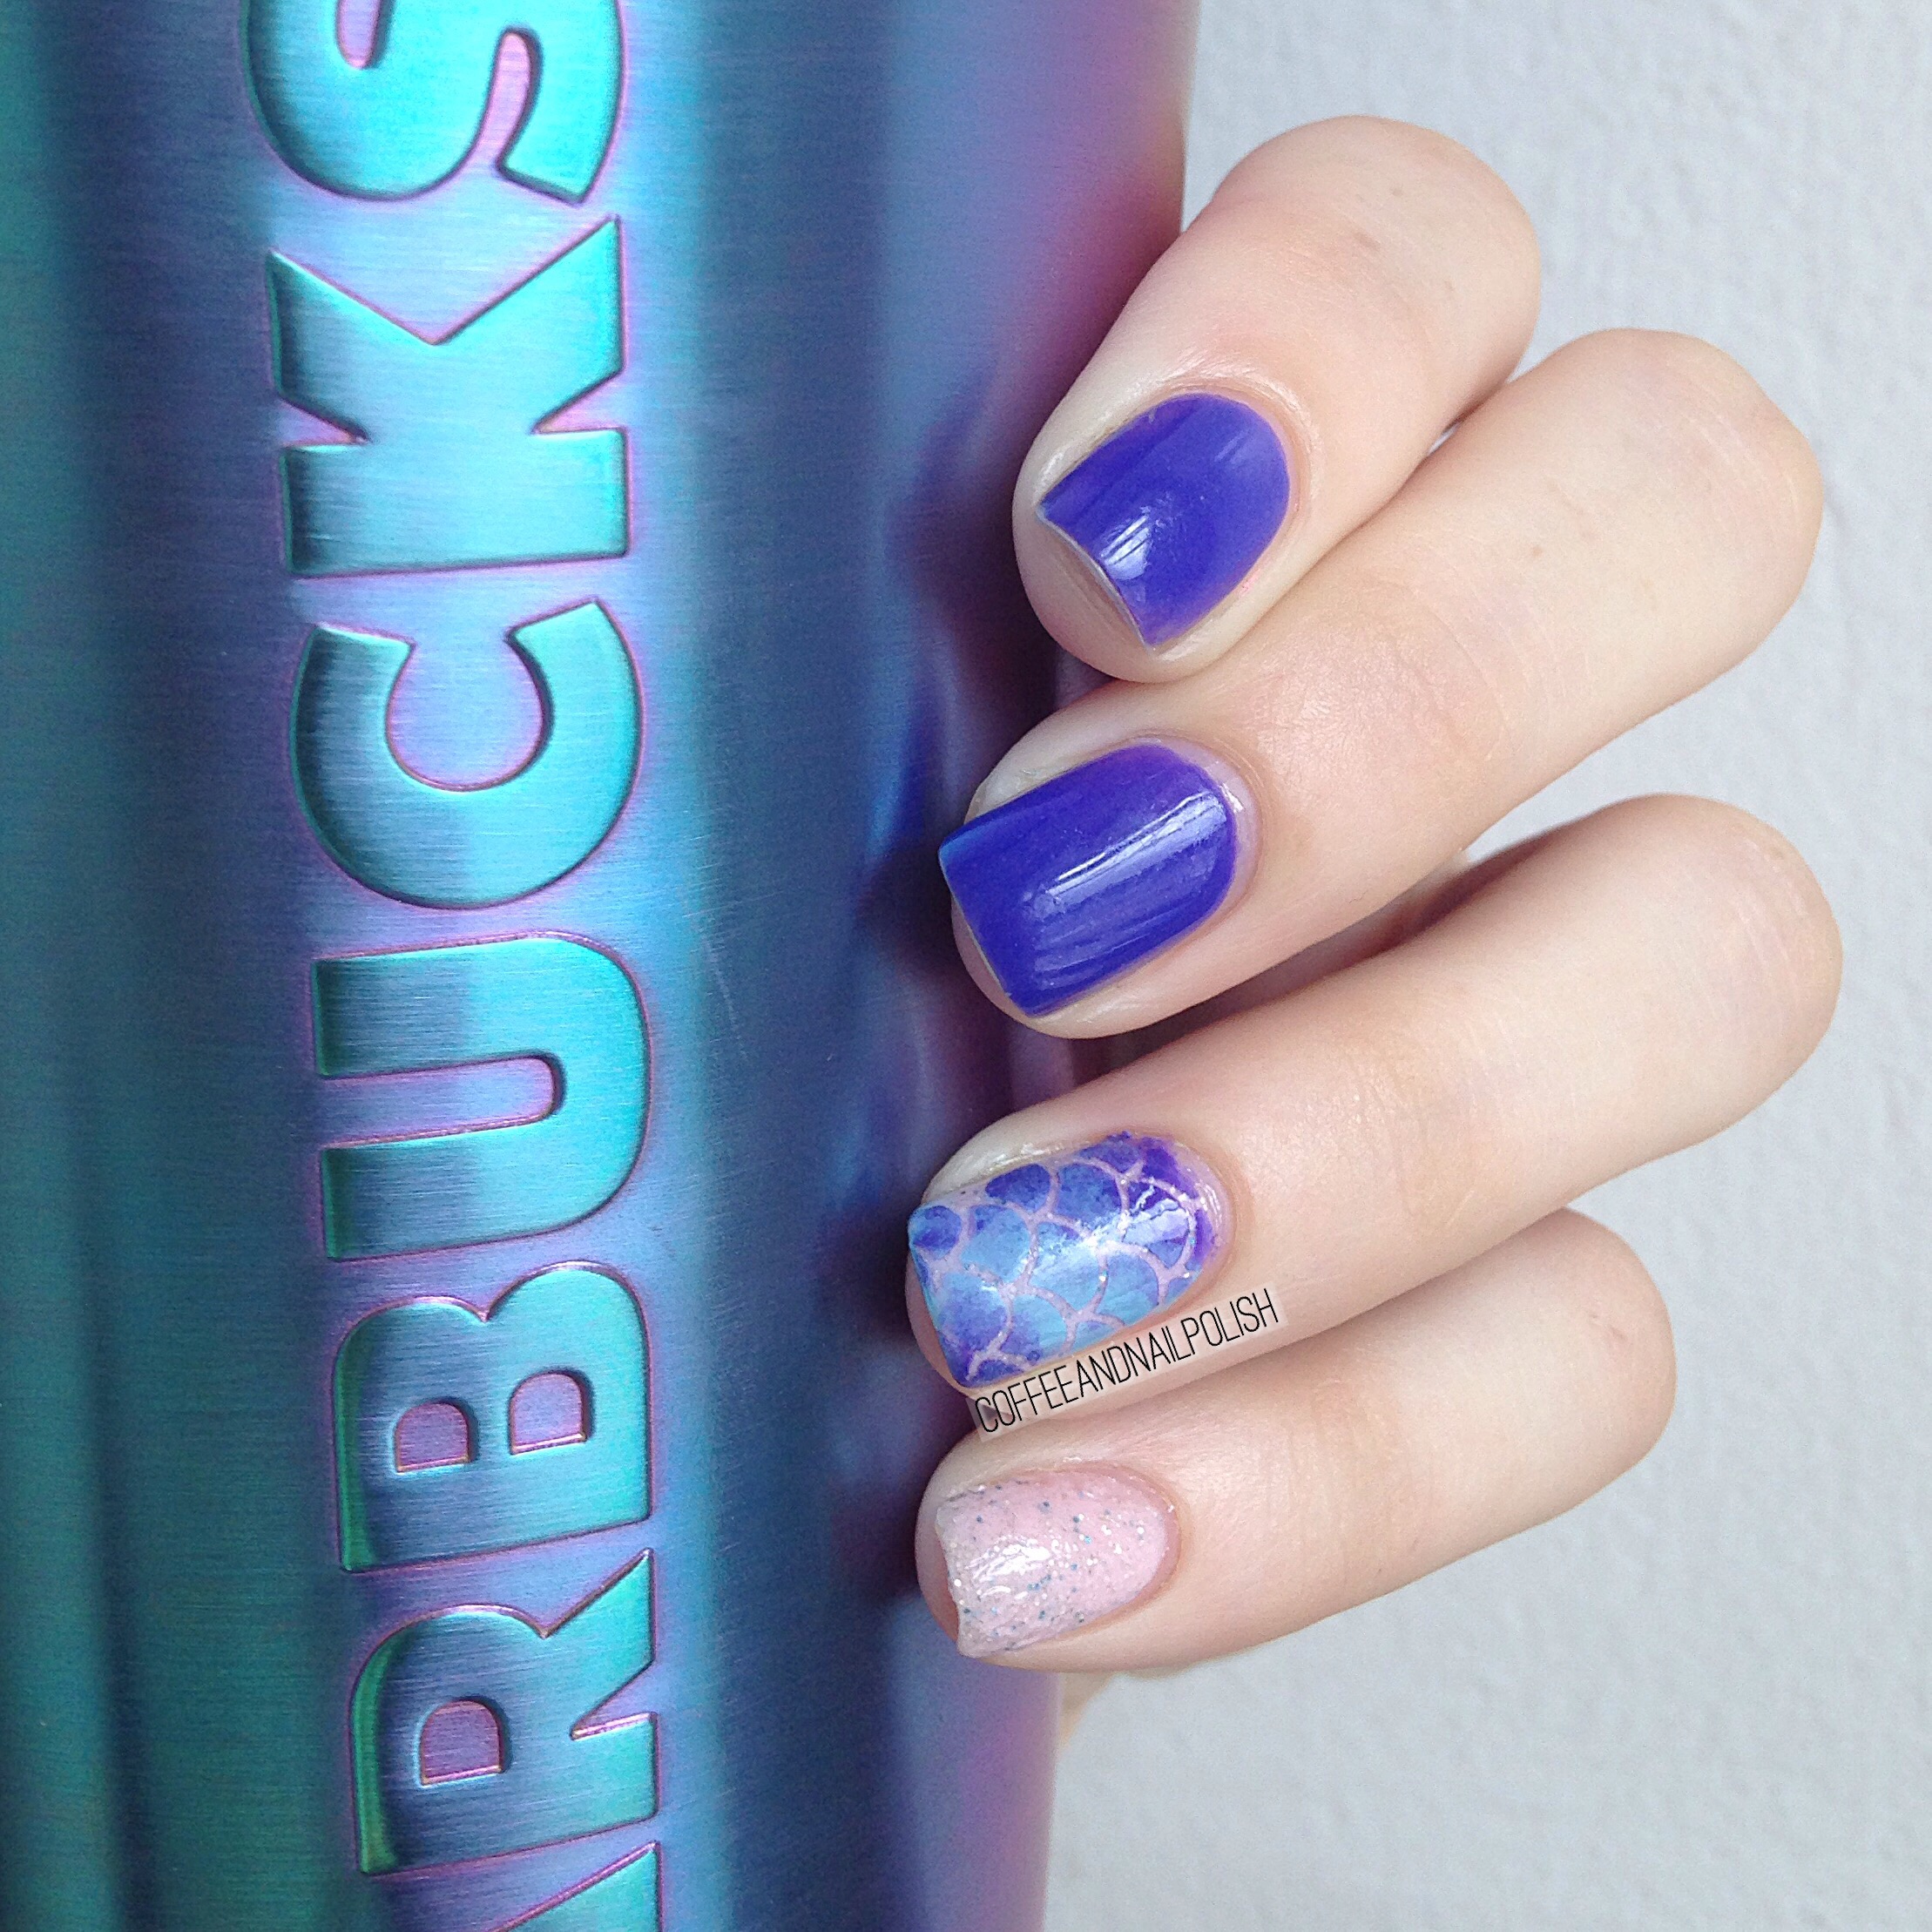
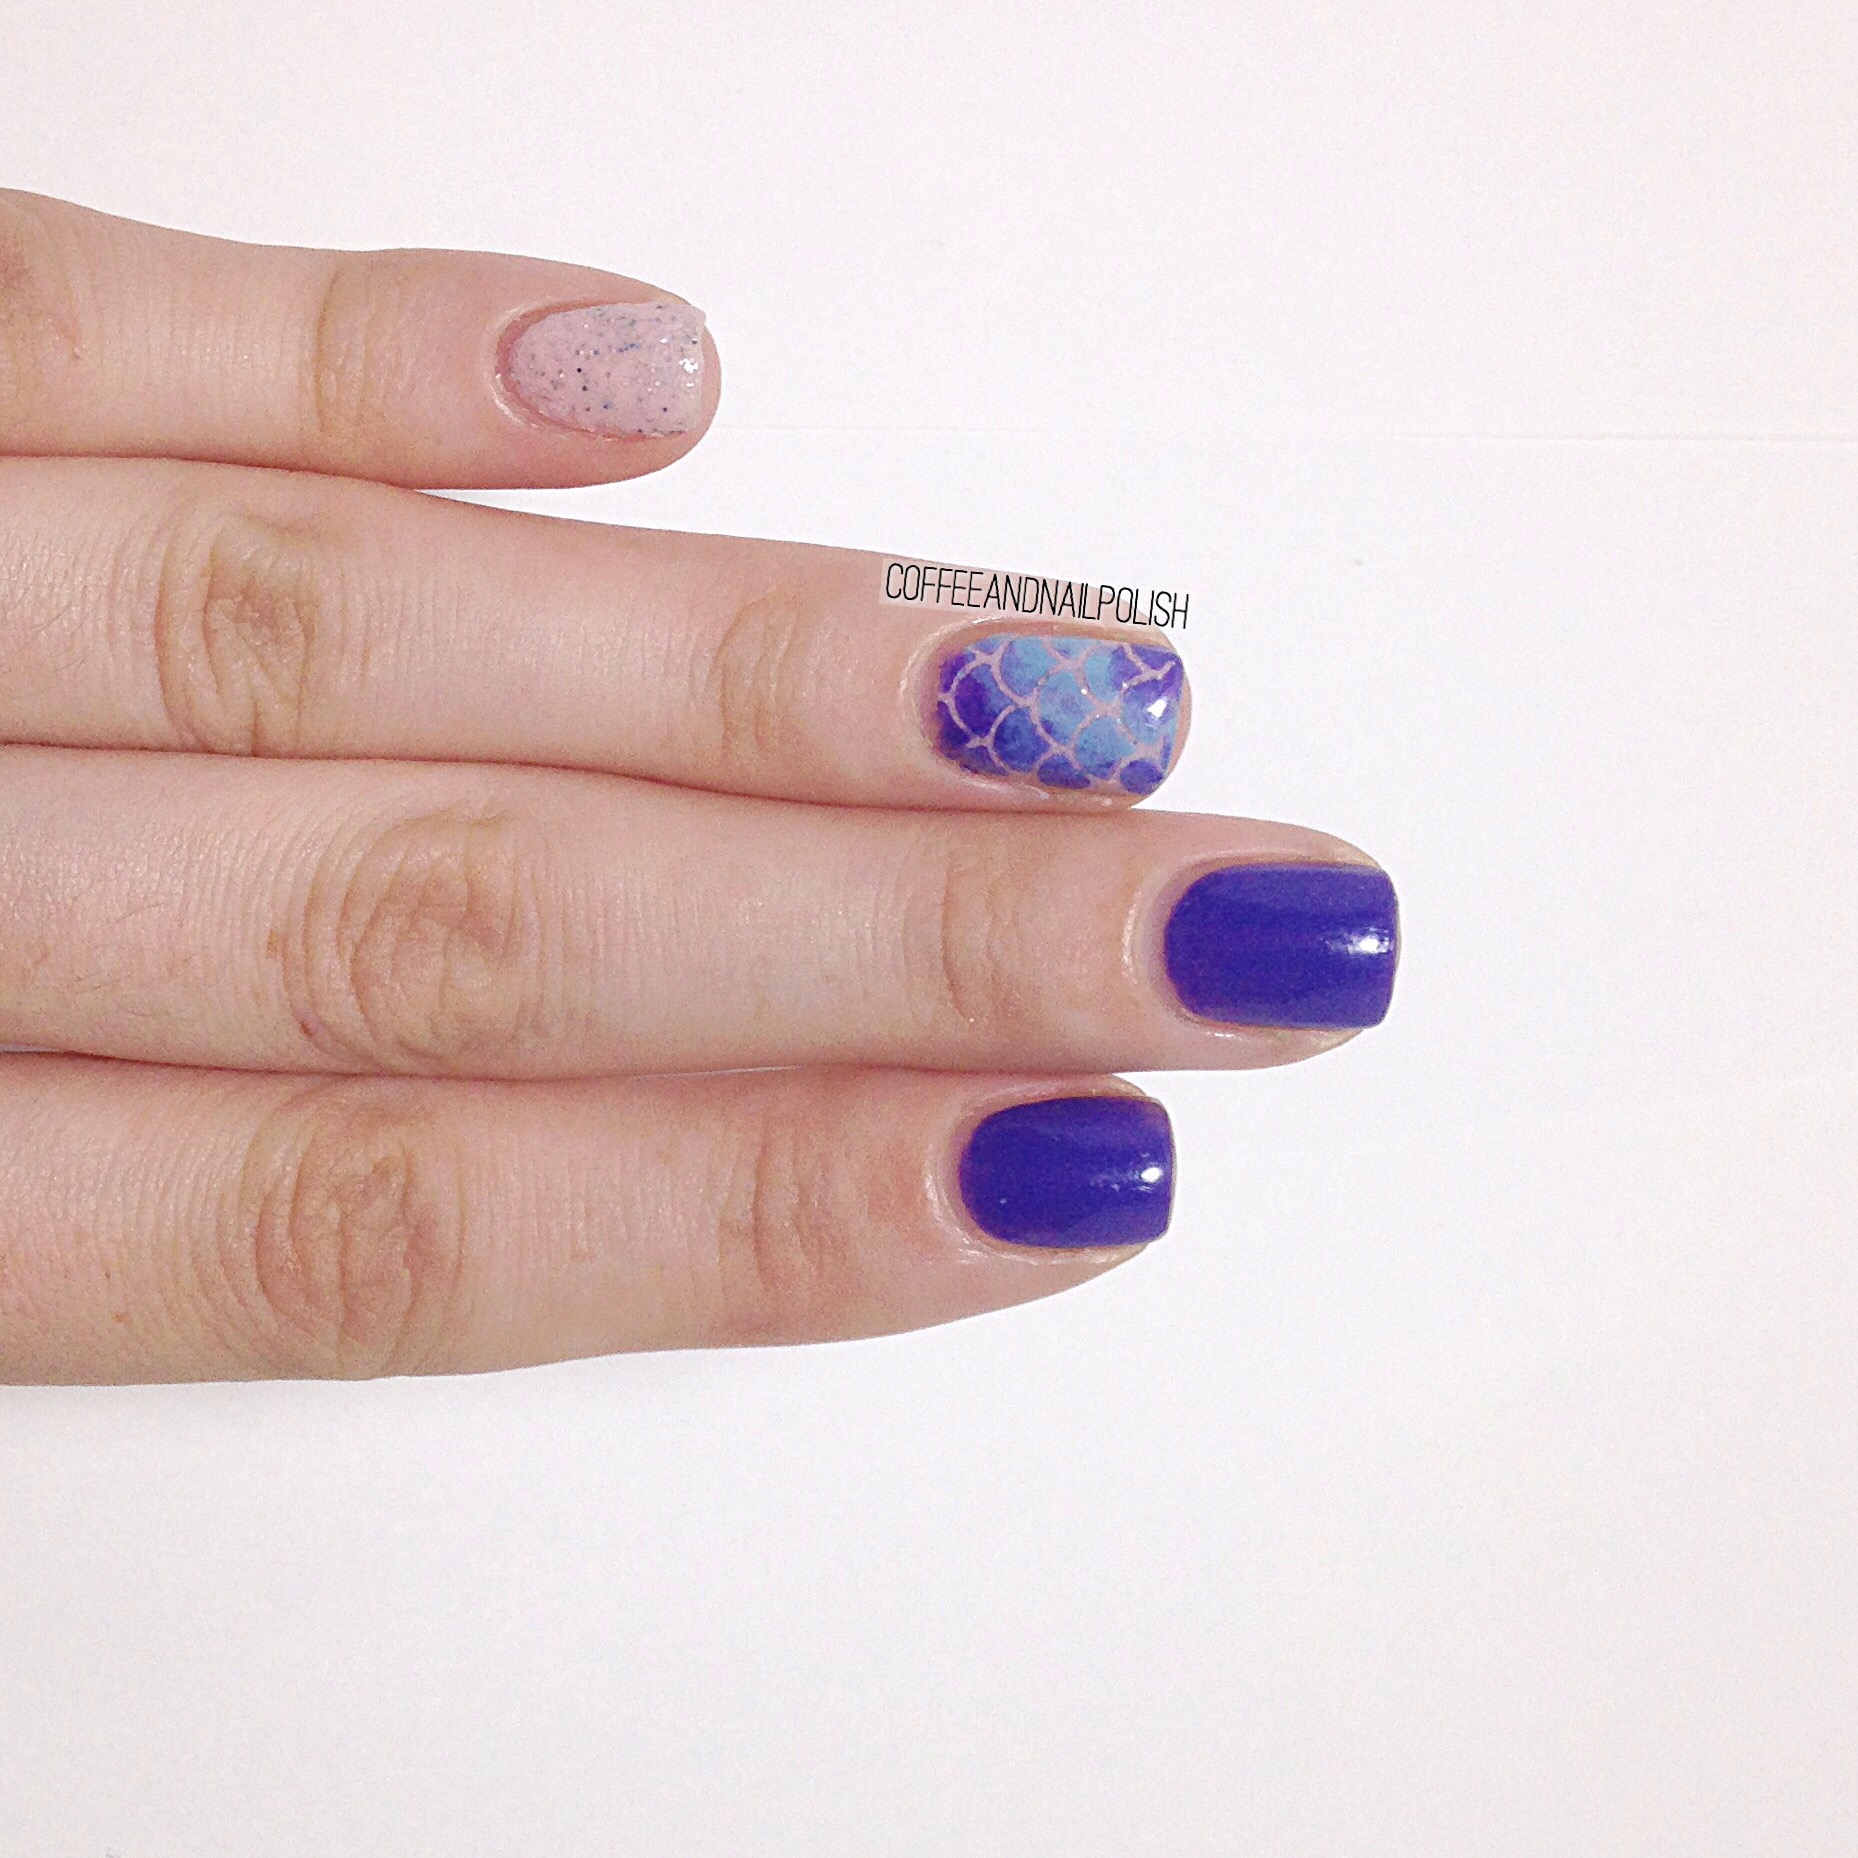
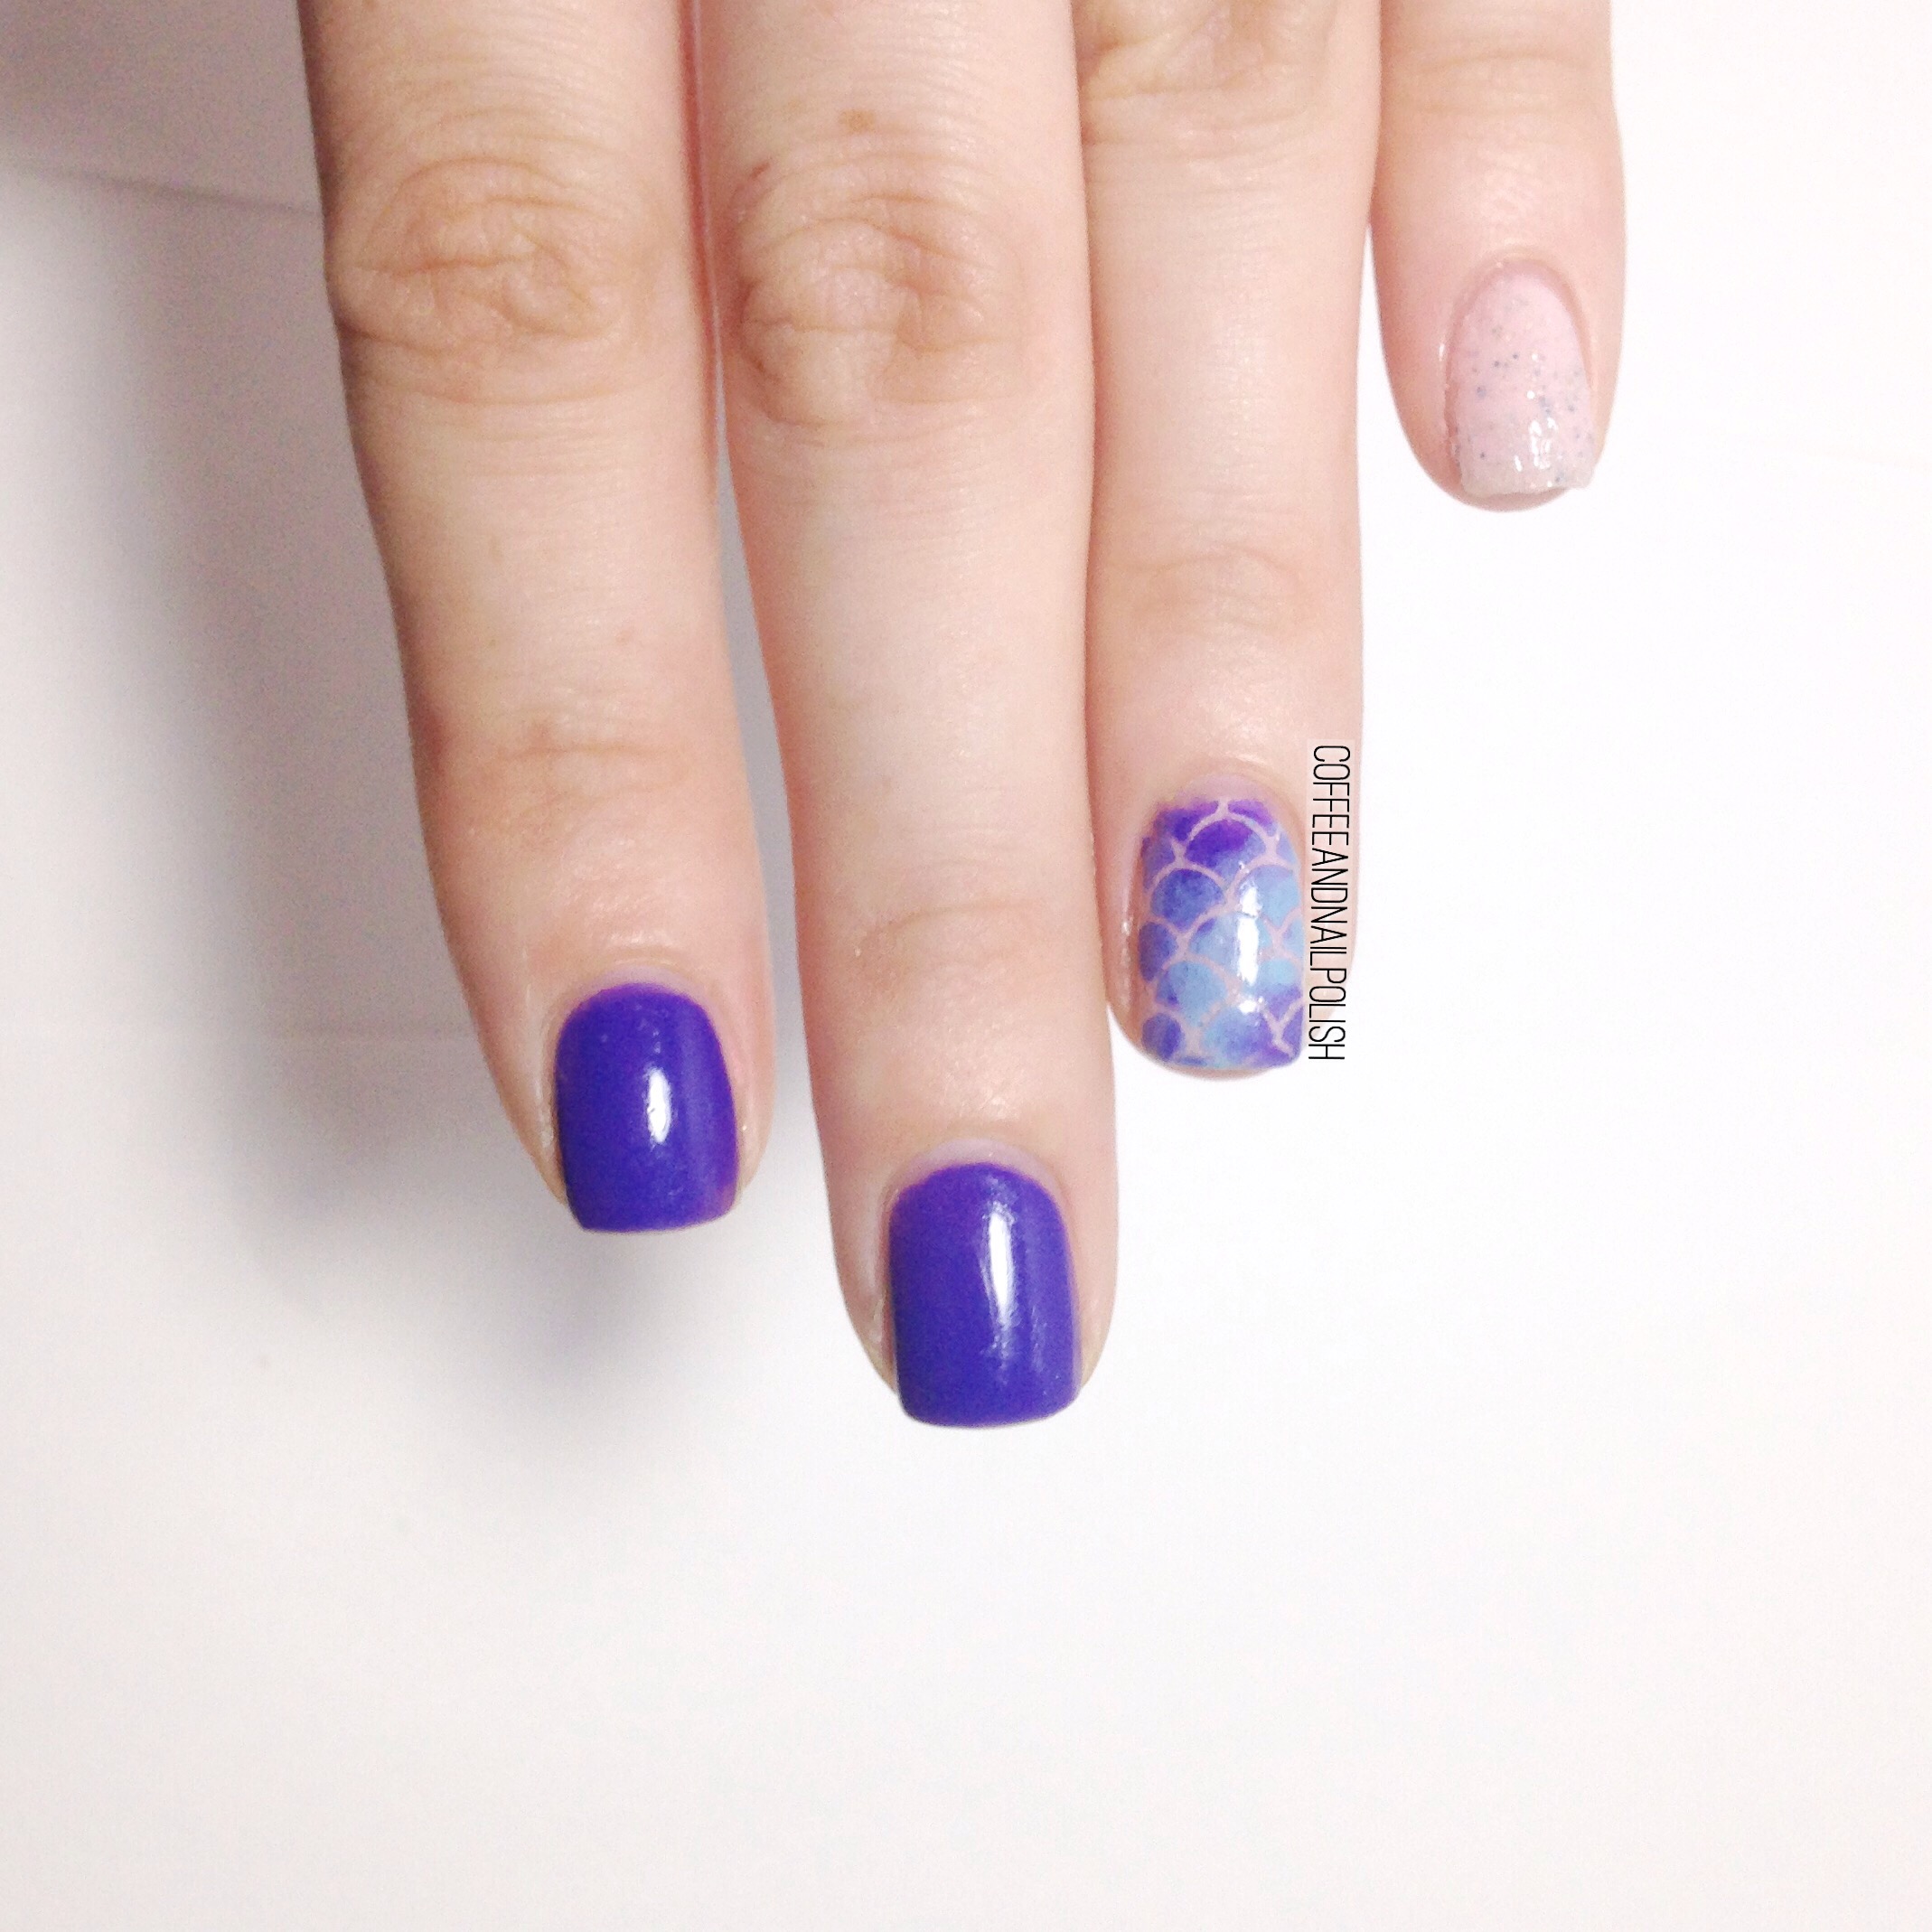
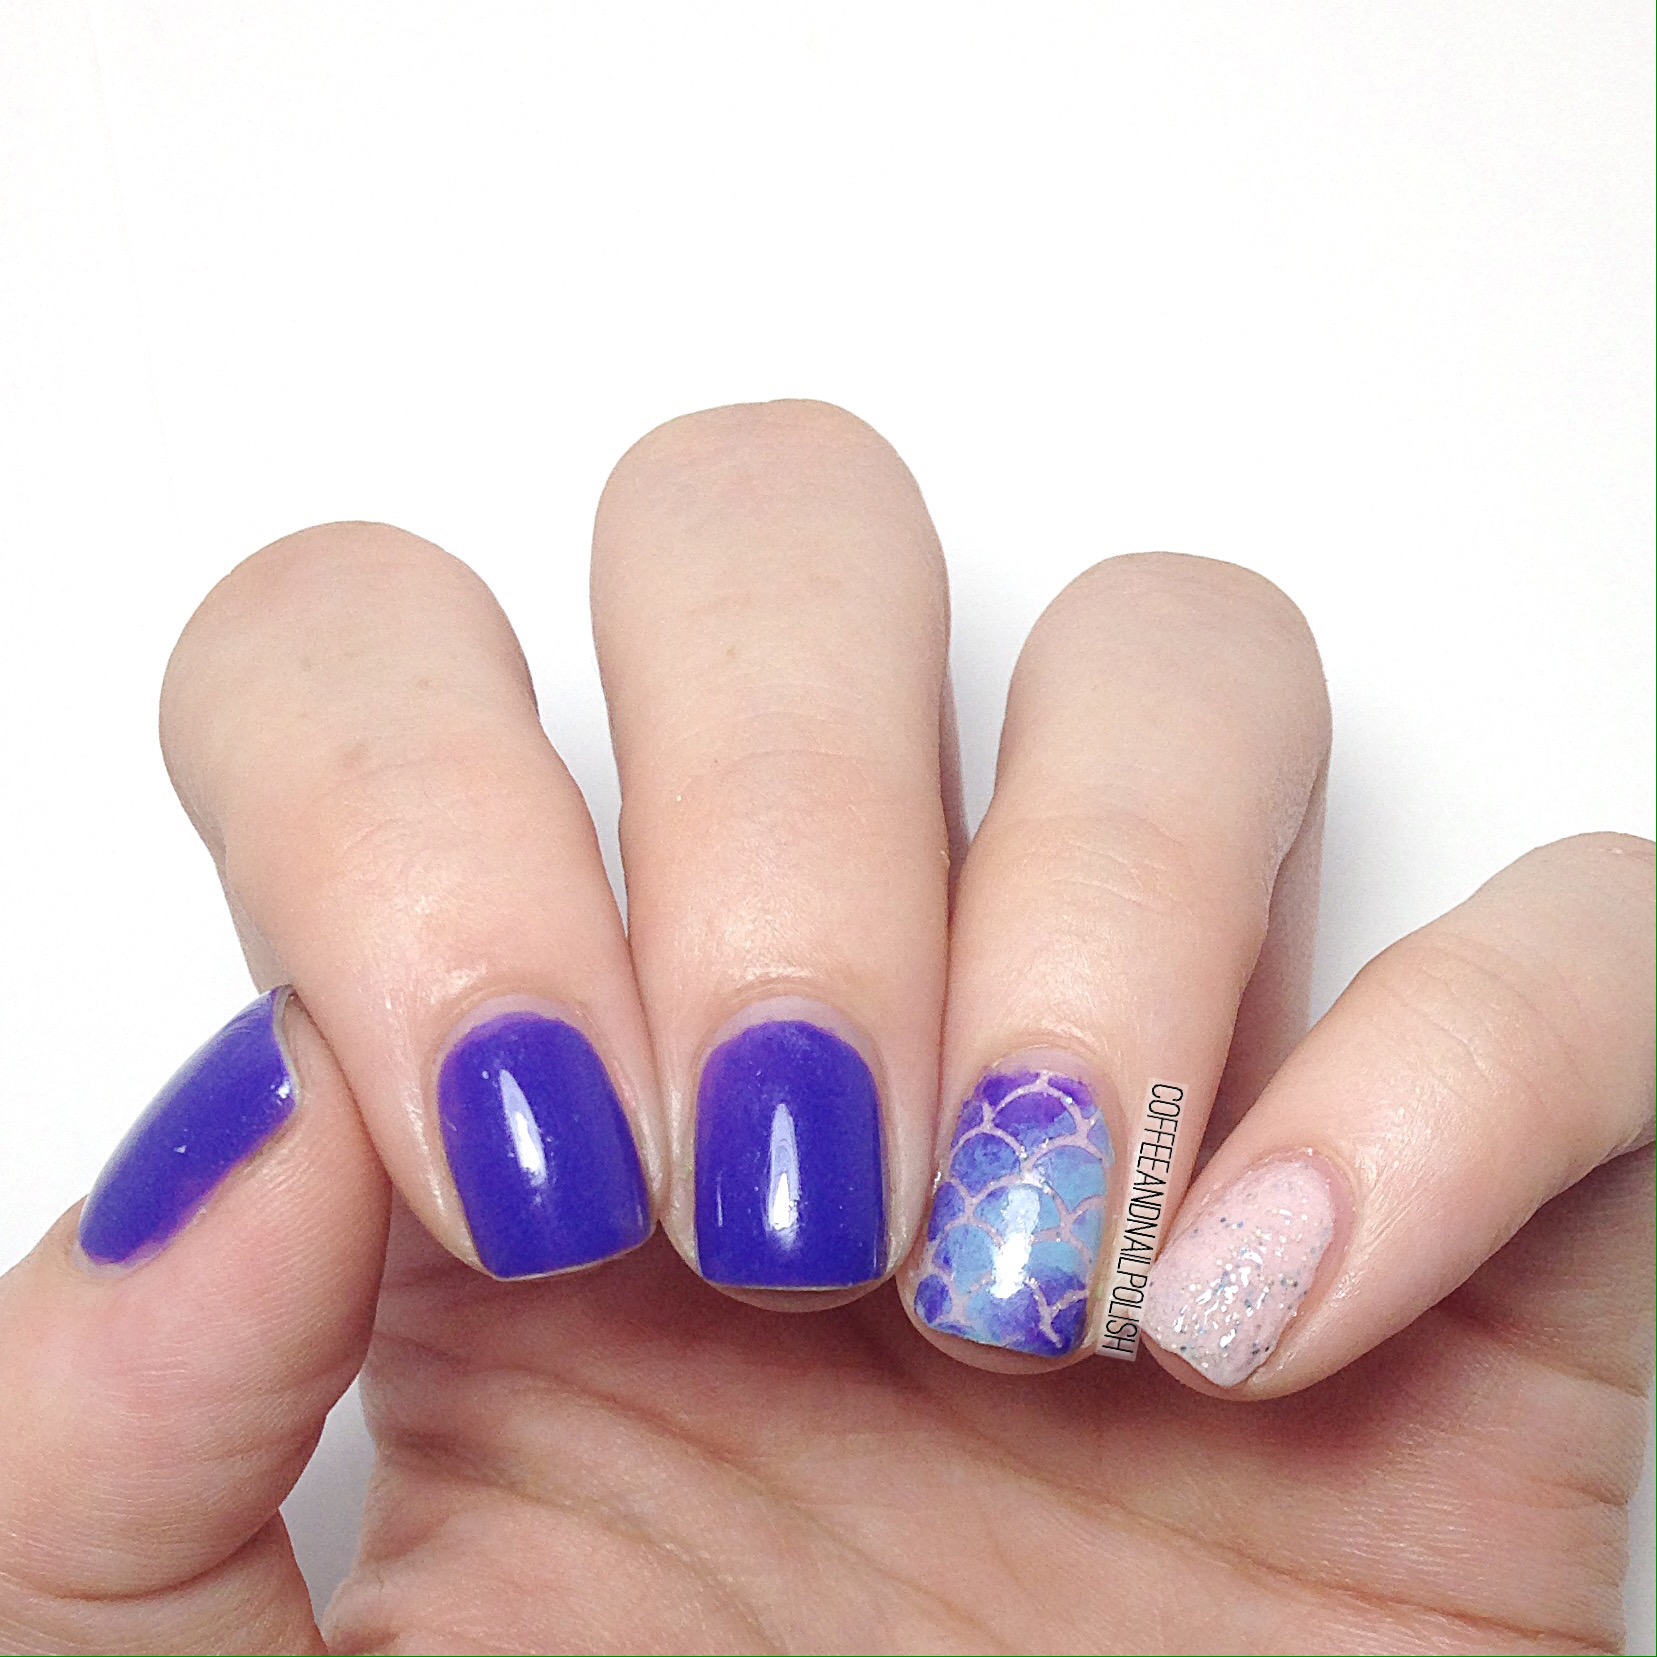
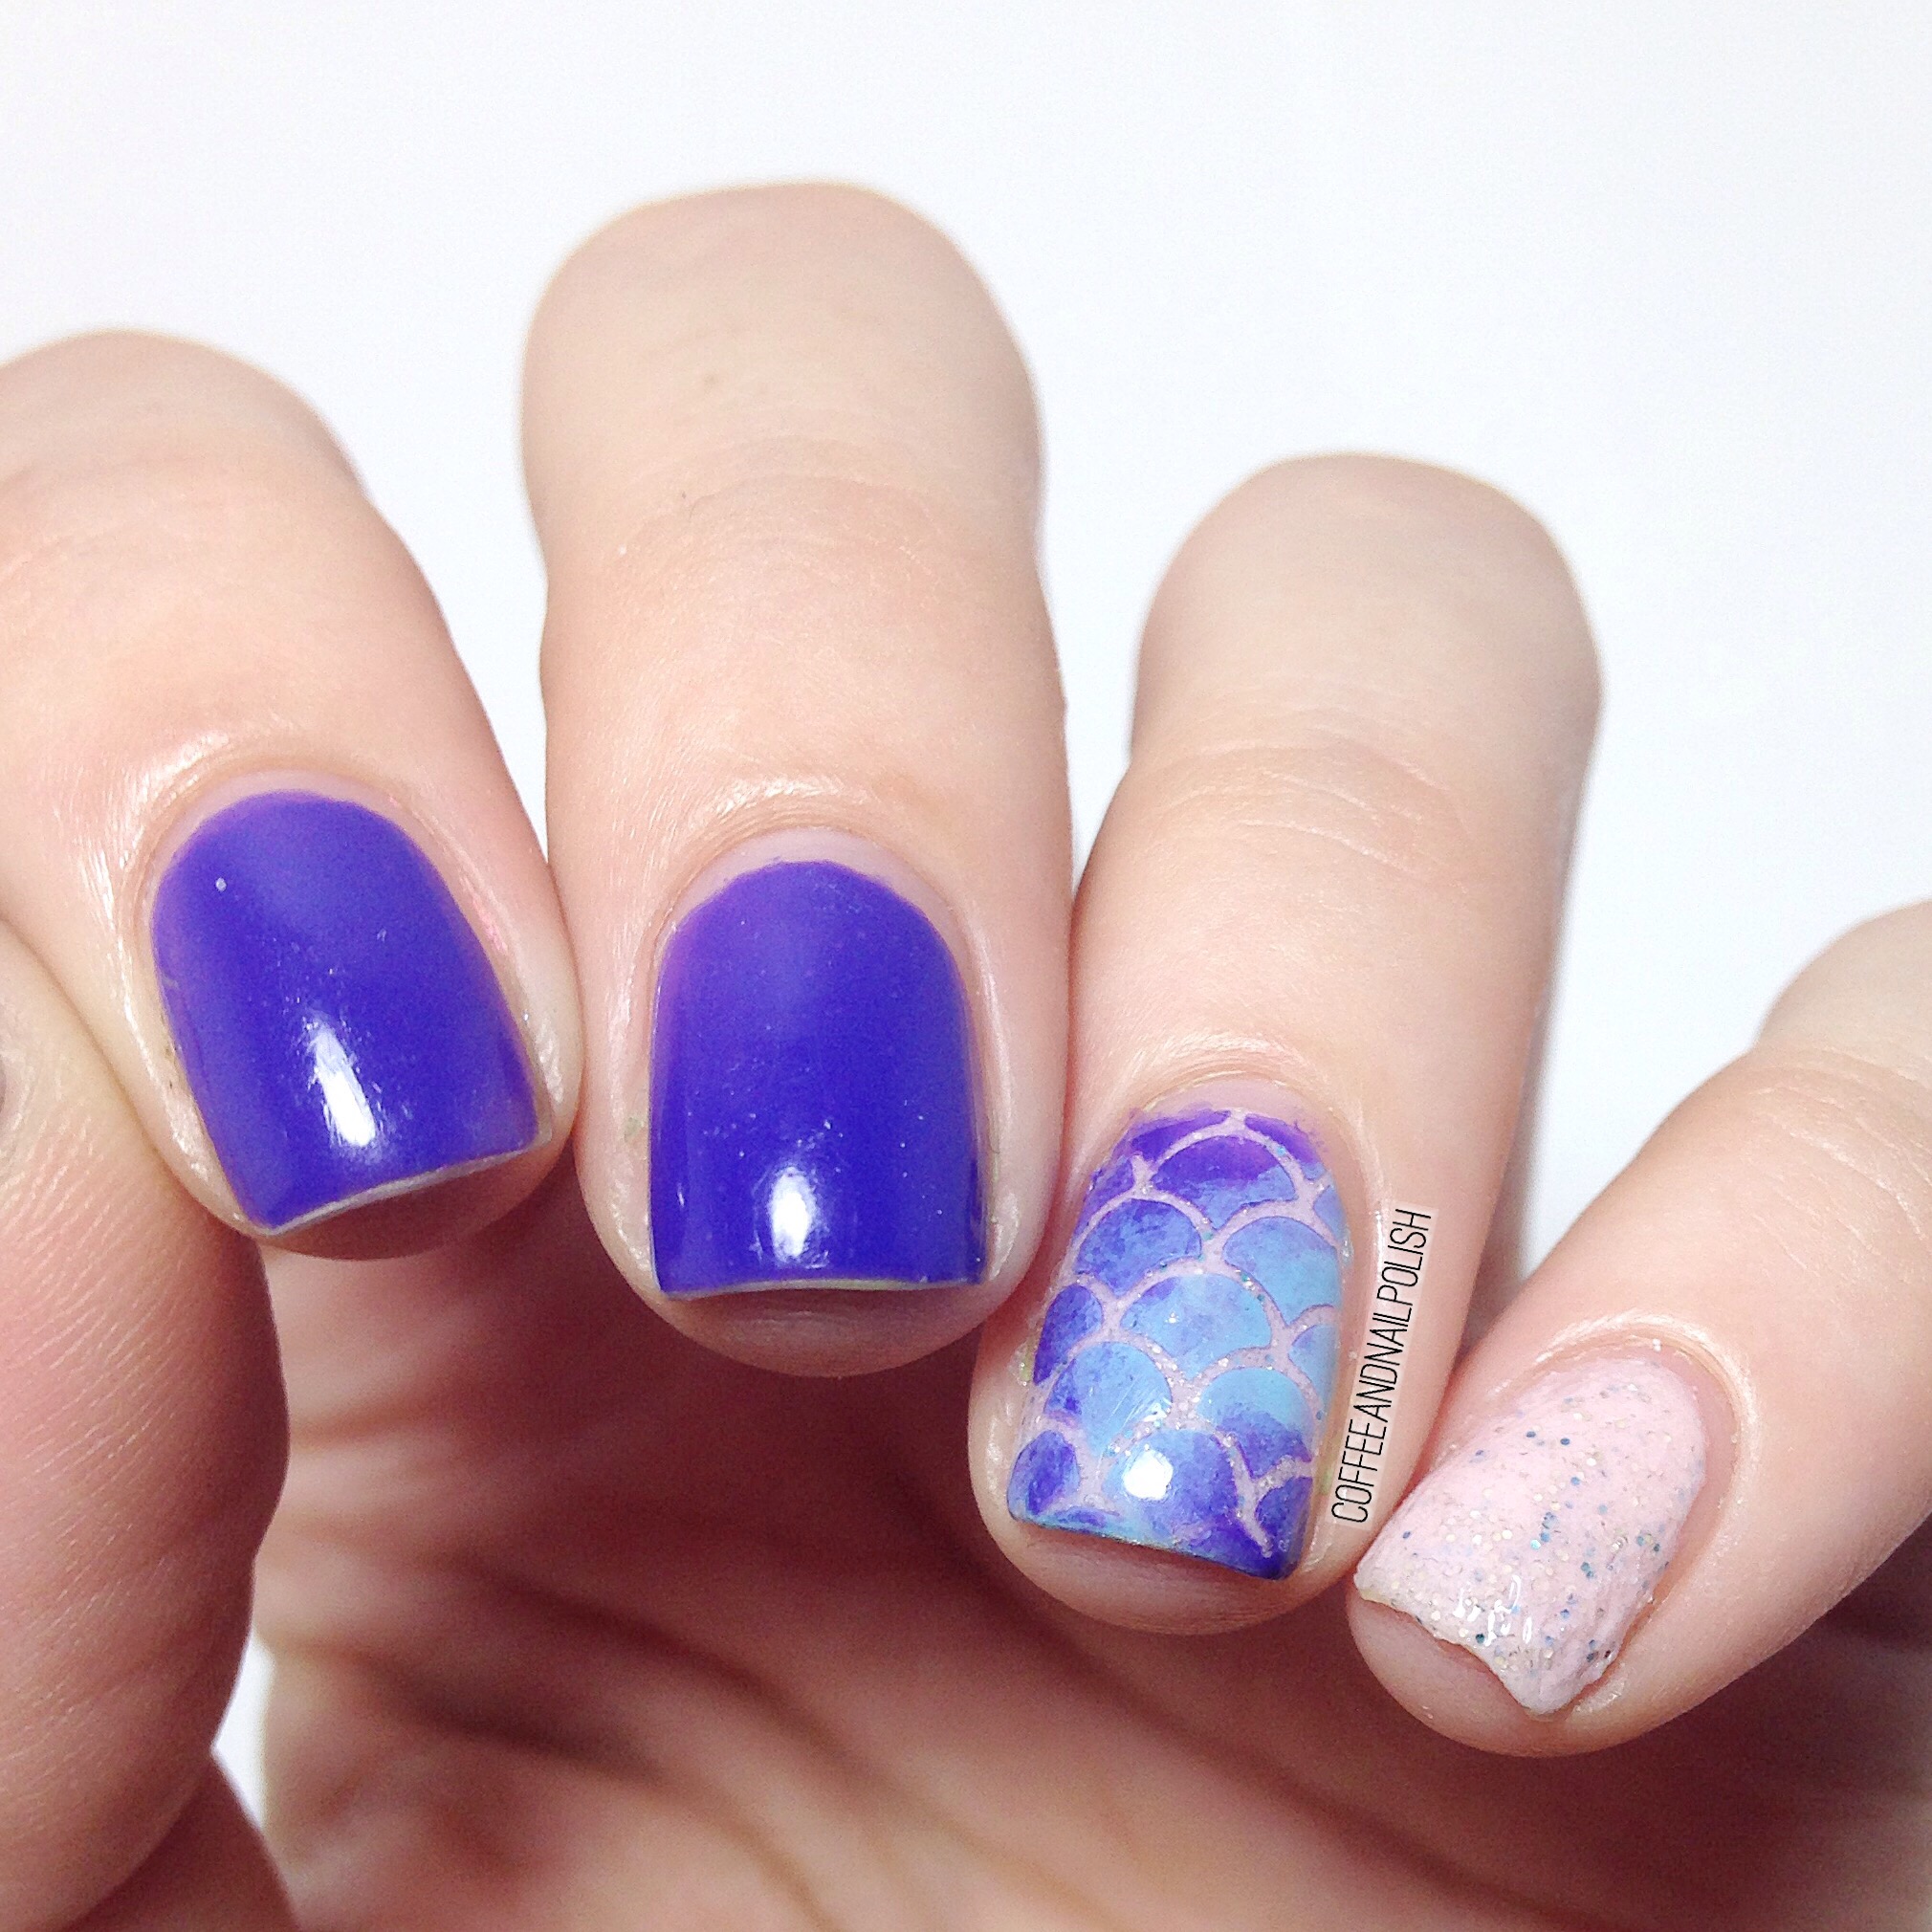
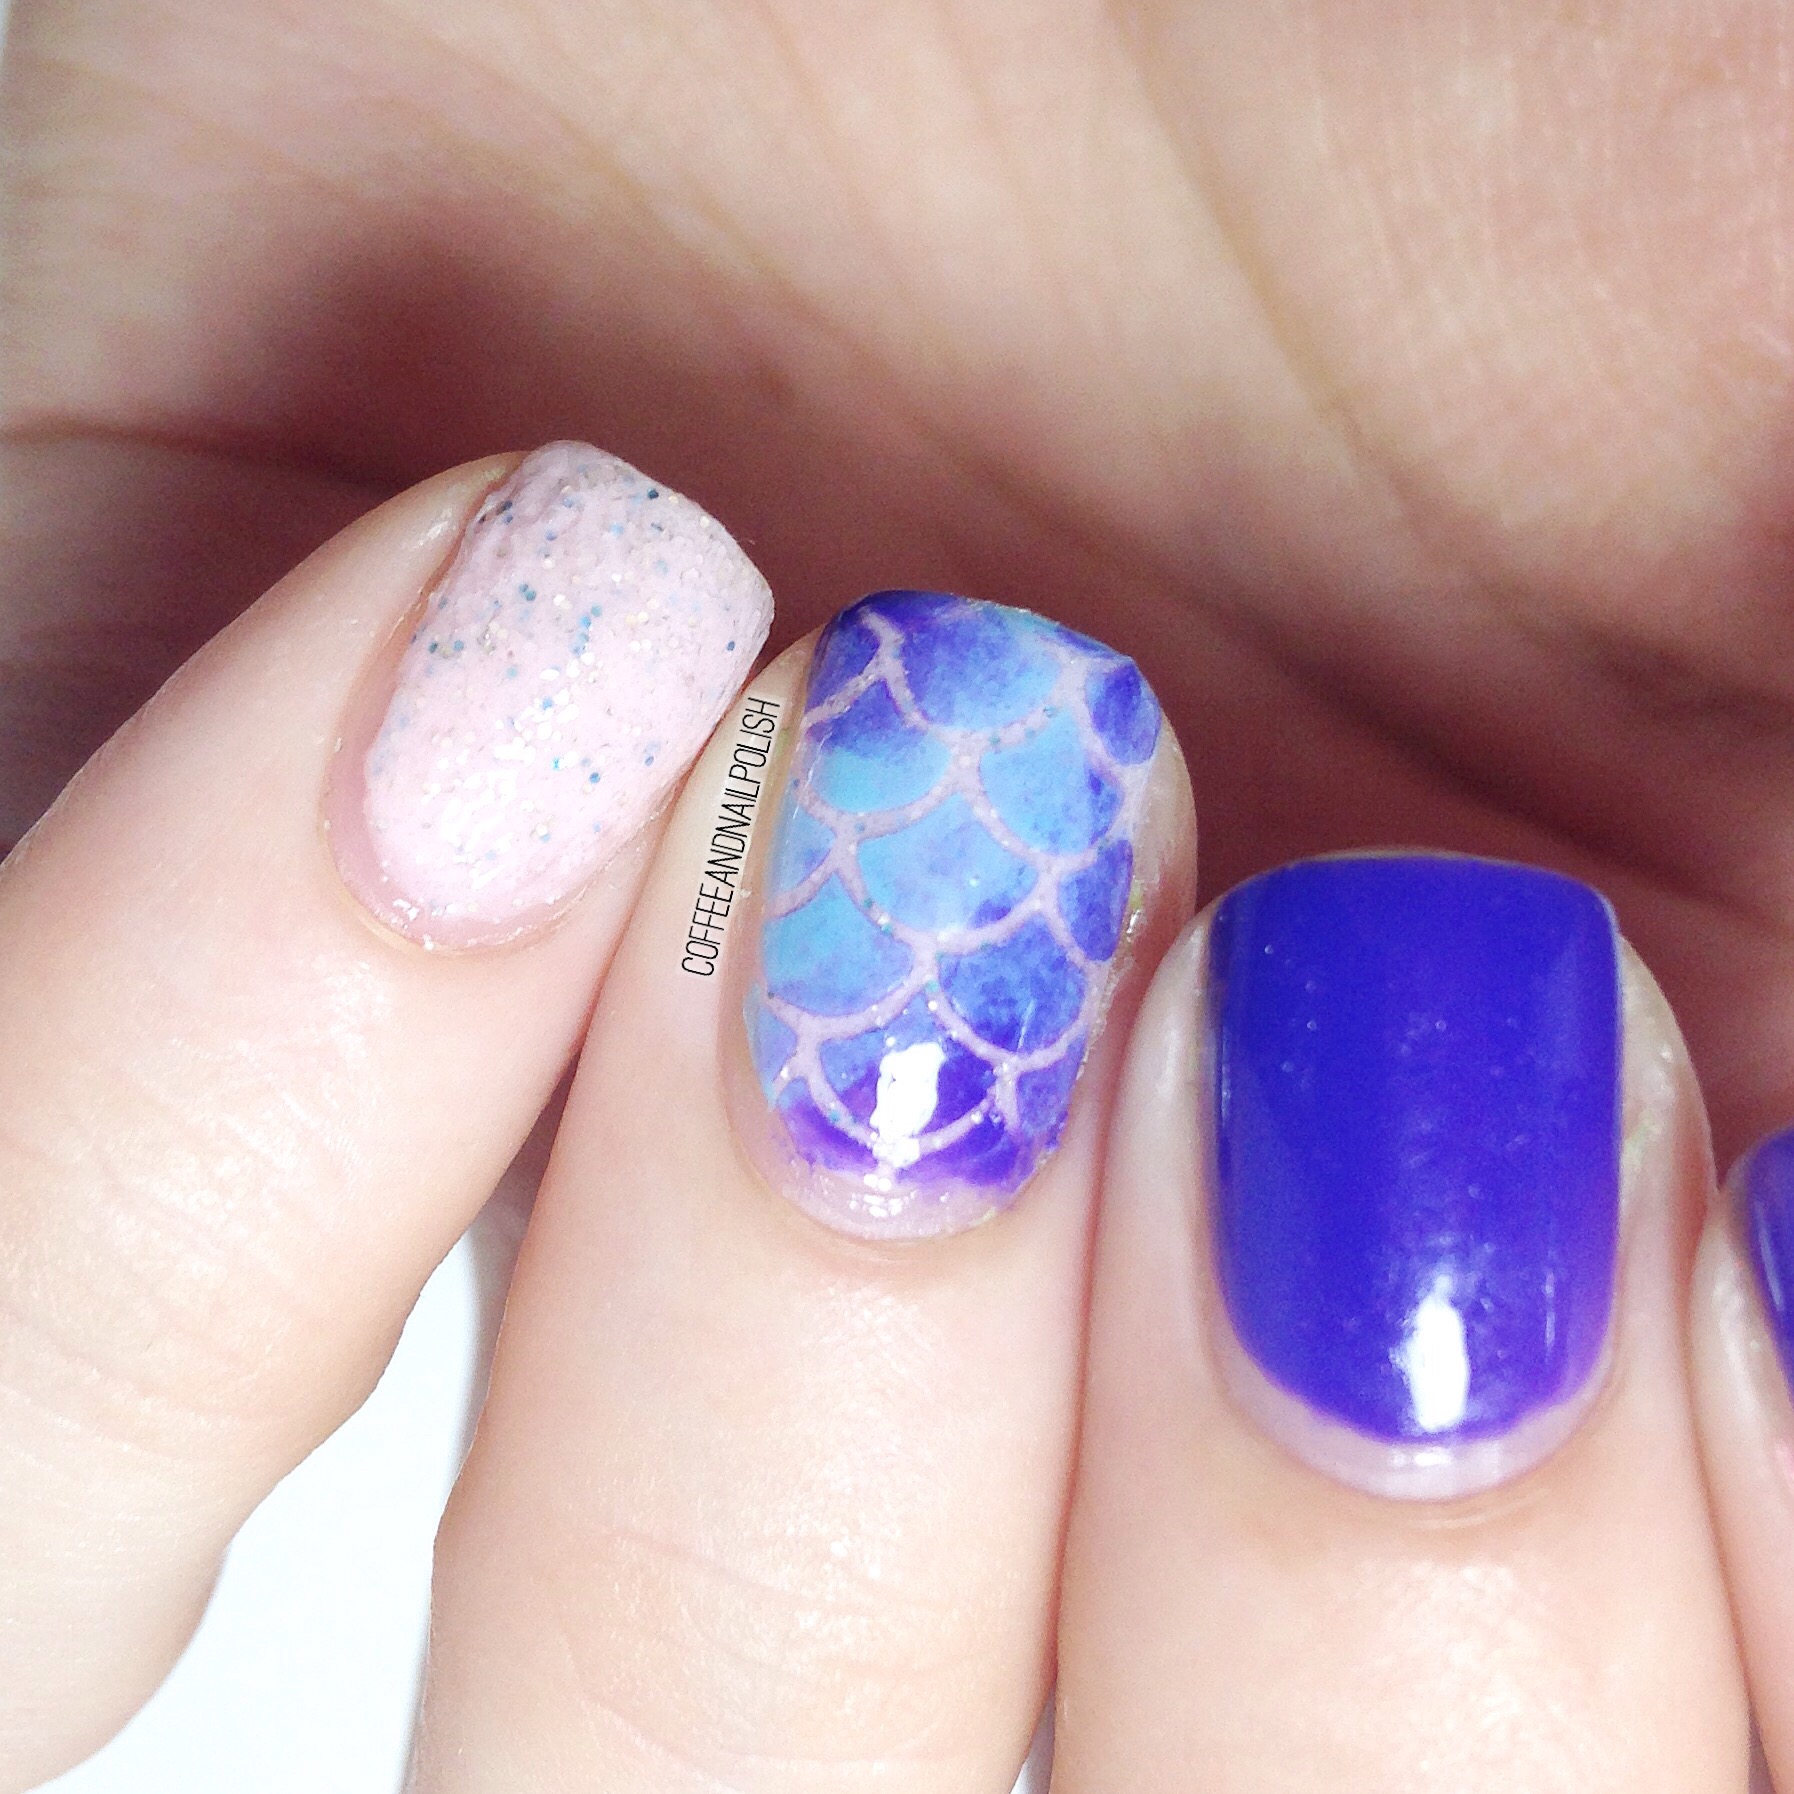
When I made my What’s Up Nails order I knew I needed to stock up on some of their scale stencils so I could create mermaid nails. They just make me so happy! I just can’t stop playing with my vinyls.

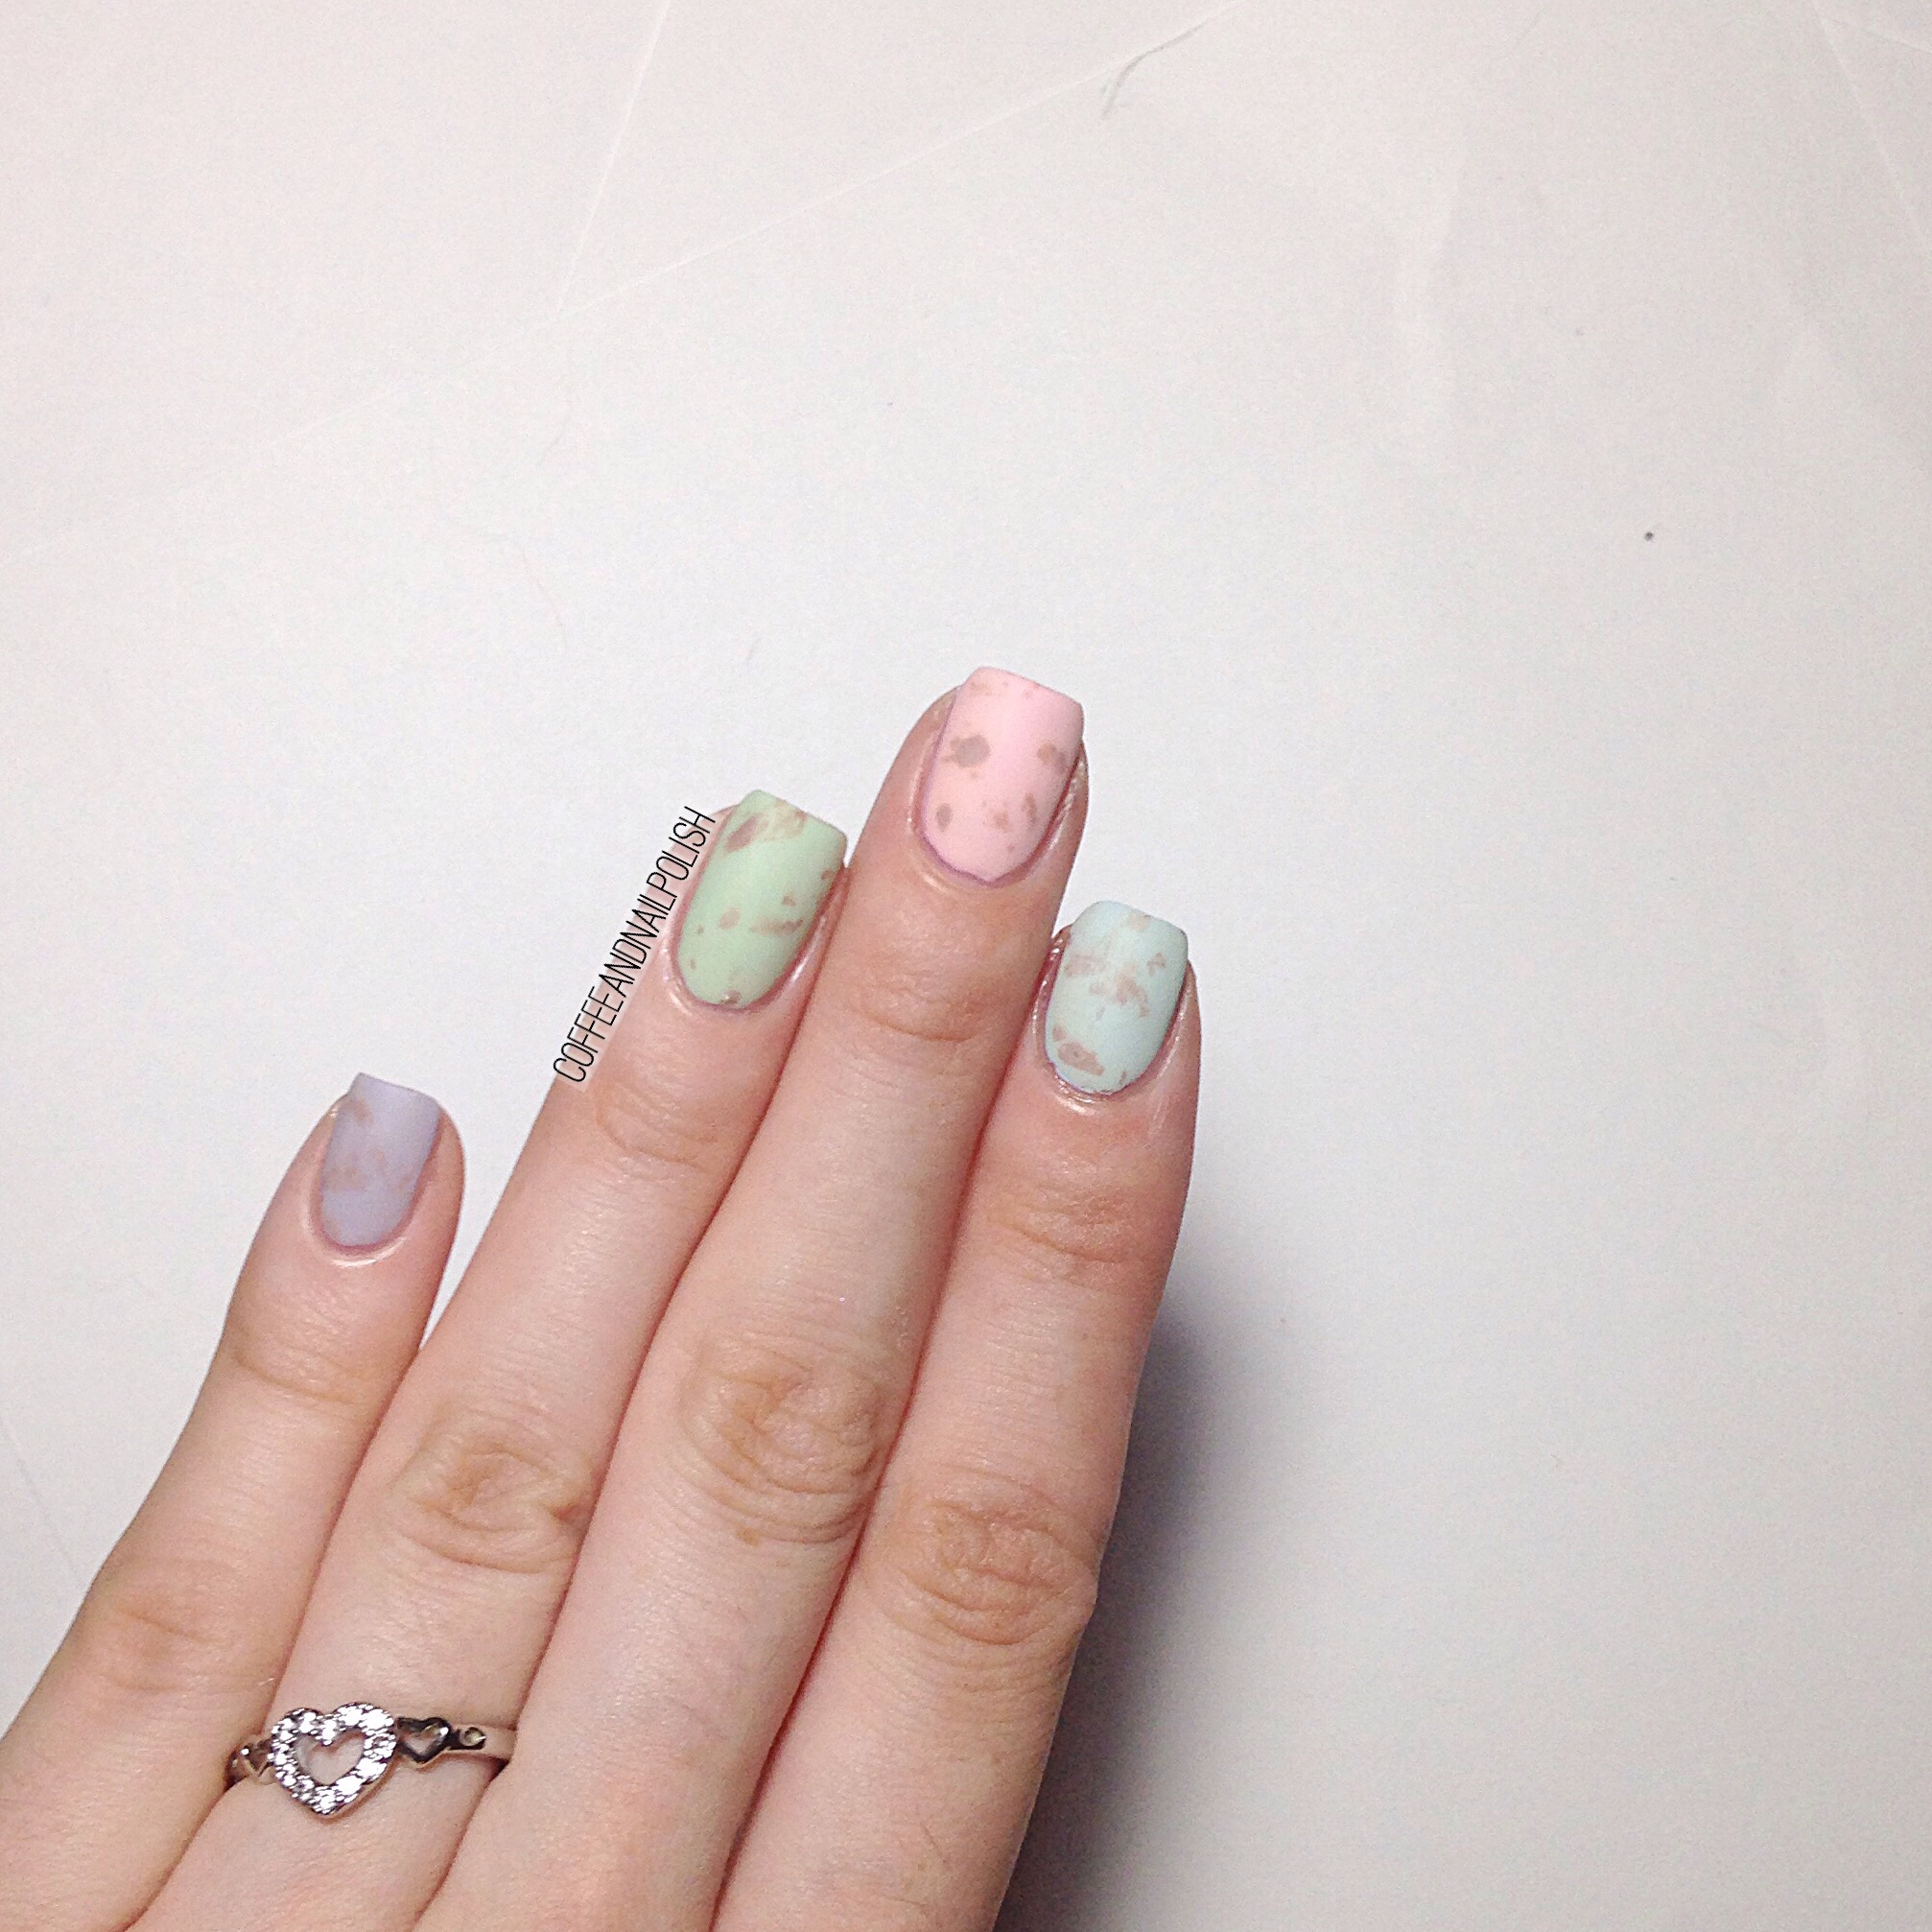
For this manicure, I used:
- Base Coat: Perfect Formula Pink Gel Coat
- Top Coat: Cutex Quick Dry Top Coat
- Essie All Access Pass
- Icing Breakfast At Tiffany’s
- China Glaze Sand Dolla Make You Holla
- What’s Up Nails Scale Stencil
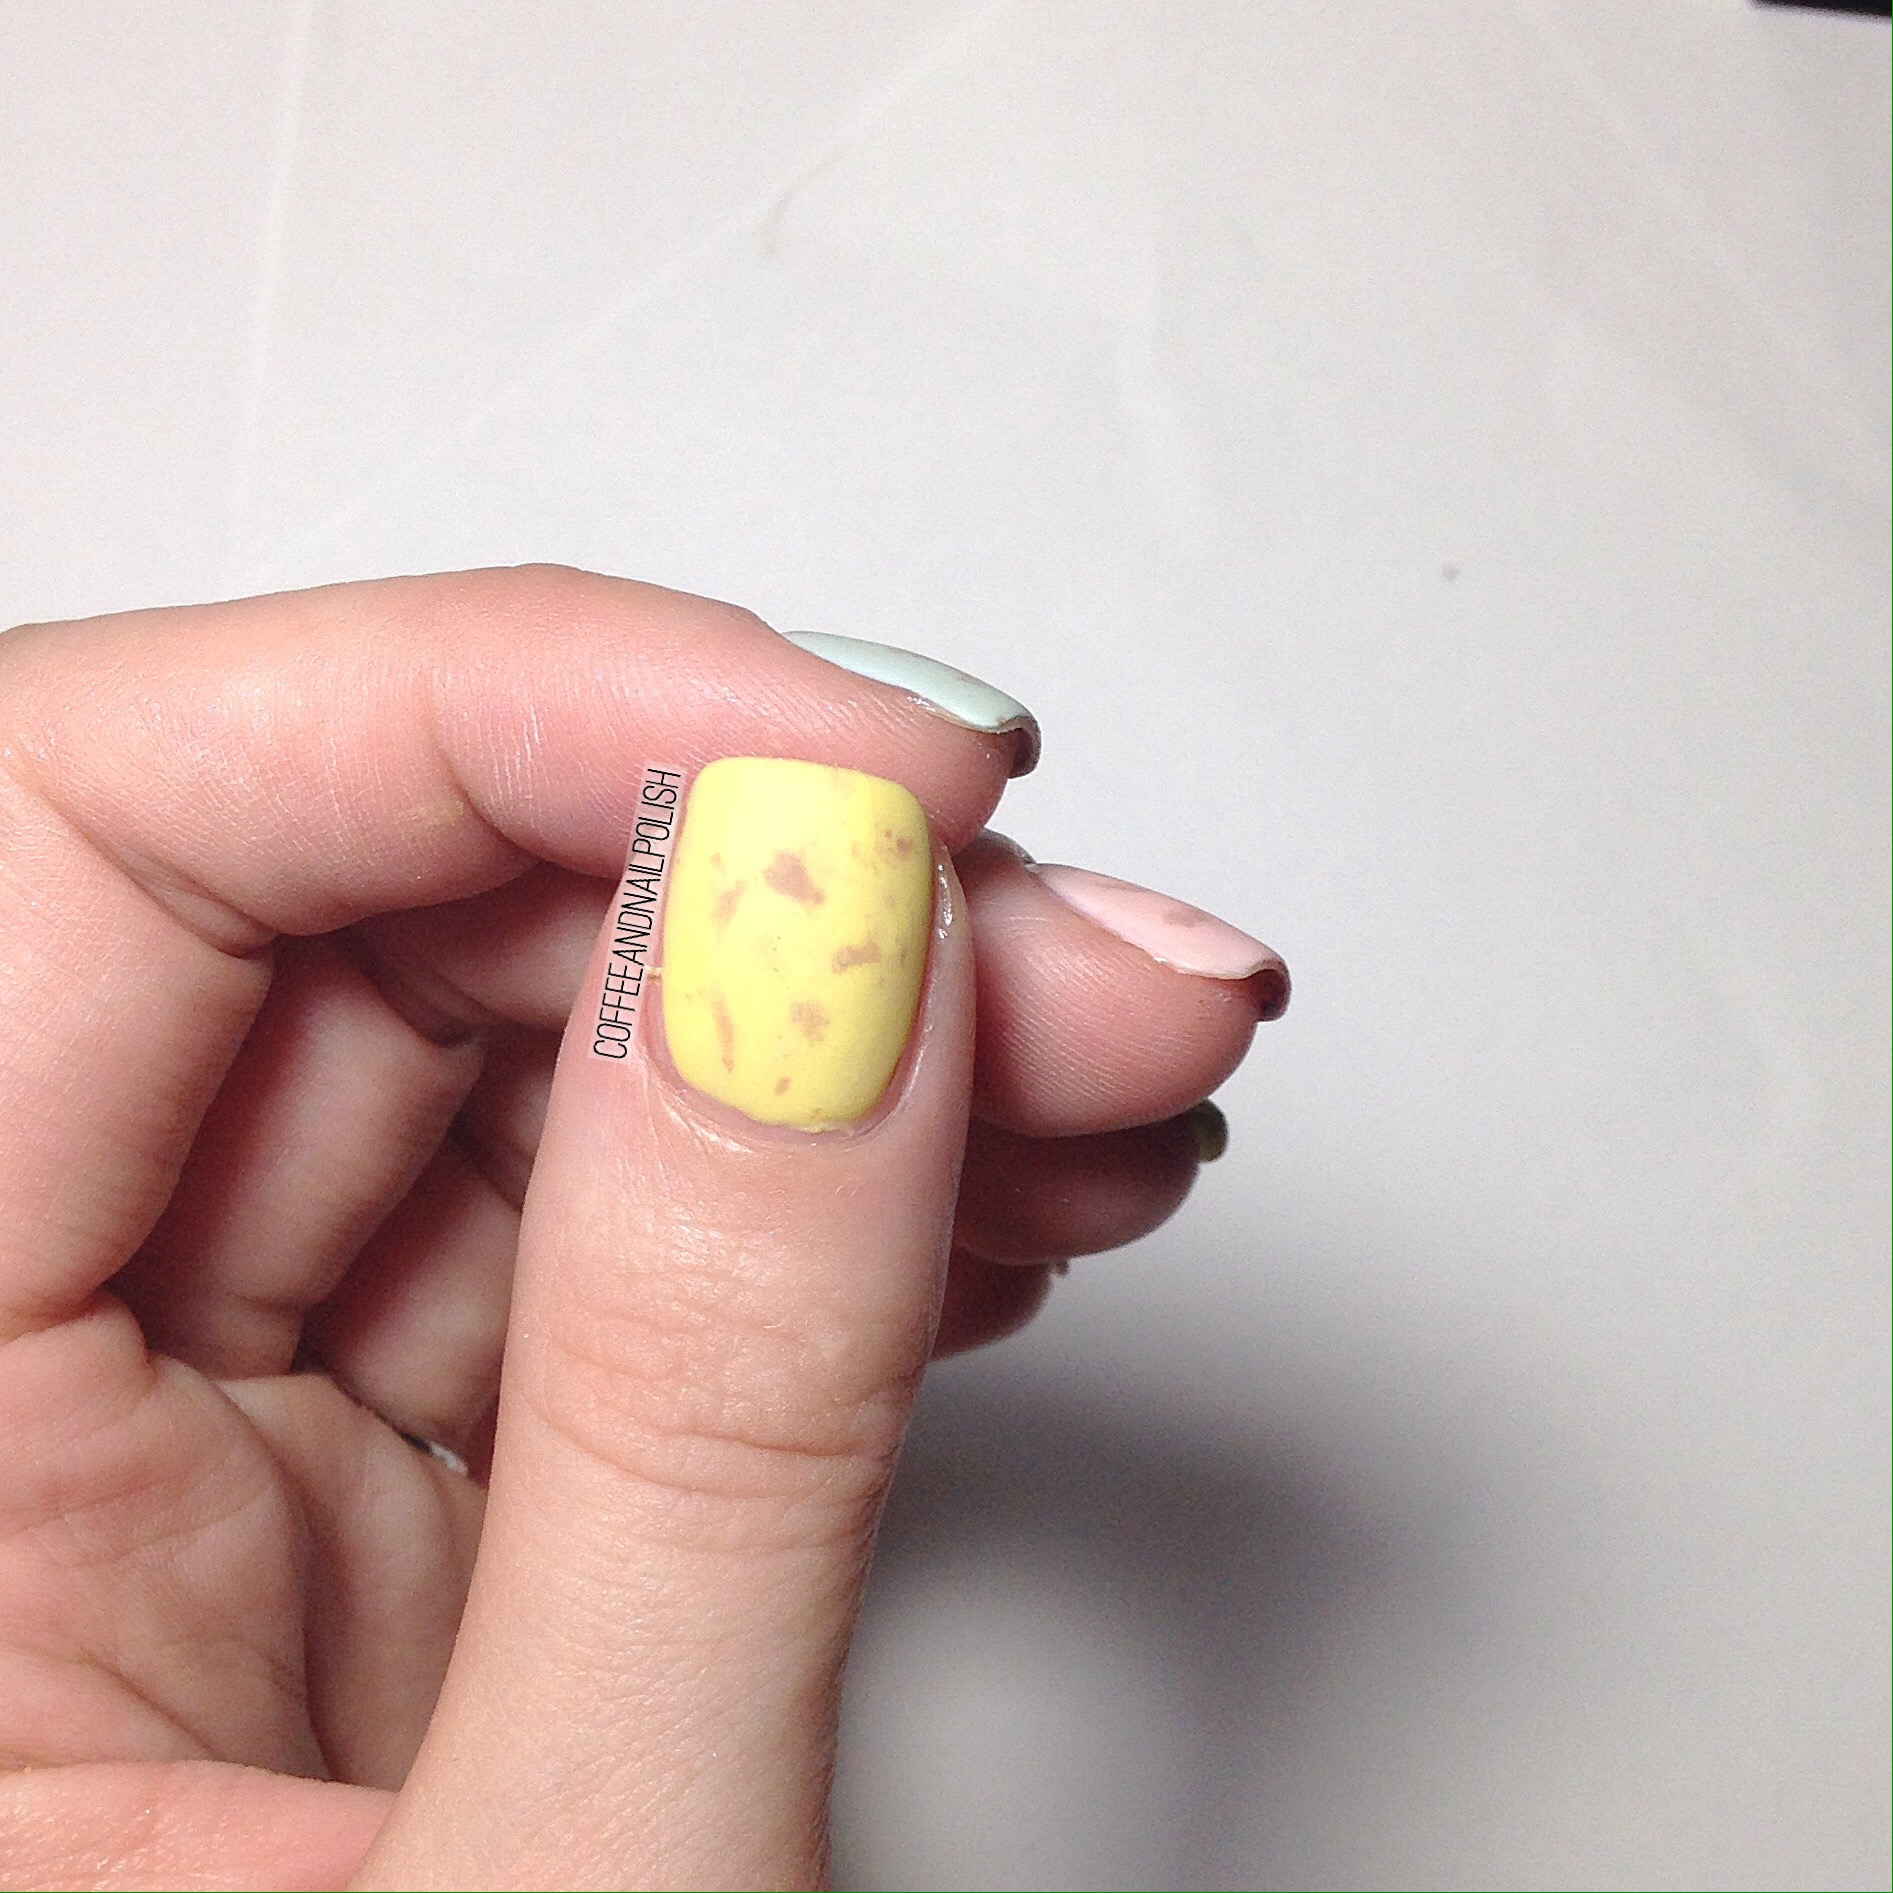
I really wanted an excuse to pull out my bottle of Sand Dolla Make You Holla. Sadly my bottle has seen better days, & I’ve been trying to bring it back to life with polish thinner, but it’s not going well. Anyone else have trouble saying goodbye to old polishes at the end of their life, or is just me? I find it especially hard with polishes that are discontinued because you know you can’t get go out & buy a new bottle easily. I mean, yeah there is EBay but I feel weird buying polish off of EBay. Guess I will just have to hope & pray I come across it at Winners or Marshall’s one day soon.
What do you think of this mermaid mani? What polish do you keep even though it’s seen better days? Let me know in the comments below!


