Dainty Snowflakes

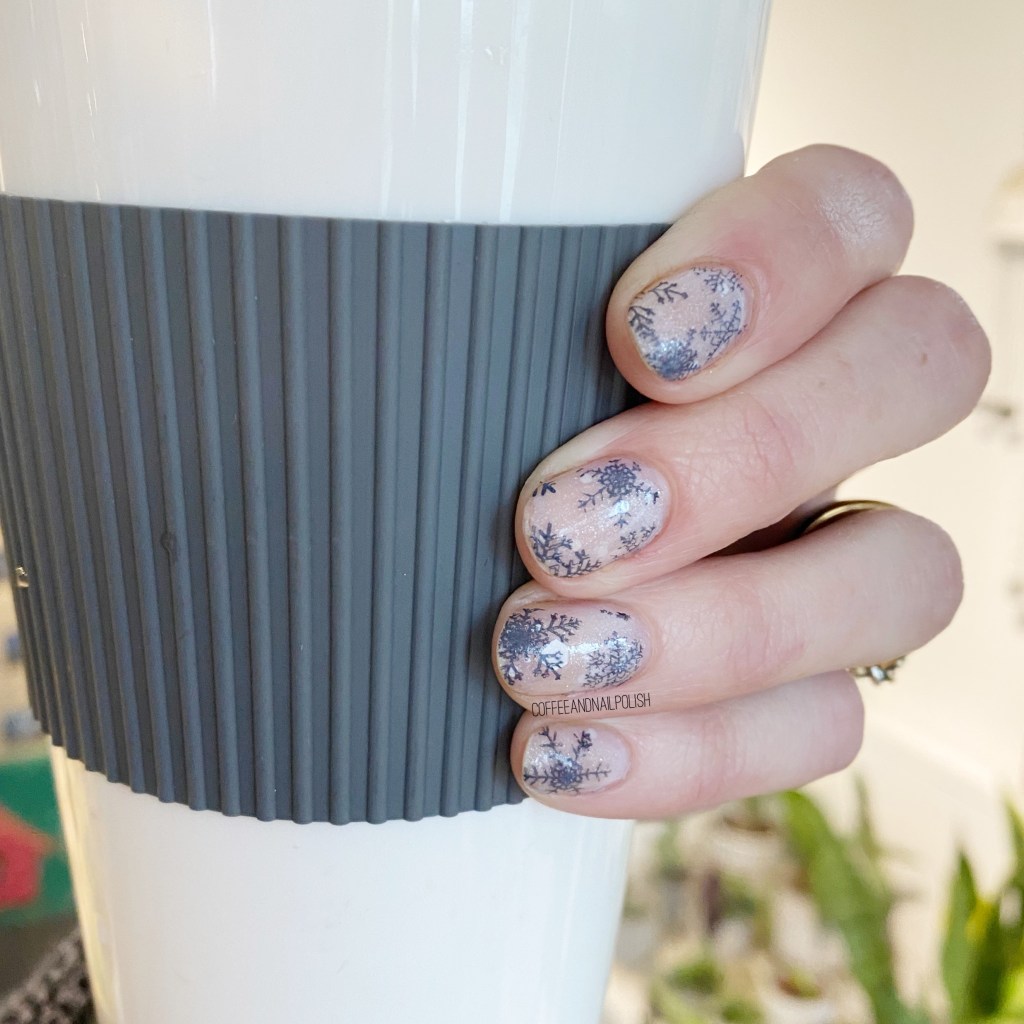
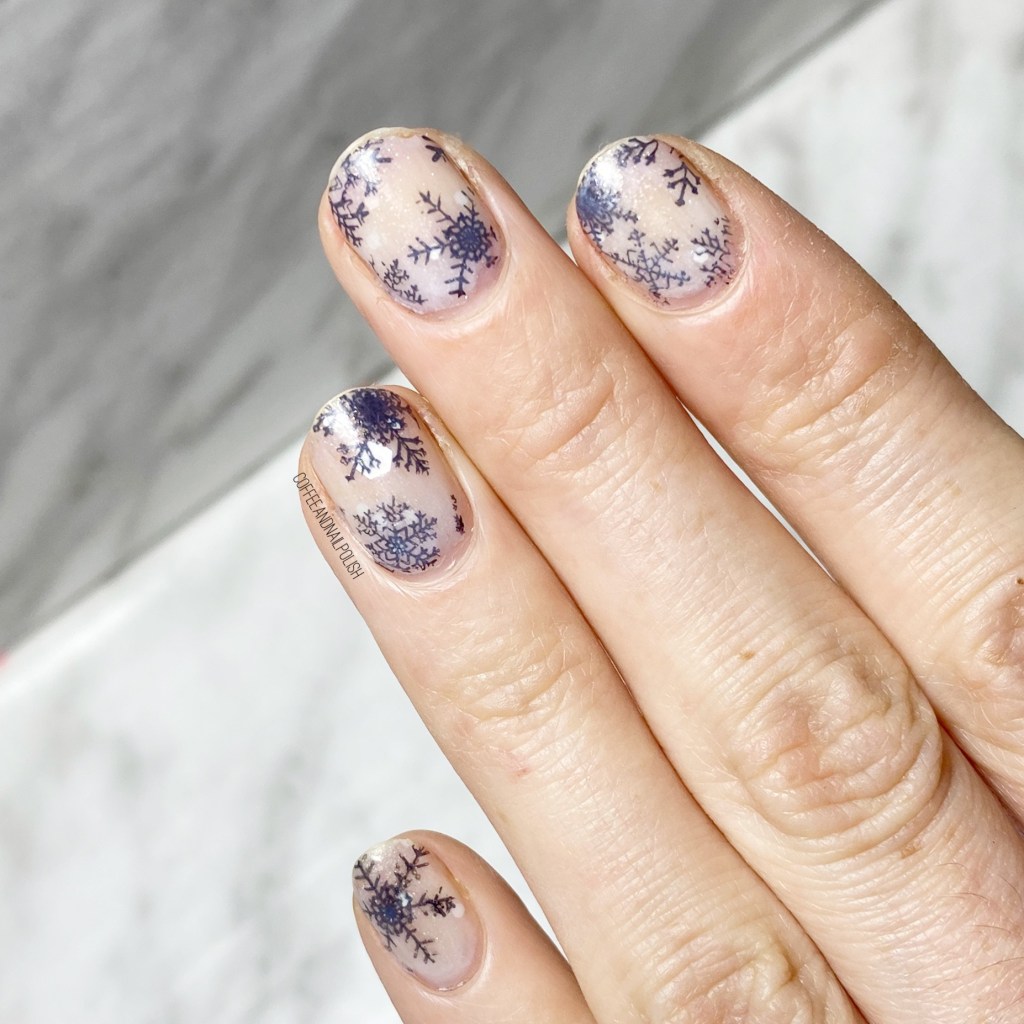
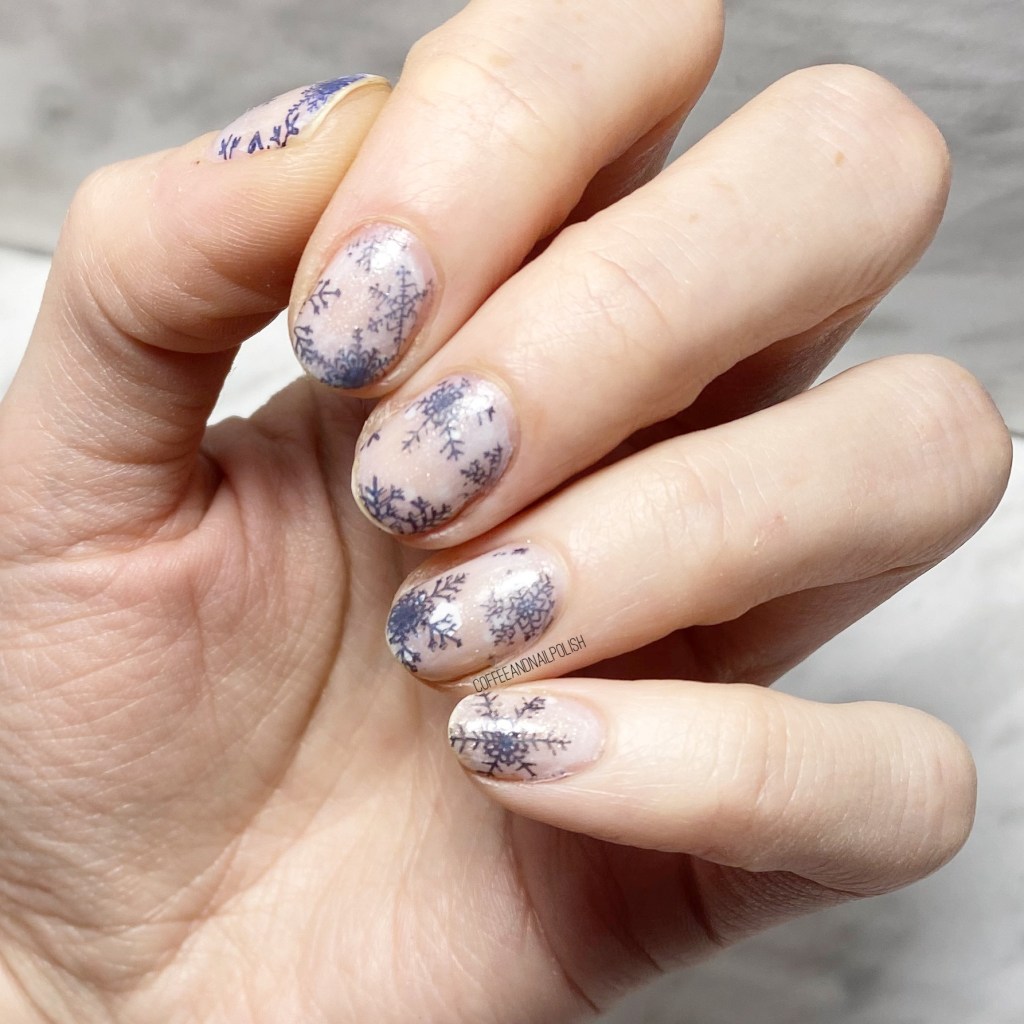
Hello lovelies! & happy Monday. It’s beginning to look a lot like… December. & a green one at that. But I really, really wanted some snowflakes on my nails — even if the weather feels more like October than a month before Christmas, that doesn’t me I can’t pretend!

For this manicure, the polishes I used were:

  • Base Coat: Sally Hansen Hard As Nails
  • Top Coat: Essie Gel Setter
  • Quo by Orly The Boulevard
  • OPI Pirouette My Whistle
  • China Glaze ChillinWith My Snow-mies
  • Essie Bobbing for Baubles
  • Born Pretty Store Stamping plate BP-L032 (item #23268)
  • NailStuff.ca Clear Stamper (COFFEE10 saves you 10%!)

First up, I created a jelly sandwich for my base using Quo by Orly The Boulevard, OPI Pirouette My Whistle & China Glaze Chillin’ With My Snow-mies. I thought it was the perfect dainty base for some snowflakes overtop. Also, I so rarely pull out Chillin’ With My Snow-mies, & it’s kind of sad. It was one of those polishes I bought simply because the name made me laugh, but I should definitely pull it out more.

I was also super, super happy with how my snowflakes stamped. They turned out so opaque, it made me so happy. Nothing worse than going to stamp an image, & it barely picked up, or the polish is just too thin & it looks like a shadow.

What do you think about these snowflake nails? Do you have snow where you are? Let me know in the comments below!

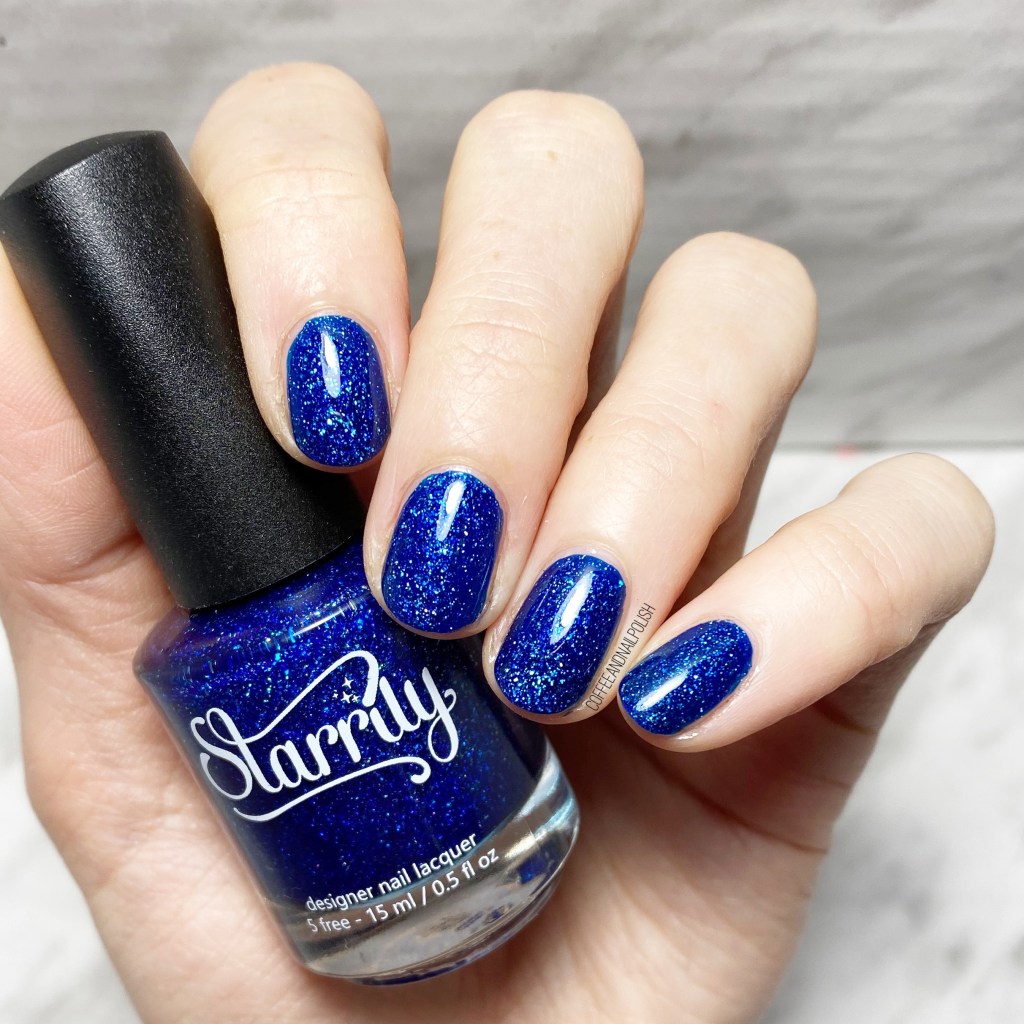
SWATCH SUNDAY — Starrily Diamond Rain

Hello lovelies & happy Sunday!

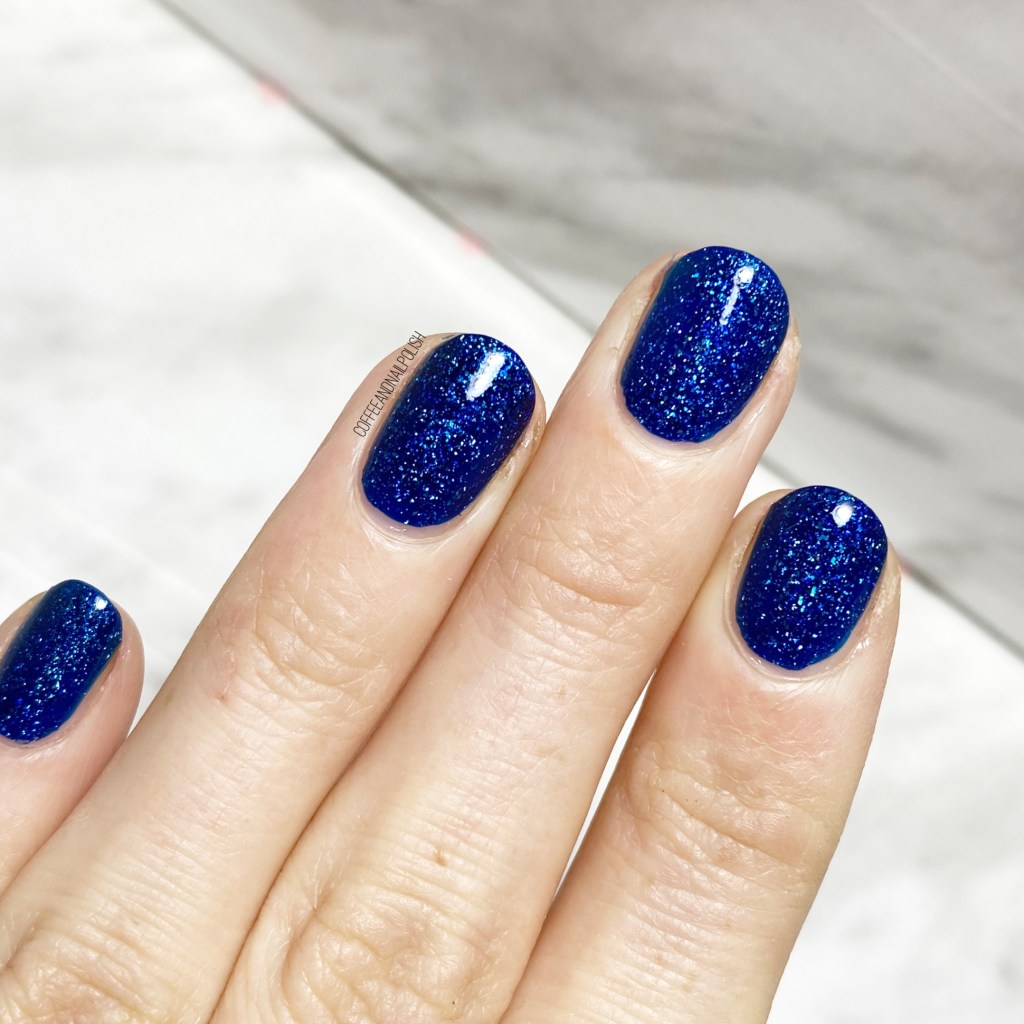
We’ve almost reached the end of November, which is kind of insane, & Christmas is less than a month away. So you know what that means… gimme all the glitter! I figured for today’s Swatch Sunday I would pull out a gorgeous glitter gifted to me a few months back (by my nail fairy godmother Victoria at NailStuff.ca!): Starrily Diamond Rain.

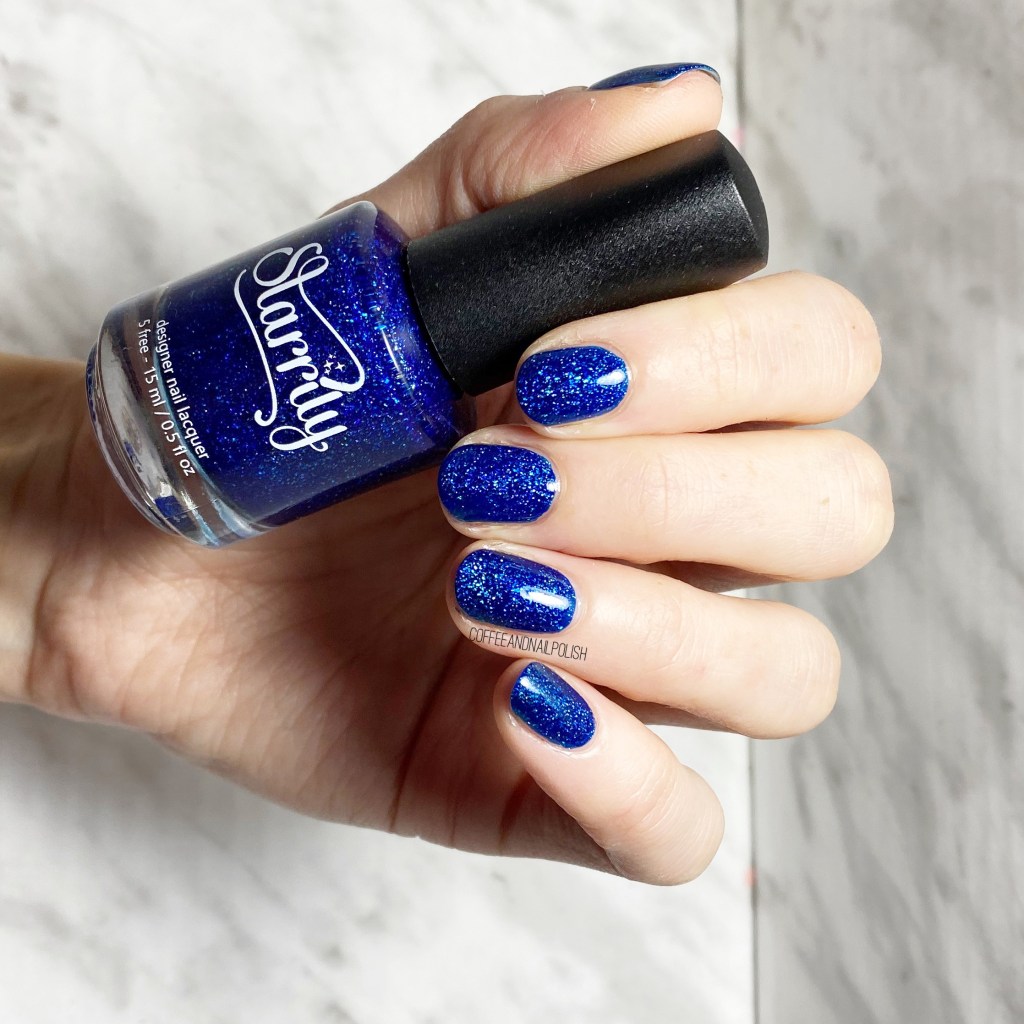
2 coats + Essie Gel Setter Top Coat

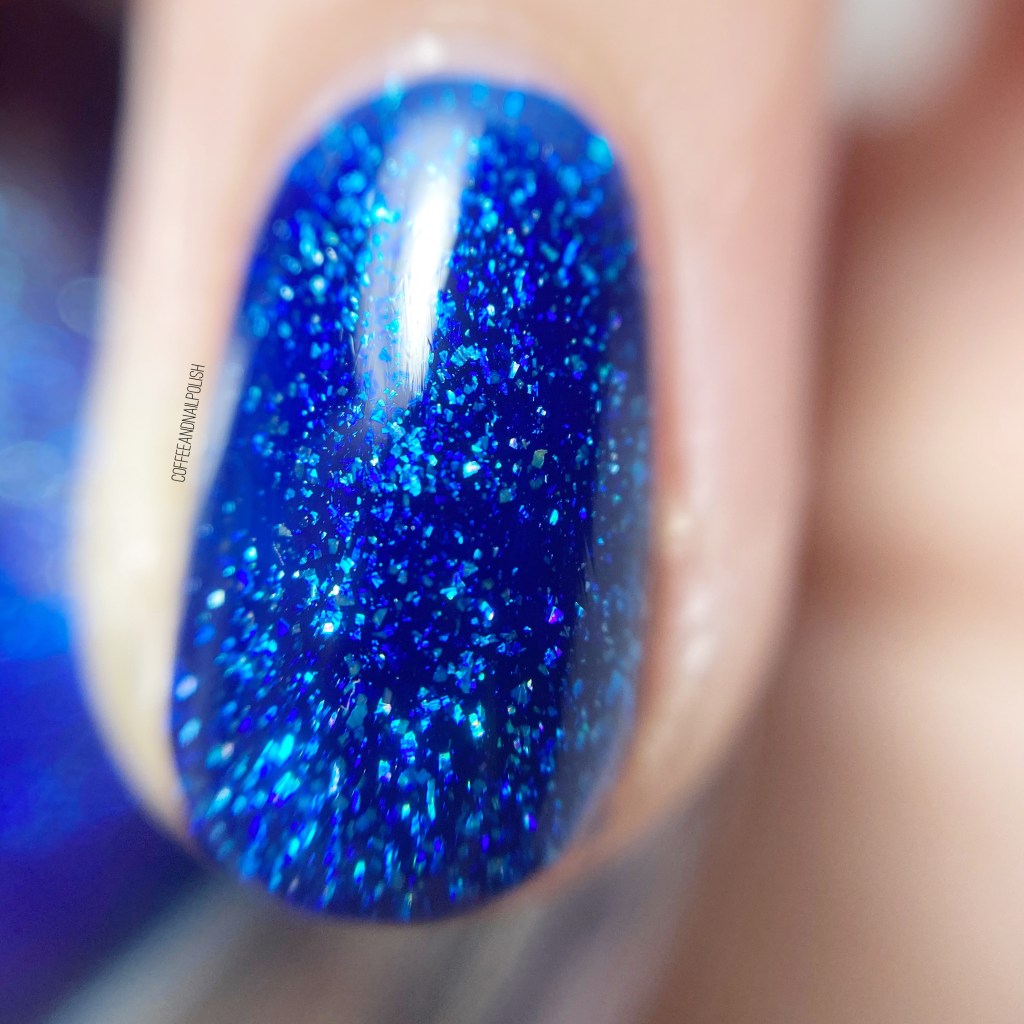
Starrily Diamond Rain is a beautiful dark sapphire blue shade packed full of holographic flakes. It was released as a collab shade between Starrily & Kelli Marissa & apparently inspired by the Diamond Rain of Neptune.

The formula of this polish is very, very nice. I applied two coats for my swatches above, & I found it was the perfect opacity for me. The glitter is very thick & dense, which means it sparkles from every angle.

I don’t know about you, but the holiday season just makes me crave glitter in every colour, but blue is definitely one of my favs. As you can see in the above macro, the polish is very dense with glitter. That’s exactly what December needs… all the glitter. Our area has recently gone into stricter restrictions, & Christmas is… up in the air. So I definitely need some fun, beautiful glitter to cheer myself up! & this is the perfect polish for that.

For my Canadian friends, NailStuff.ca is currently having a Black Friday Sale, with deals on all the polishes (including this one!) so I definitely recommend checking it out! & you can even use my affiliate code COFFEE10 to save a little extra!

What do you think about this shade? Do you love glitter this time of year? What is your favourite glittery shade? Let me know in the comments below!

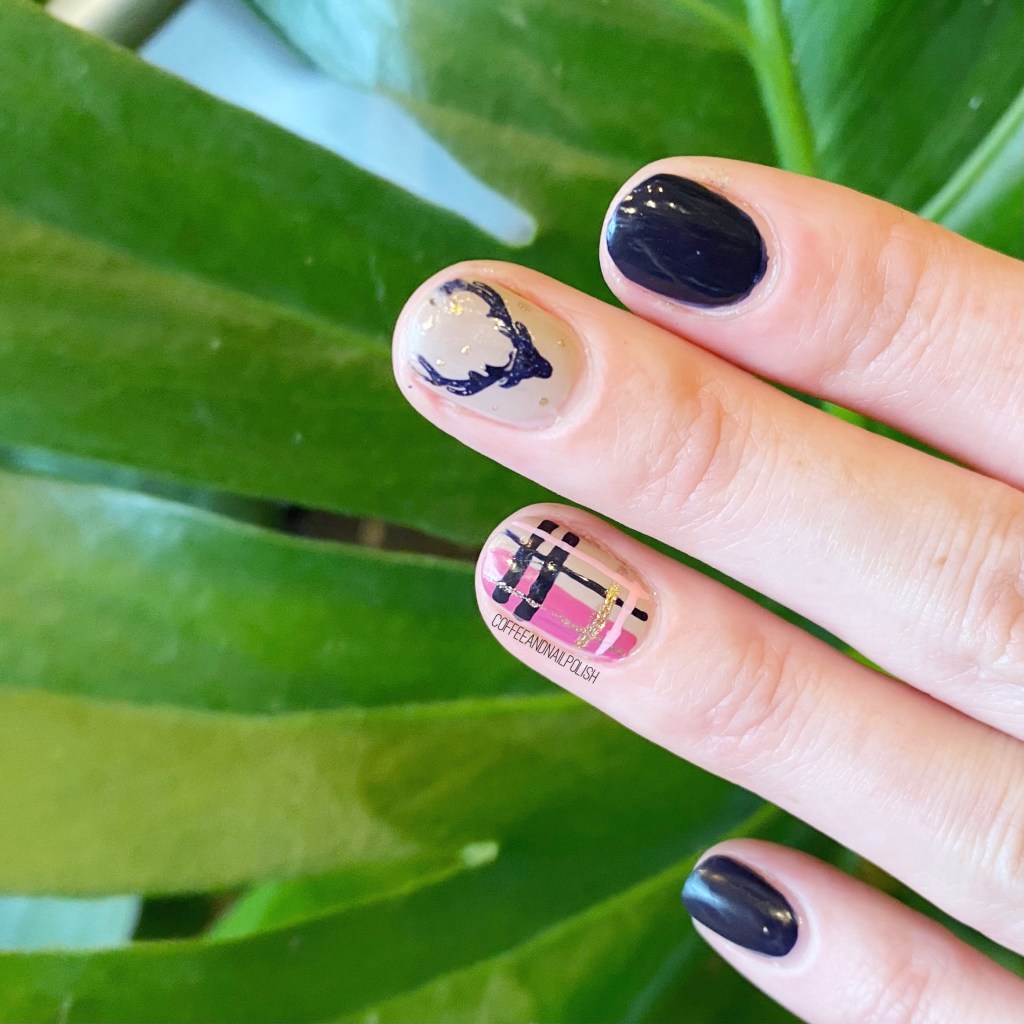
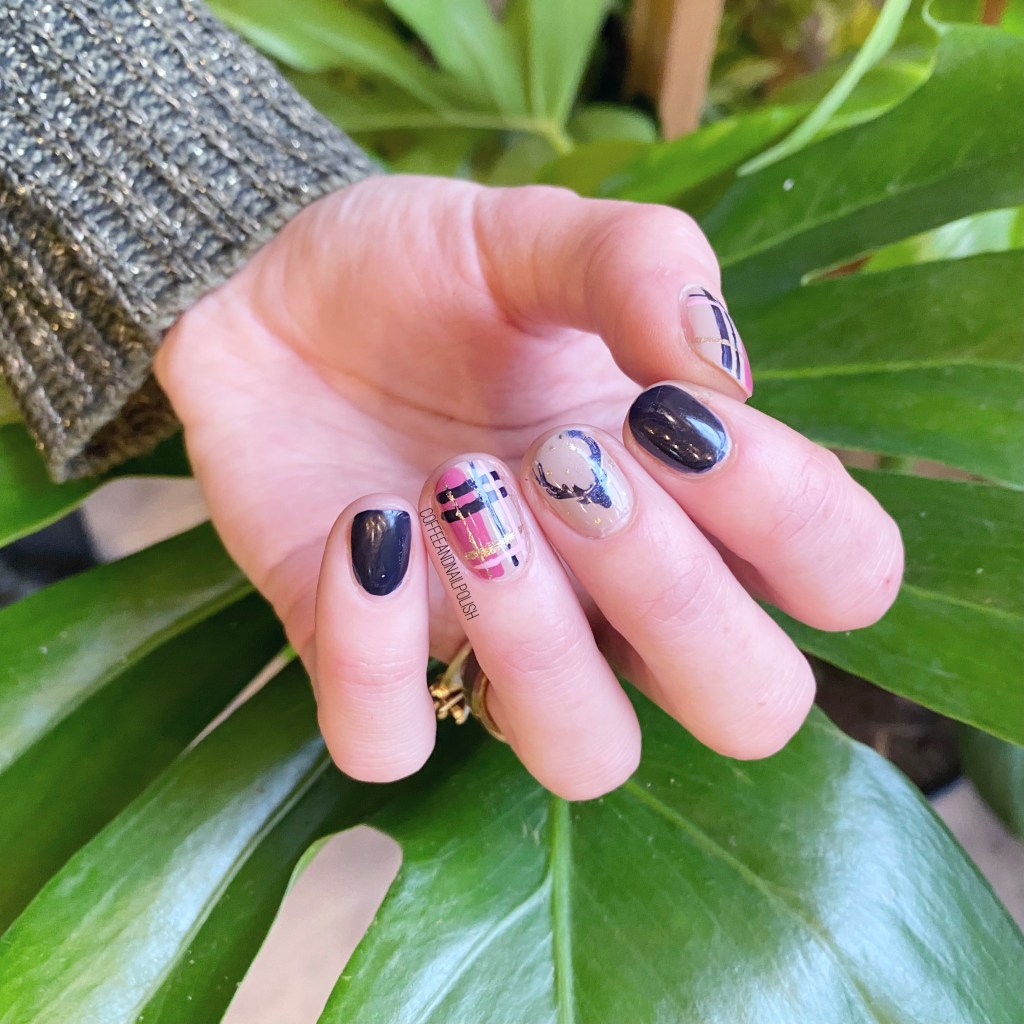
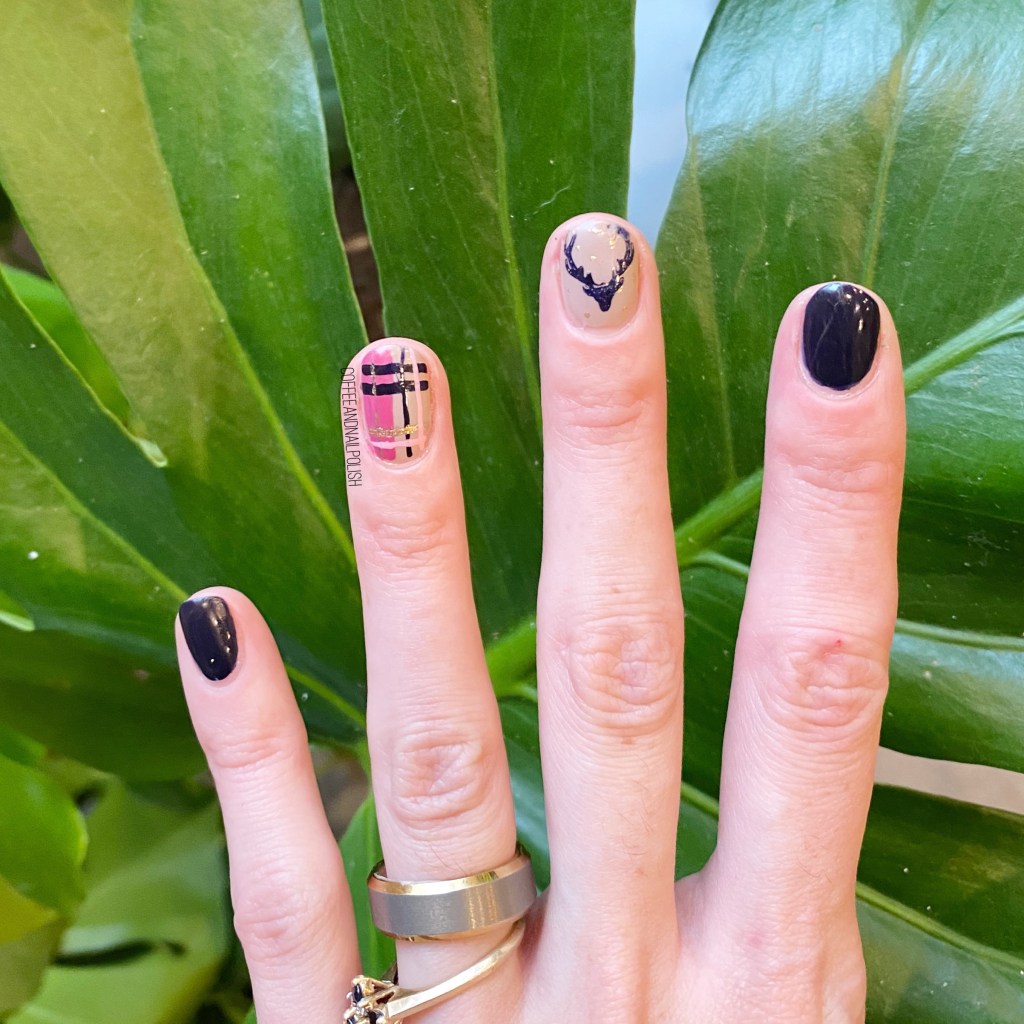
Cozy Plaid & Reindeer Nails

Happy Monday Lovelies!

Hope everyone is having a nice start to their week so far. I’ve already enjoyed a nice vegan nog latte, & got our shopping for the next few weeks done. Today, I have some more festive nails to share with you, this time inspired by an older manicure by an older manicure by @nbnailart (which I rediscovered via Pinterest.) I really really liked the mix of the plaid, & the gold & the reindeer head, so I decided to create my own version of it!

For this manicure, the polishes I used were:

  • Base Coat: Sally Hansen Hard As Nails
  • Top Coat: Essie Gel Setter
  • Orly Decades of Dysfunction
  • Essie After School Boy Blazer
  • Essie Mosaic On Down
  • Color Club Art Club Pink Pastel
  • Unnamed Kozmic Kolours Pink (from Dollarama)
  • NailStuff.ca 16mm Striper Brush (COFFEE10 to save 10!)
  • Born Pretty Store Stamping plate BP-L032 (item #23268)
  • NailStuff.ca Clear Stamper

First off, I’m really feeling this colour combination, which gives me cosy Winter vibes. While I’m definitely feeling the shift towards holiday & Christmas inspired nail art, I don’t want to go Full Christmas just yet (aka red & green everything) so I feel like this colour scheme is a good start. You still get holiday vibes, without going overboard. That being said, I’m still going to be adding coconut Nog to my coffee & listening to Glee Christmas albums on repeat haha.

Second, I am really in love with how this plaid turned out. I always feel like my plaid attempts can get a little busy, so I was impressed with how these turned out following the original. Definitely how I’m going to be approaching my plaid nails from now on! & I will totally be doing a green & red plaid using this method…. soon. Probably after December 1st.

What do you think about this design? What Christmas/Winter/Holiday designs are you planning on doing this year? With the world being so scary, & uncertain, I’m definitely going to spend a good amount of time calming my brain by coming up with fun looks to share! I don’t know if I’ll be able to do 1 a day, but I’m hoping to do a great variety for the month of December, plus GlamNailsChallengeDecember, so stay tuned!

#GlamNailsChallengeOct — Haunted House

Oh my gosh, we’ve made it! Today is the last prompt of GlamNailsChallengeOct & I can’t believe that October is almost over! It’s crazy.

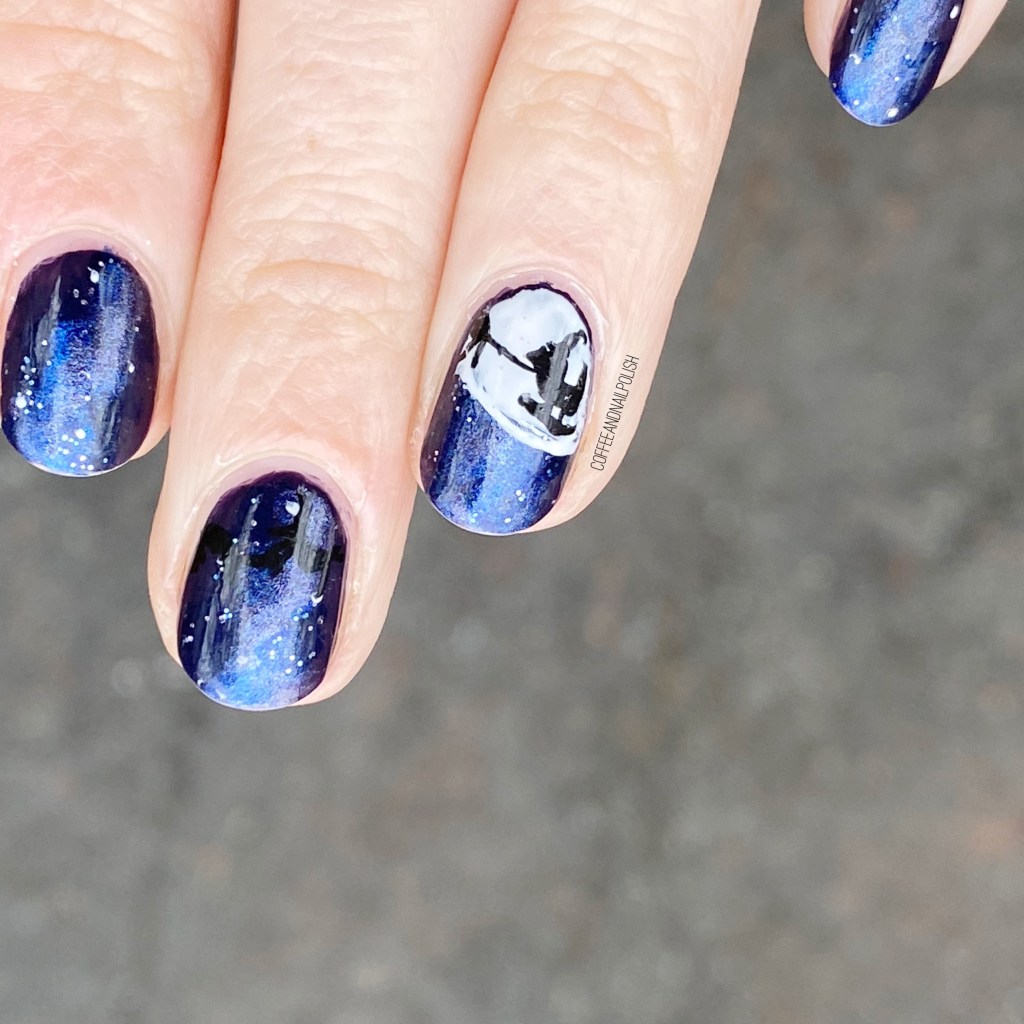
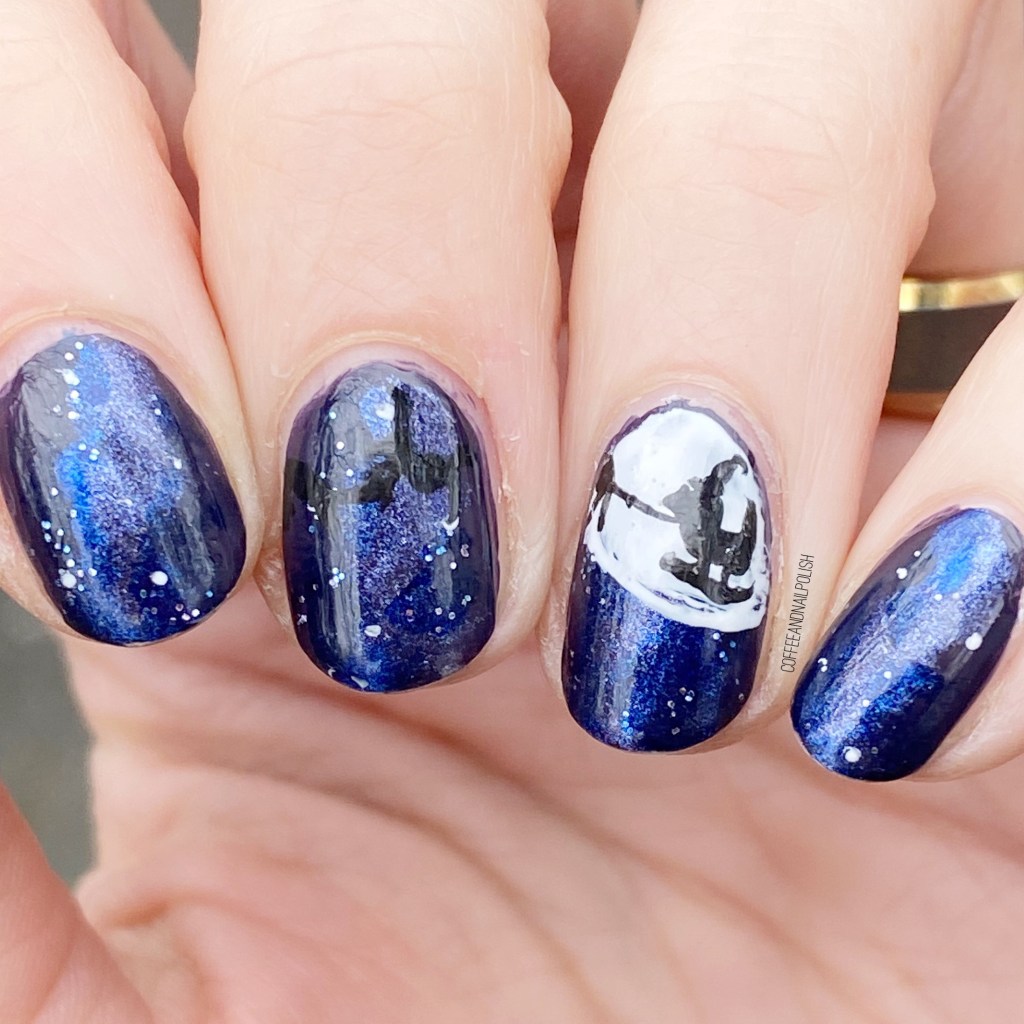
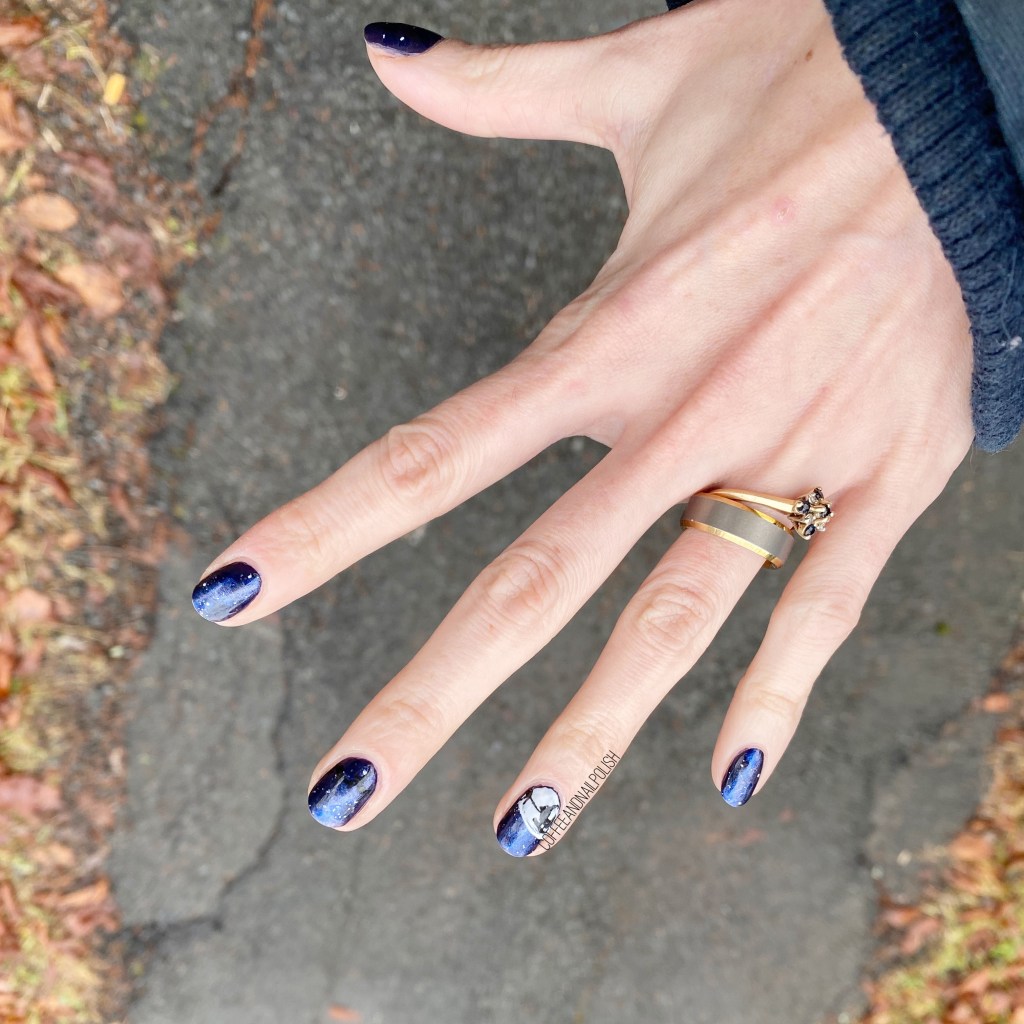
The last prompt for this month’s challenge is Haunted House. I wasn’t 100% sure how I wanted to approach this prompt, but I decided a darkened sky haunted house landscape was the way to go. Just the right level of spooky, plus it gave me a chance to practice my freehand skills some more.

For this manicure, the polishes I used were:

  • Base Coat: Sally Hansen Hard As Nails
  • Top Coat: Essie Gel Setter
  • Essie Go Ginza
  • Essie Bikini So Teeny
  • Essie All The Wave
  • Essie Under The Twilight
  • Essie Blank Page
  • Essie Check Your Baggage
  • Starrily Vantablack
  • NailStuff.ca 4mm Micro Detail Brush (COFFEE10)
  • Latex free make up sponge

This look was actually so much fun to paint! I started off by sponging on my colours one on top of each other, then topped everything with top coat. Next, I freehanded my design over top, one nail at a time. I was sort of inspired by this look, originally by @lieve91, but obviously I went with a blue background instead of the orange-y shades. I also added some ghosties flying around my haunted house, just cause I thought it would cement the whole haunted idea.

I’m actually really happy with how these turned out! They’re not perfect, but I’m definitely proud of hand painting these little details. & my spooky little tree might be my favourite part!

What are you pandemic Halloween plans. Because our province is doing pretty well, cases wise, our health authority has said that as long as we remain careful & distance, we can trick or treat. So we’re going to do some kind of trick or treating with the kids, & maybe settle in after bedtime for some scary movie watching!

What do you think about this manicure? Let me know in the comments below!

#GlamNailsChallengeOct — Blood

Hello lovelies & Happy Monday! Hope everyone is having a lovely start to their week. Can you believe how quickly October is speeding along?

The countdown to Halloween is officially on, & I’m fully embracing spooky season. Which means we have another fun design to share for #GlamNailsChallengeOct! Our next prompt is Blood & I decided to go with a blood splatter look using my favourite Saran Wrap Splatter technique!

For this manicure, the polishes I used were:

  • Base Coat: Sally Hansen Hard As Nails
  • Top Coat: Essie Gel Setter
  • ACO by Ardene Tea Party
  • Sally Hansen CSM Cherry Delightful
  • Sally Hansen CSM Red Over Heels
  • Crinkled Saran Wrap

I absolutely love when people rock those blood splatter nails, using a straw, for Halloween, but I never have enough time for clean up, so I decided to take a shortcut & use my Saran Wrap Splatter technique to get a similar effect that still gives off the blood splatter look. I decided to go with a pretty pastel base (ACO by Ardene Tea Party) because I loved the contrast between the pretty & the gruesome.

Halloween always makes me feel extra creative when it comes to nail art. Even if I don’t have a lot of time, I can still come up with a fun look!

What do you think about this blood splatter look? Would you rock these Halloween nails? Let me know down in the comments below, & stay tuned because the next manicure I have to share for this challenge might be my favourite Halloween nail art I’ve ever done!!