Hey lovelies!
I know you what you’re thinking — girlie where have you been this week?!
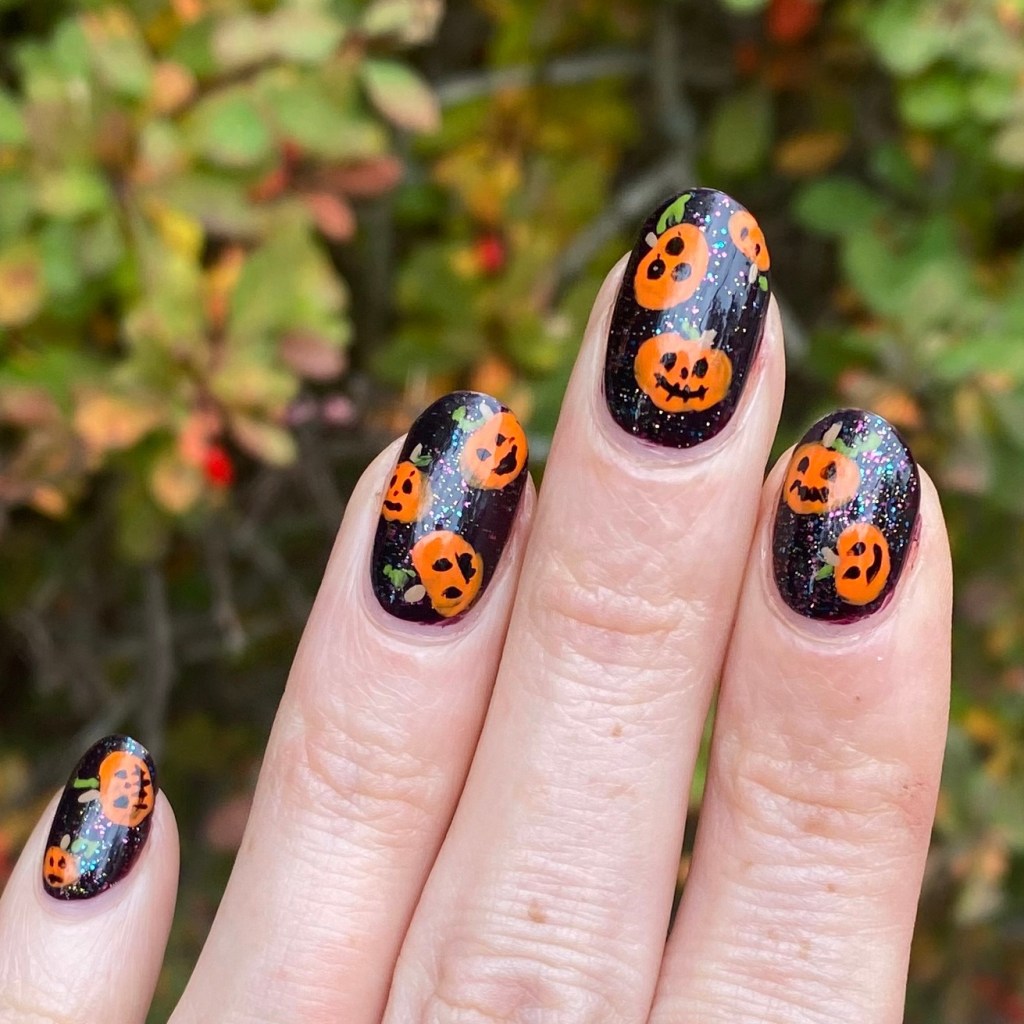
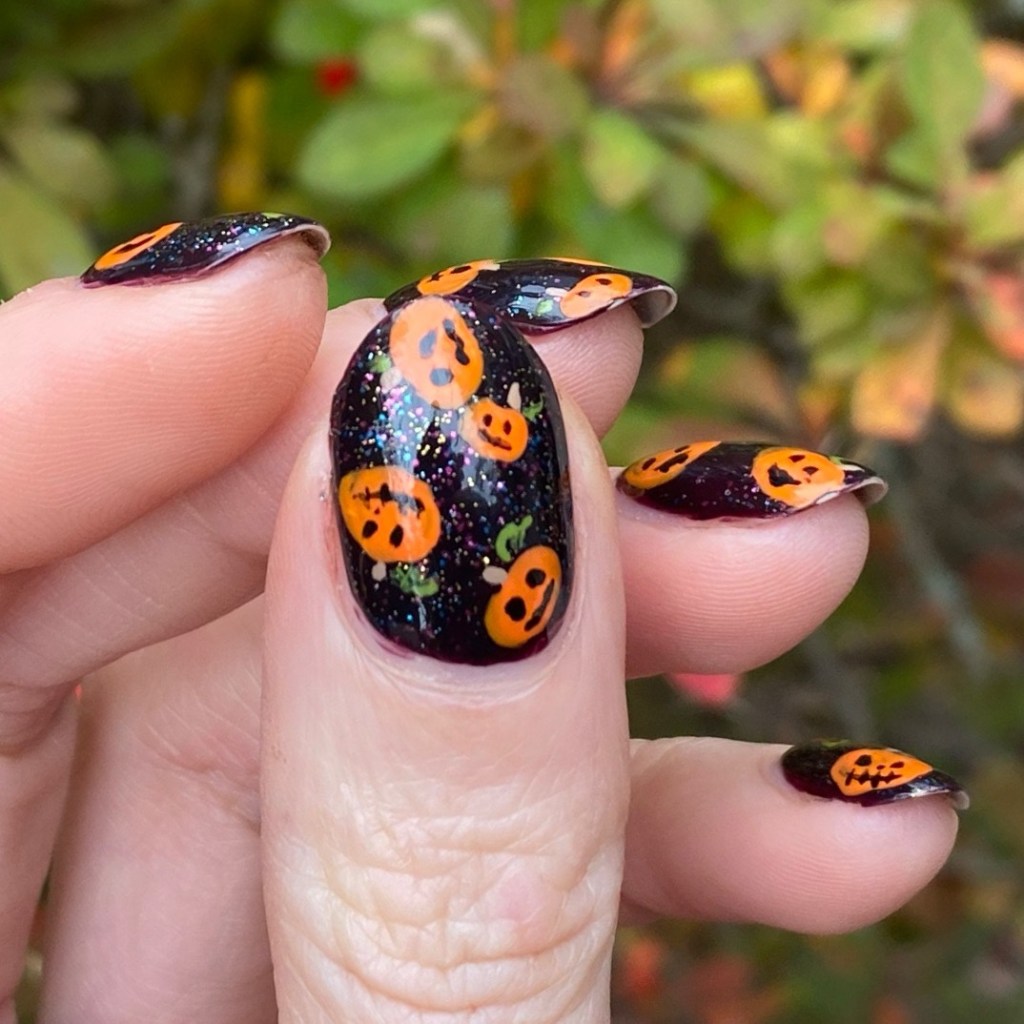
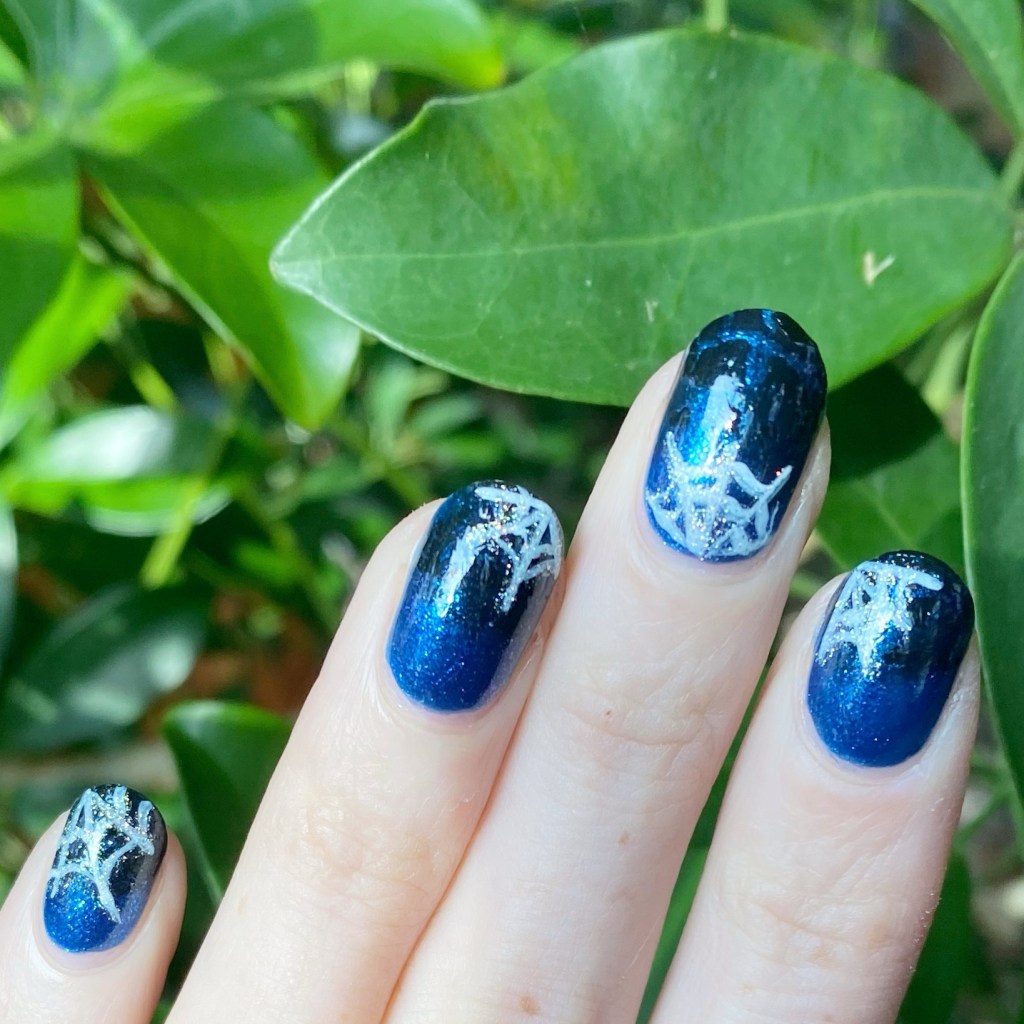
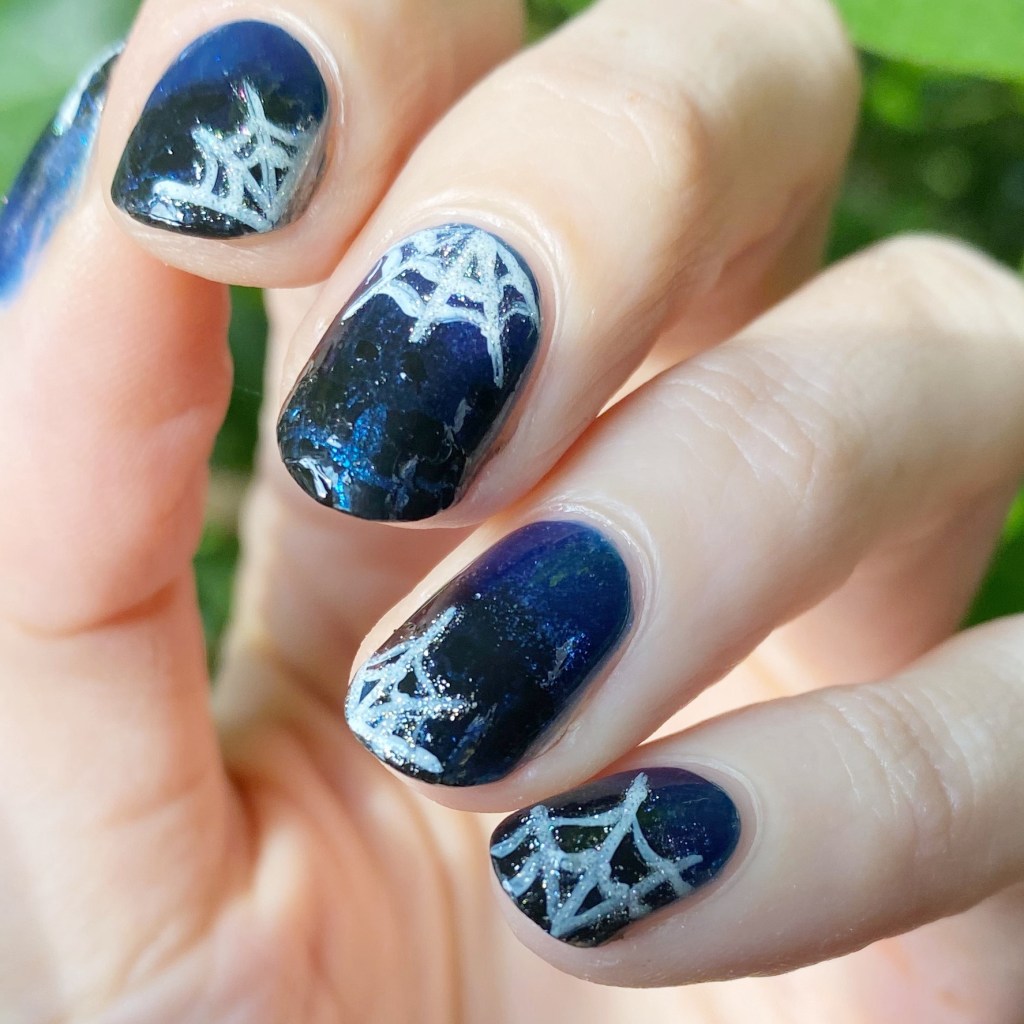
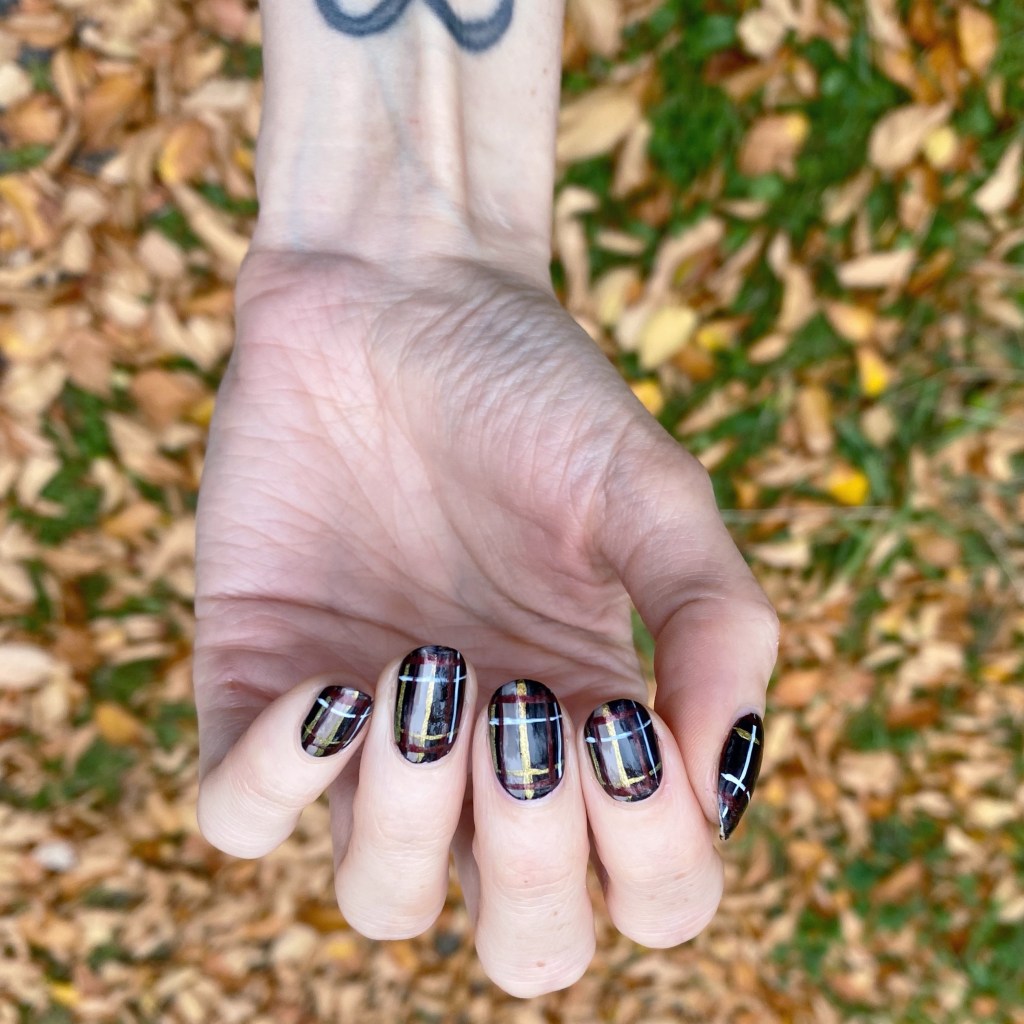
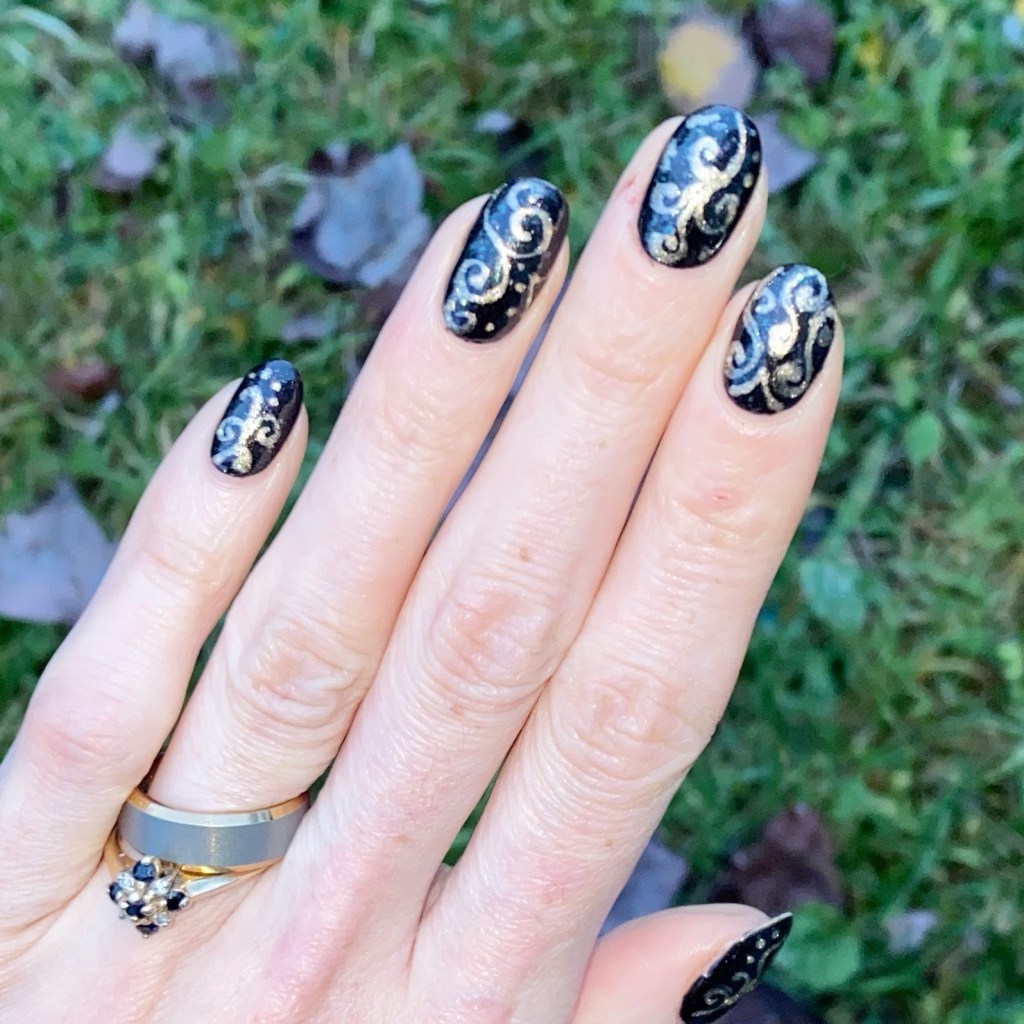
This has been a jam packed week full of blood work & regular work, so I haven’t had time to get super creative with my nails. I also had a couple breaks, so my nails are now considerably shorter. But I did do this pretty freehand swirly nail art look last week, before everything, so I’m excited to finally share them!

The polishes I used for this manicure are:
- Top Coat: Sally Hansen InstaDri Top Coat (red bottle)
- Base Coat: Sally Hansen Miracle Cure
- Essence Good Girl Bad Girl Leather Effect Caught In The Middle (2015)
- Sally Hansen Good As Good (Holiday 2019)
- NailStuff 7mm Mermaid Tail liner brush


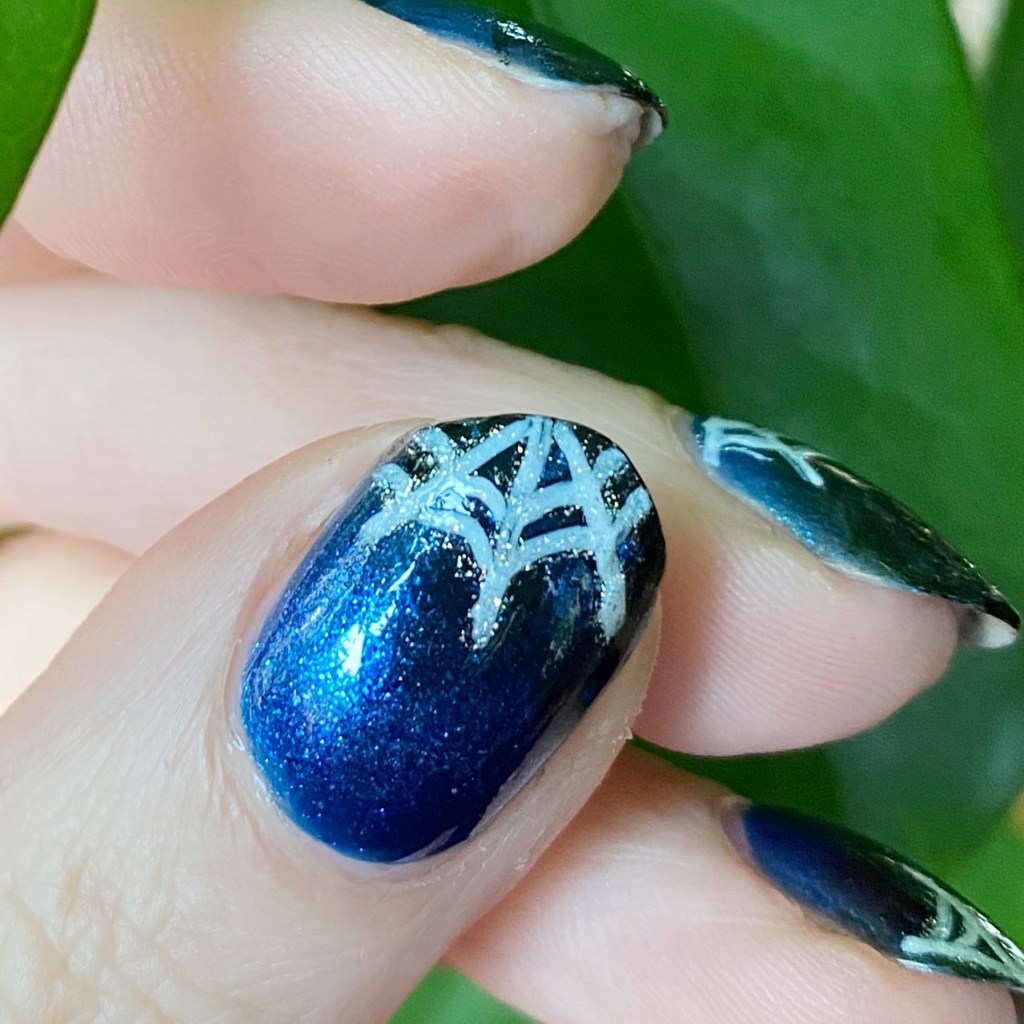
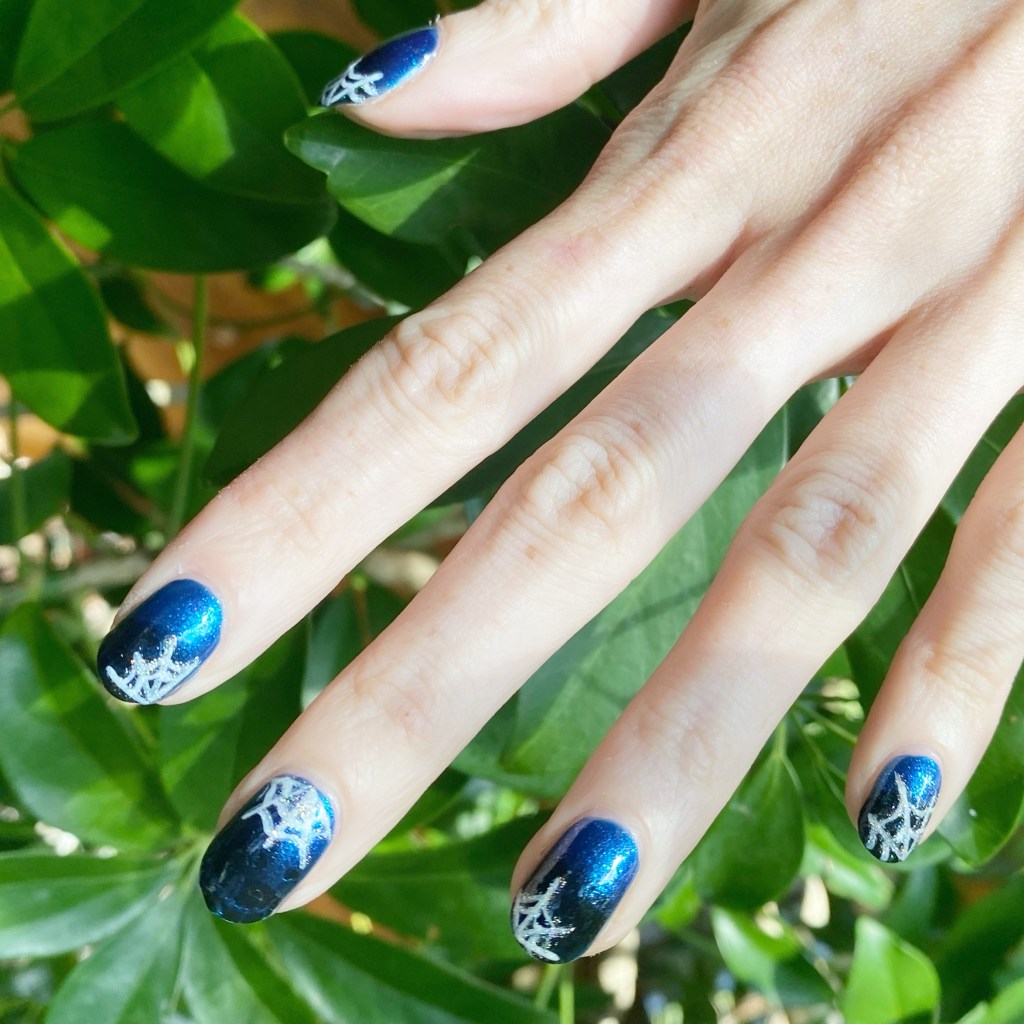
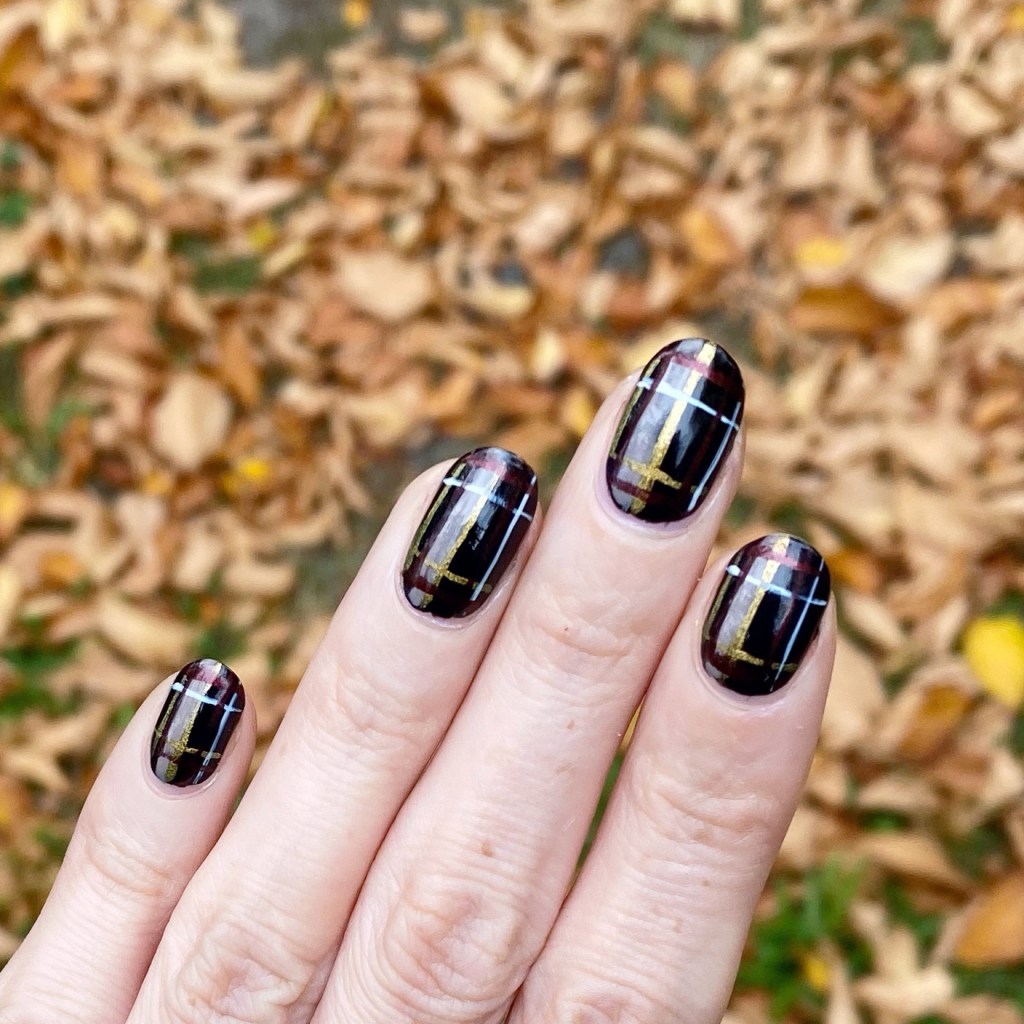
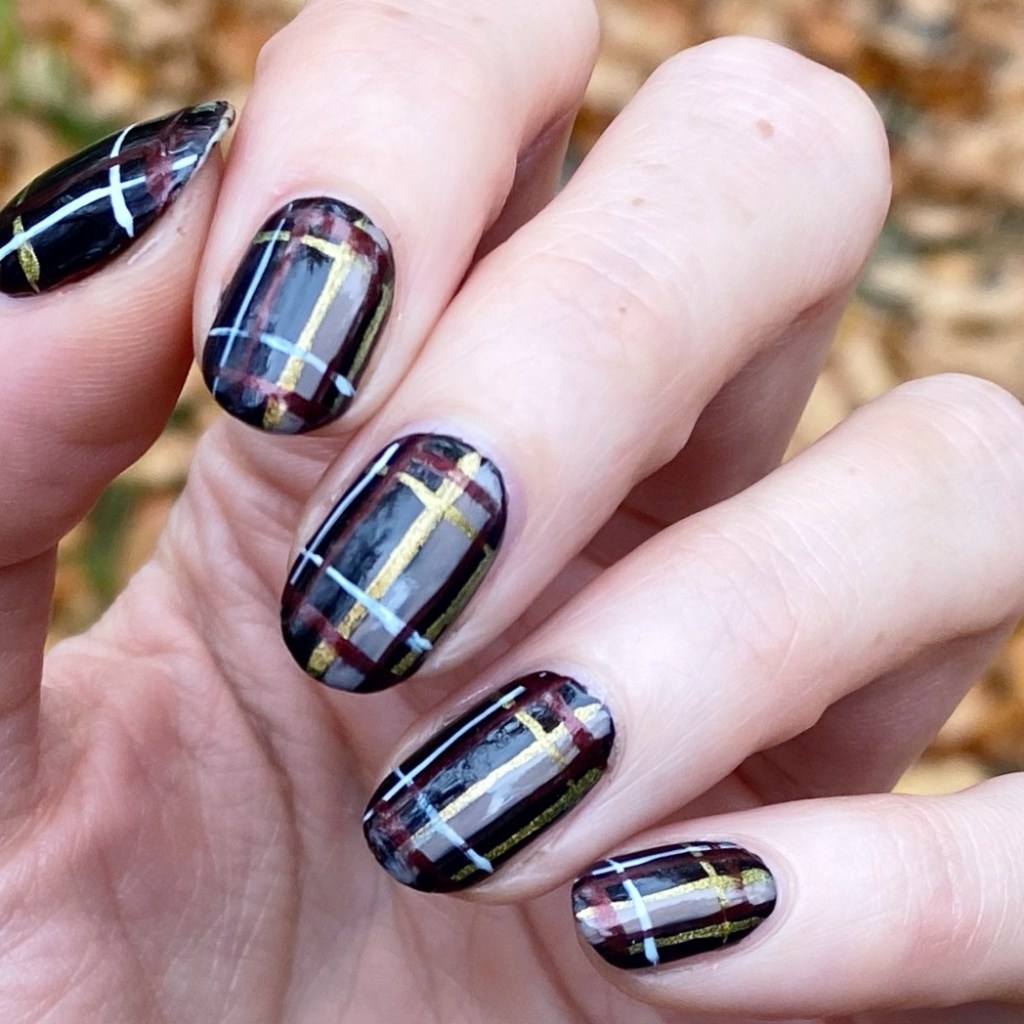
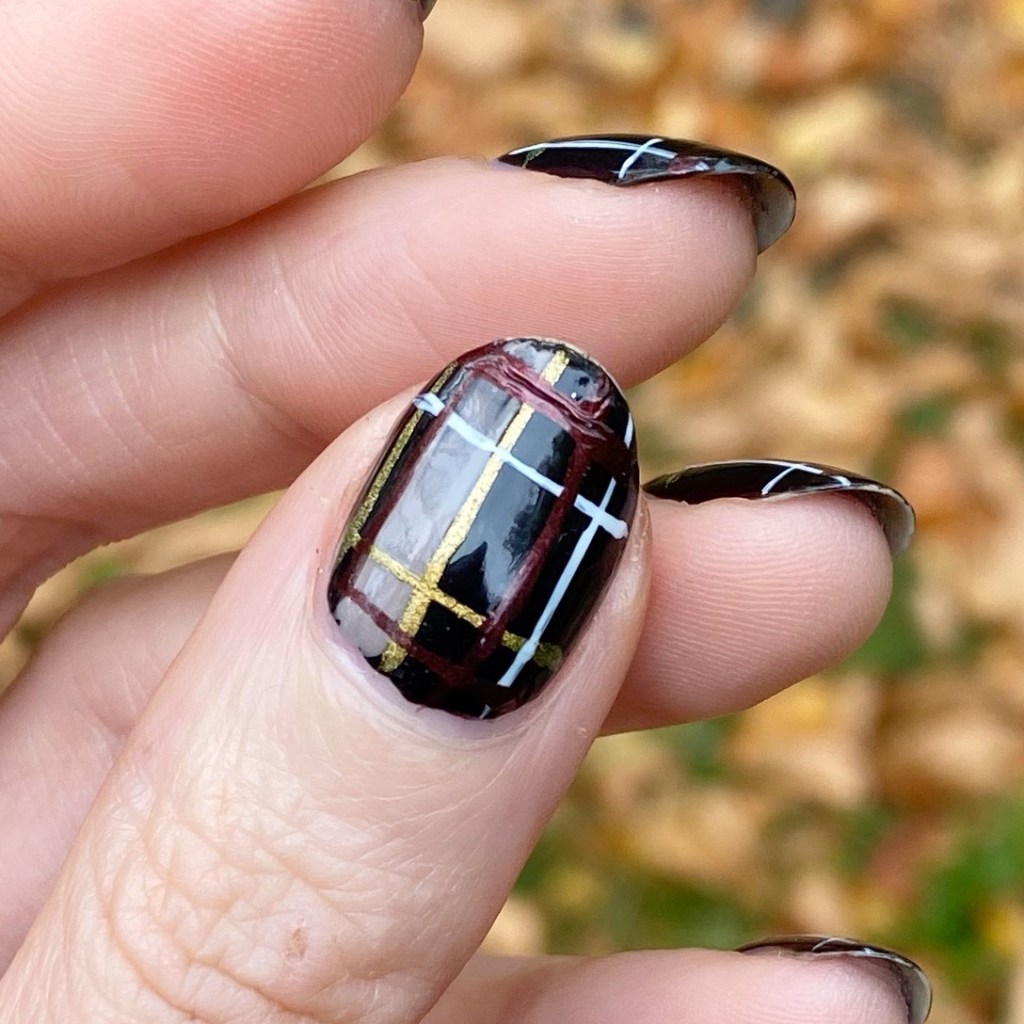
I used to do swirly looks like a lot circa 2015/2016, & I’m not sure why I stopped. I like how this looks like some fancy wallpaper or wrapping paper. & Good As Gold as some holographic glitters in it, which catch the light every so often & makes it look even prettier.

What do you think of my swirlie golden freehand nails? Do you like designs like this? Let me know all your thoughts down in the comments below. Personally these feel very glamourous to me!
Happy Friday & (almost) weekend!
🖤