Blue & Yellow Drag Marble Nails

Good morning lovelies & happy Tuesday! Hope everyone is having a lovely start to the week… & if not, the weekend is really only a couple days away.

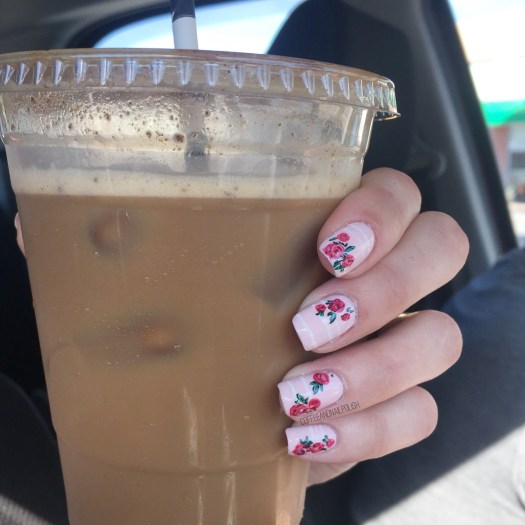
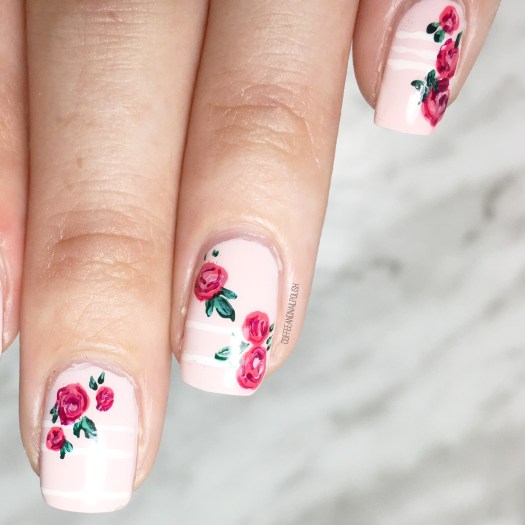
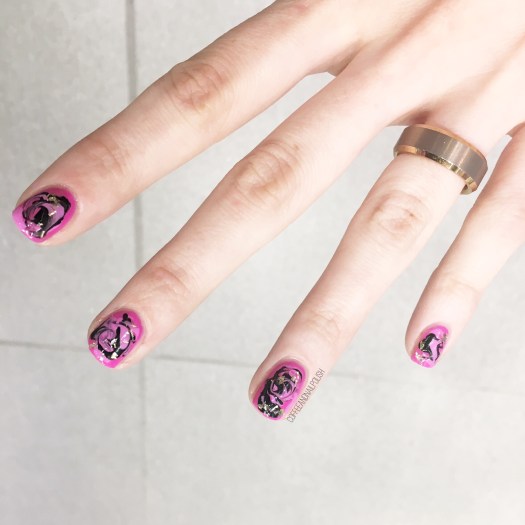
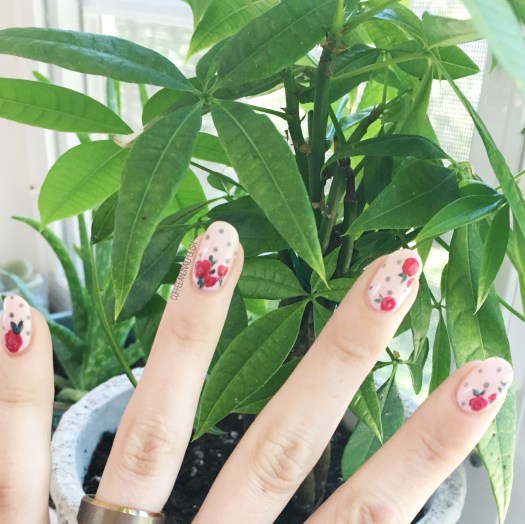
Today I’m showing off some more marble nails since my obsession as be reignited! I’ve been having a lot of fun trying out different techniques for creating these looks.

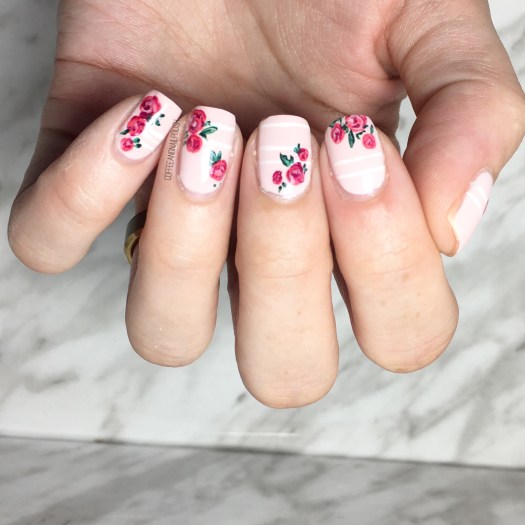
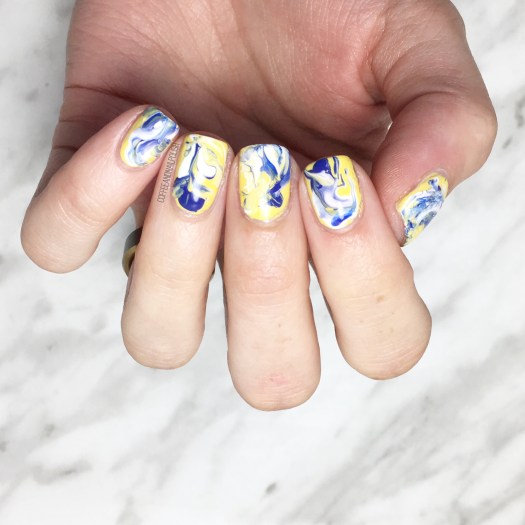
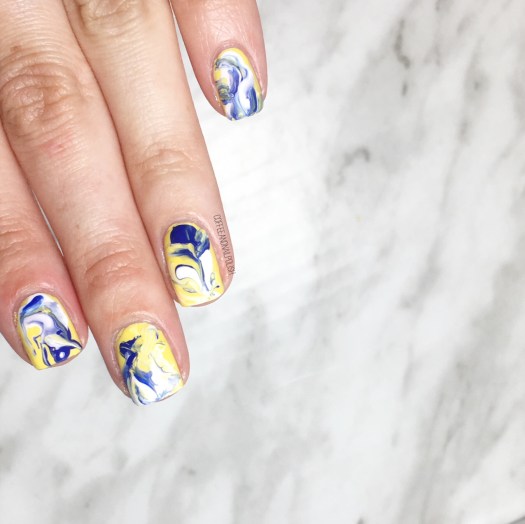
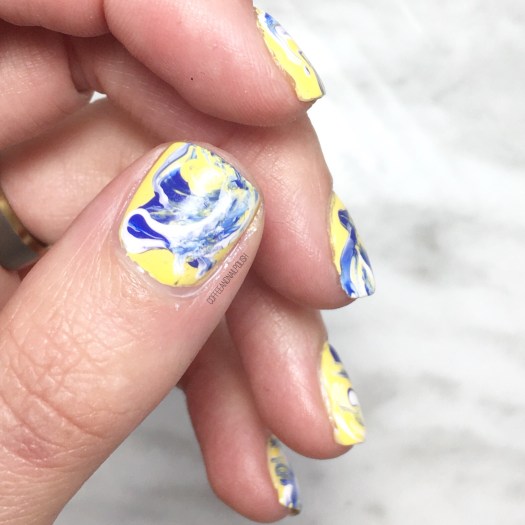
For today’s look, my marble was done using a fan brush.

For this manicure, the polishes I used were:

  • Base Coat: Sally Hansen Bamboo & Green Tea Strengthener
  • Top Coat: Essie Speed Setter
  • OPI I Just Can’t Cope-acabana
  • ACO by Ardene Lagoon
  • Sally Hansen Miracle Gel Get Mod
  • Fan Brush (mine is from Bundle Monster)

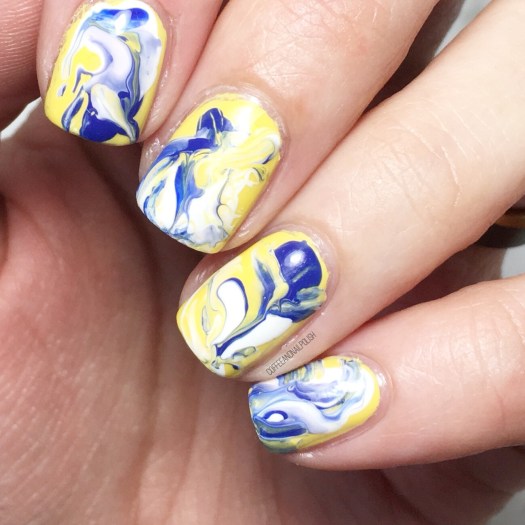
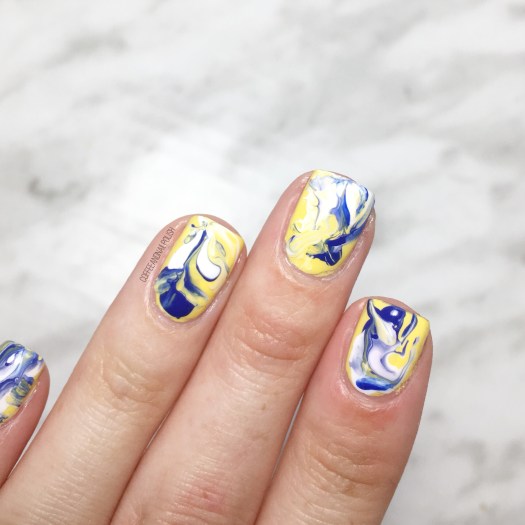
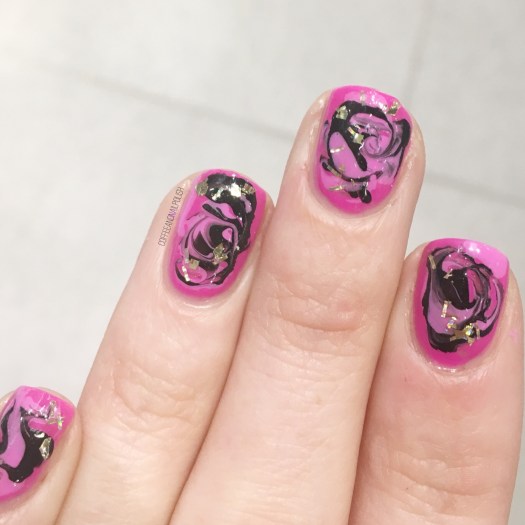
This was actually a surprisingly easy & not messy way to create marble–all I did was apply blob of polish directly to my base colour (yellow) then brushed around on the nail using my fan brush to create the marble effect. If a nail wasn’t quite turning out how I wanted, I’d add a bit more polish of choice to give it the look I was going for.

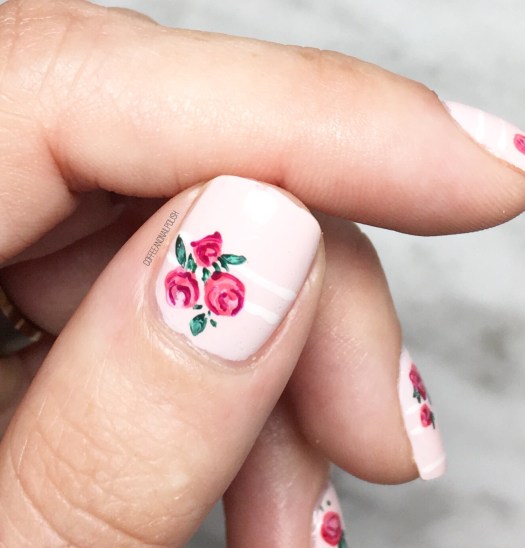
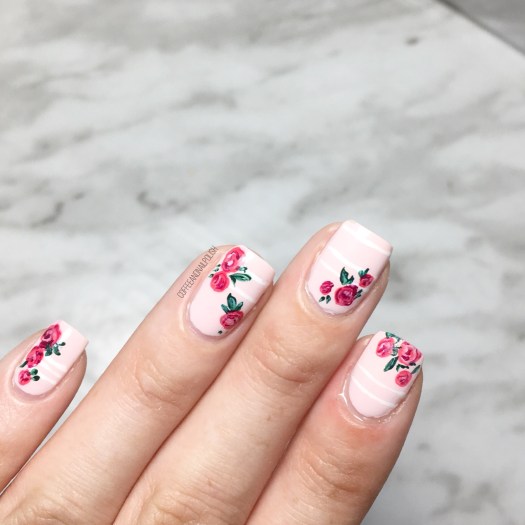
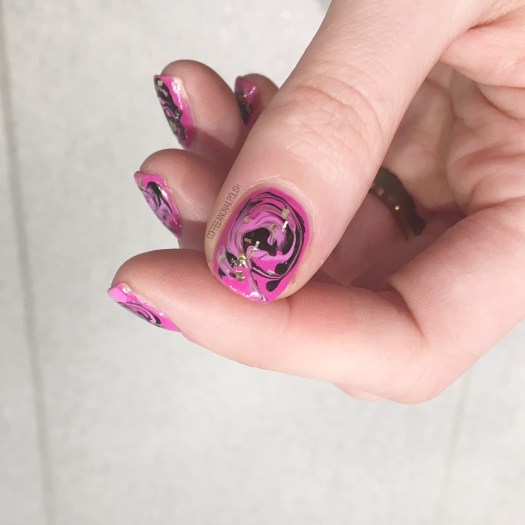
The trick is you definitely don’t want to combine the polish too much as it can create a bit of a muddy effect– like my thumb. But when it turned out, oh boy does it look amazing! My ring finger was definitely one of my top favourites! I think it marbled the absolute best!

What do you think about these marble nails? What colour combination would you like to see me try next? Do you have a favourite marble technique?

Share your thoughts down in the comments below!

Pink Vintage Roses

Good morning lovelies & I hope you’re having a lovely Thursday. The weekend is so close you can’t almost taste it!

Today I’ve got some brand new nail art that I haven’t done in a while–roses! I was feeling inspired by this pretty pink polish & decided that some vintage rose inspired nail art would look so pretty over it! (& maybe I was feeling slightly girlie & romantic.)

The polishes I used for this manicure were:

  • Base Coat: Sally Hansen Bamboo & Green Tea Strengthener
  • Top Coat: Essie Speed Setter
  • ACO by Ardene Flawless
  • Kiss Nail Art Striper in White
  • Essie Peach Daiquiri
  • China Glaze Life is Rosy
  • Sally Hansen Insta-Dri Racing Rose
  • QUO by ORLY Breathable The Antidote
  • Essie Off Tropic
  • Essie First Timer
  • NailStuff.ca dotting tool set & nail art brushes

So very in love with how these turned out, even if it’s been so long since I created roses that I’m a little rusty. But it’s like riding a bike: you never really forget how to do it, just takes some practice to get steady again.

I will say, having teeny tiny detail brushes really does make a huge difference in creating your petals, so a micro detail brush like THIS can give you a very realistic finished product! Same thing goes for your leaves–I feel like my floral designs have gotten so much better since I got amazing brushes. So it’s definitely worth it to invest in fantastic brushes & I’m lucky enough that I have received some fantastic detail brushes from NailStuff that have brought my floral designs to another level!

What do you think of this floral design? Would you like to see me attempting more florals again? Share your thoughts down in the comments below!

Pink Drag Marble with Gold Glitter

Hello lovelies & Happy Tuesday! Hope everyone is recovering from the time change this past weekend. I’m currently trying to recover from another fantastic cold, but I did manage to get my nails done before it struck me down this weekend! & it was so exciting to play around on my nails.

& what was I feeling? A drag marble. & oh boy was I rusty!

The polishes I used for this manicure:

  • Base Coat: OPI Nail Envy
  • Top Coat: Essie Speed Setter
  • Ardene ACO Dashing
  • Ardene ACO Road to Nowhere
  • Sally Hansen Hard as Nails Black Heart
  • Sinful Colors Twilight Twinkles
  • Nailstuff.ca dotting tool

It’s been forever since I attempted any kind of drag marble design & my base shade (Ardene Dashing) was a little too quick drying which added some difficulty to my look. But the more I look at this design, the more it’s grown on me. I added a bit of gold glitter flakes which I’m not sure if it added to the design, but I was a little haphazard with my placement.

& my favourite nails? My thumb & my pinky. The design on both definitely turned out be best. As you can see, the swirl on my thumb looked just perfect. If only every nail had turned out this amazing.

What do you think of this look? Which nail do you think turned out best? Which colour combo do you think I should try next?

Share you thoughts down in the comments below!

Hearts & Zig Zags

You know when you get a nail art look in your head & you want to try & make it work on your nails… there is nothing more satisfying than bringing it to life & it turning out better than you expected!

This look was one I wanted to try but I wasn’t sure what colours to go with. Thanks to some Pinterest stalking, I figured out exactly the colour combination I wanted! I wanted something that would fit my January mood, especially since I didn’t want my nails to look too Valentine-y.

For this manicure, the polishes I used were:

  • Base Coat: Essie Grow Stronger
  • Top Coat: Essie Speed Setter
  • Ardene Day Dreamer
  • Essie Mint Candy Apple
  • Quo by ORLY Diva
  • Quo by ORLY Breathable Fairy Godmother
  • The Base Coat Regular Chevron/Zig Zag Vinyls
  • The Base Coat Heart Vinyls
  • NailStuff.ca dotting tool set

I seriously think these turned out so, so cute! It feels like absolute ages since I pulled out my Vinyls & I have to admit… I missed them. I also love this combination of dark teal, grey & mint. I never know what colours to wear on my nails this time of year, but darker shades are definitely calling my name more often!

What do you think of this look?

You could definitely adapt it & turn it into a Valentine’s Day look with some pink & red polishes. & it was surprisingly easy (if a little bit time consuming) to do. ♥️

Wedding Appropriate Floral & Polka Dots

Happy Monday lovelies & a long weekend Holiday Monday at that! Going to try & make up for my lack of posts last week with a few extra this week (after a crazy last week at work with back-to-school).

First up is a nail design I wore to a wedding this past weekend. Obviously, I had to do roses & I decided to add it a few polka dots as well. To me, this design kind of looks like wallpaper, but like cute wallpaper. & I absolutely love how they turned out. But then again, when have I ever not been happy with floral on my nails!

For this manicure, the polishes I used were:

  • Base Coat: OPI Nail Envy
  • Top Coat: Essie Speed Setter
  • ACO by Ardene Flawless
  • Essie A List
  • Essie Peach Daiquiri
  • Essie Cute As A Button
  • Quo by ORLY the Antidote
  • Essie Off Tropics
  • Essie Sew Psyched
  • Essie Absolutely Shore
  • ACO by Ardene Day Dreamer
  • Medium & Small Sized dotting tool
  • NailStuff.ca Mermaid Tail Brush

This look turned out so perfectly, just how I imagined in my head. They were the perfect nail art look for attending a wedding, actually ended up matching the dress that I wore which also had roses all over it. Not going to lie, I totally picked my dress because it matched so well with my nails!

what do you think of this nail art look? Do you have a go-to wedding look for your nails?

Have a happy Monday lovelies! ♥️