GLAM NAILS CHALLENGE APRIL — Daffodils

Good morning lovelies & happy Wednesday! I hope everyone’s week has been lovely so far. The weather has been seasonal so far, which I can’t complain about too much. & the flowers are beginning to bloom.

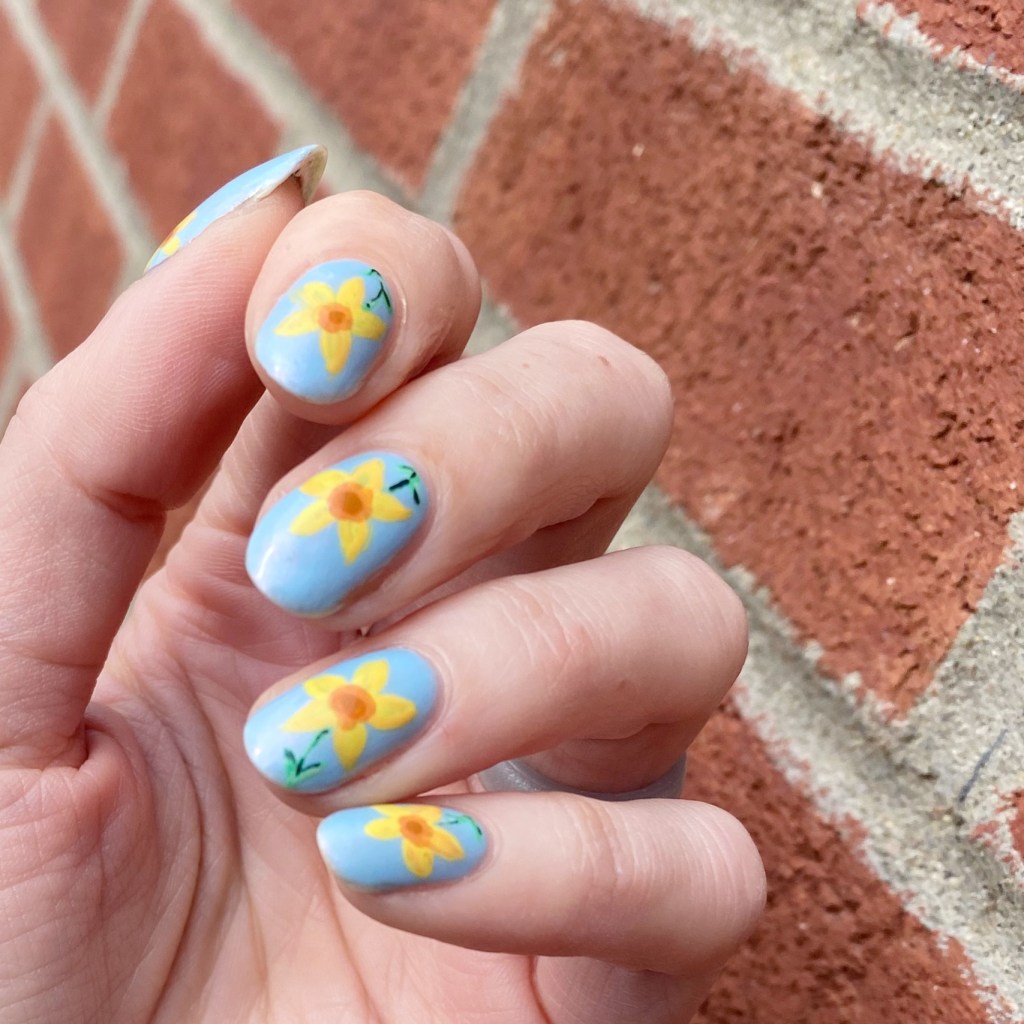
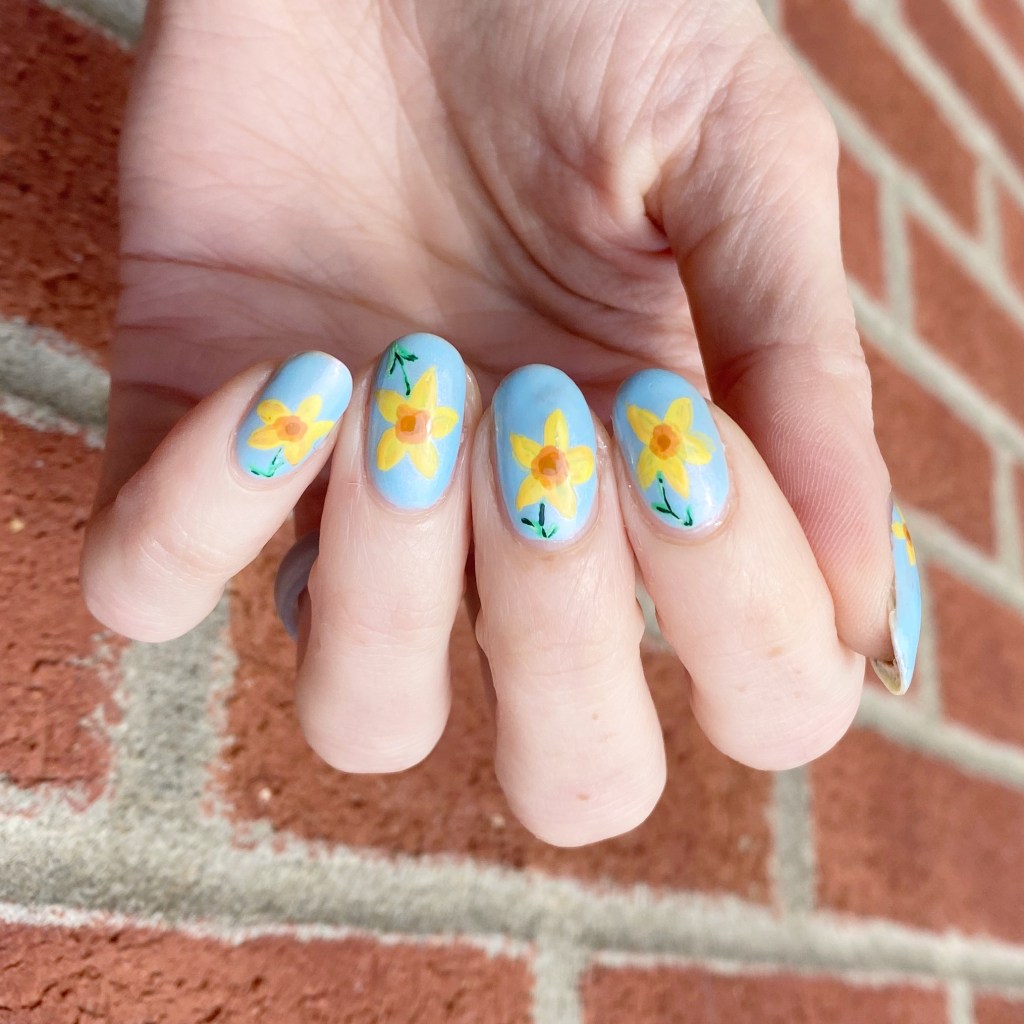
It’s time for the next prompt of Glam Nails Challenge April: daffodils. & I’ll be honest I was nervous, again, about this prompt. I love love love doing floral, but this was a type of flower I’d never painted before. But, you know, I think I nailed it!
The polishes I used for this manicure are: 

  • Base Coat: Essie Hard To Resist Glow & Shine
  • Top Coat: Seche Vive Fast Dry Top
  • Sally Hansen InstaDri Glos-Sea
  • OPI Nature Strong Make My Daisy
  • Essie Fall for NYC
  • Essie Check Your Baggage
  • Essie Cliffhanger
  • ACO by Ardene Jungle Green
  • Essence Bloom Me Up! Blow My Mint
  • Essie Off Tropic
  • NailStuff.ca Mermaid Tail Brush

First off, check out this blue! I recently picked it up at Shoppers when I had some optimum points, & I’m really in love with it. It’s kind of hard to see in this lighting, but it has the prettiest pink-y shimmer in it. A fantastic colour for Spring. Also the perfect base for these beautiful yellow flowers.

Second I’m so, so proud of how these daffodils turned out. Sometimes I get self conscious when it comes to nail art I’ve never done before, but I really do love them. & it’s inspired me to do more floral again. I feel like I stopped doing florals for a while, & now that Spring is here, it’s time to pick up doing them again. Because, they really do make me so happy.
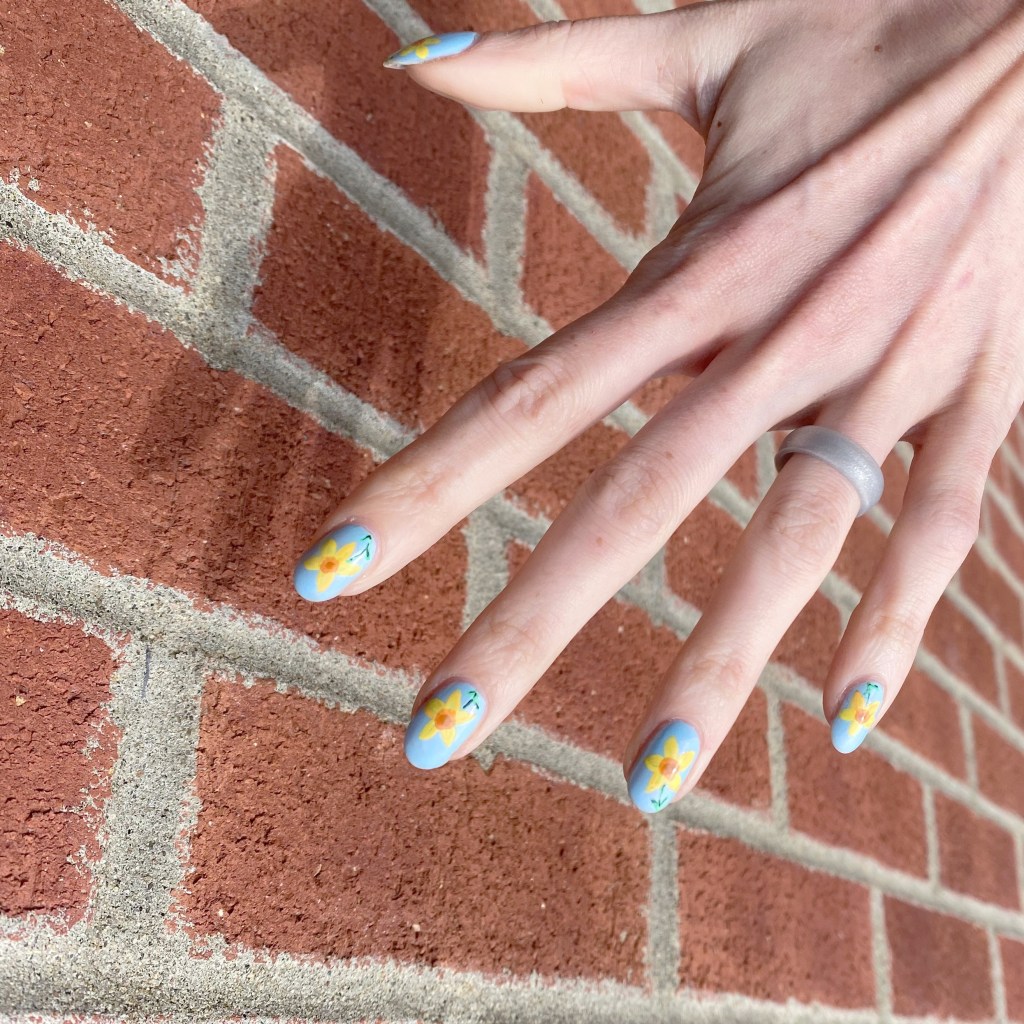
What do you think of my daffodils for Glam Nails Challenge April? Did you miss all the floral? Let me know all your thoughts down in the comments below.
Spring Speckled Egg Skittle Nails

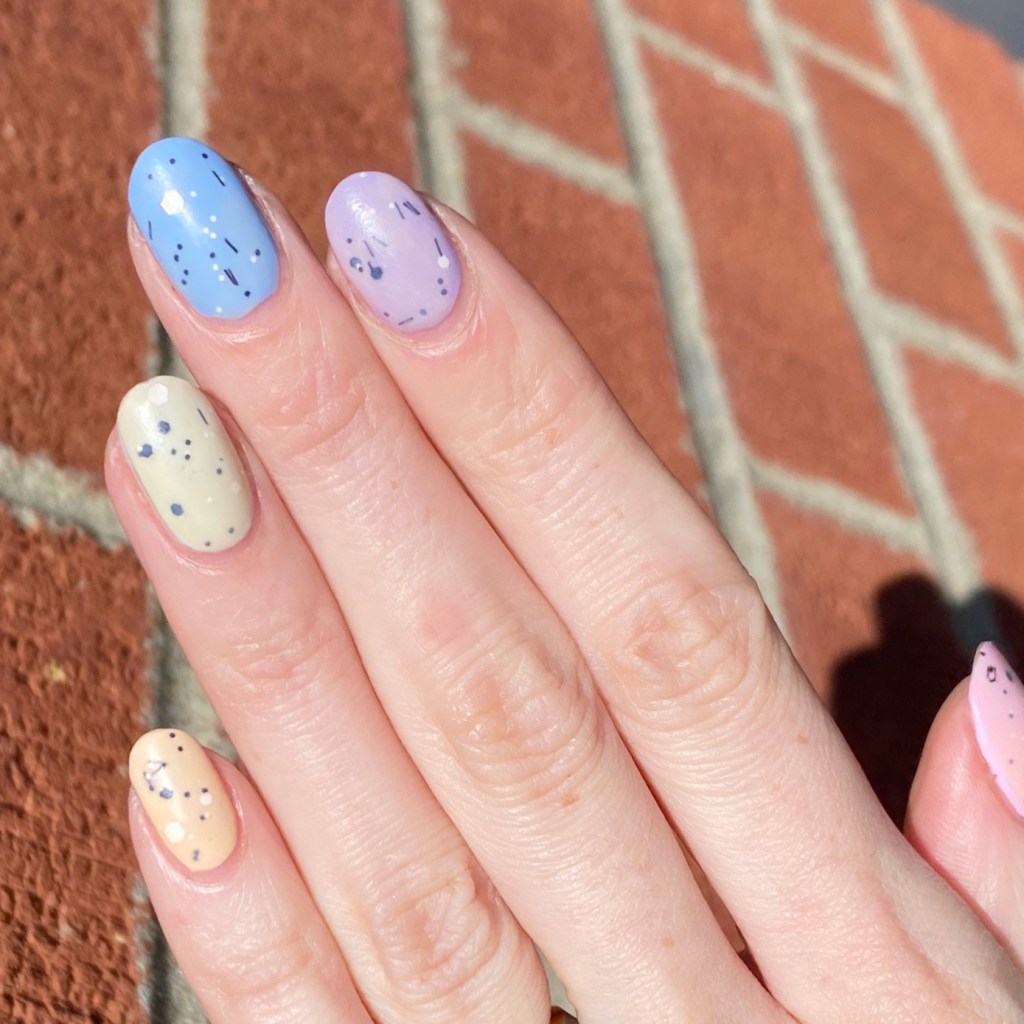
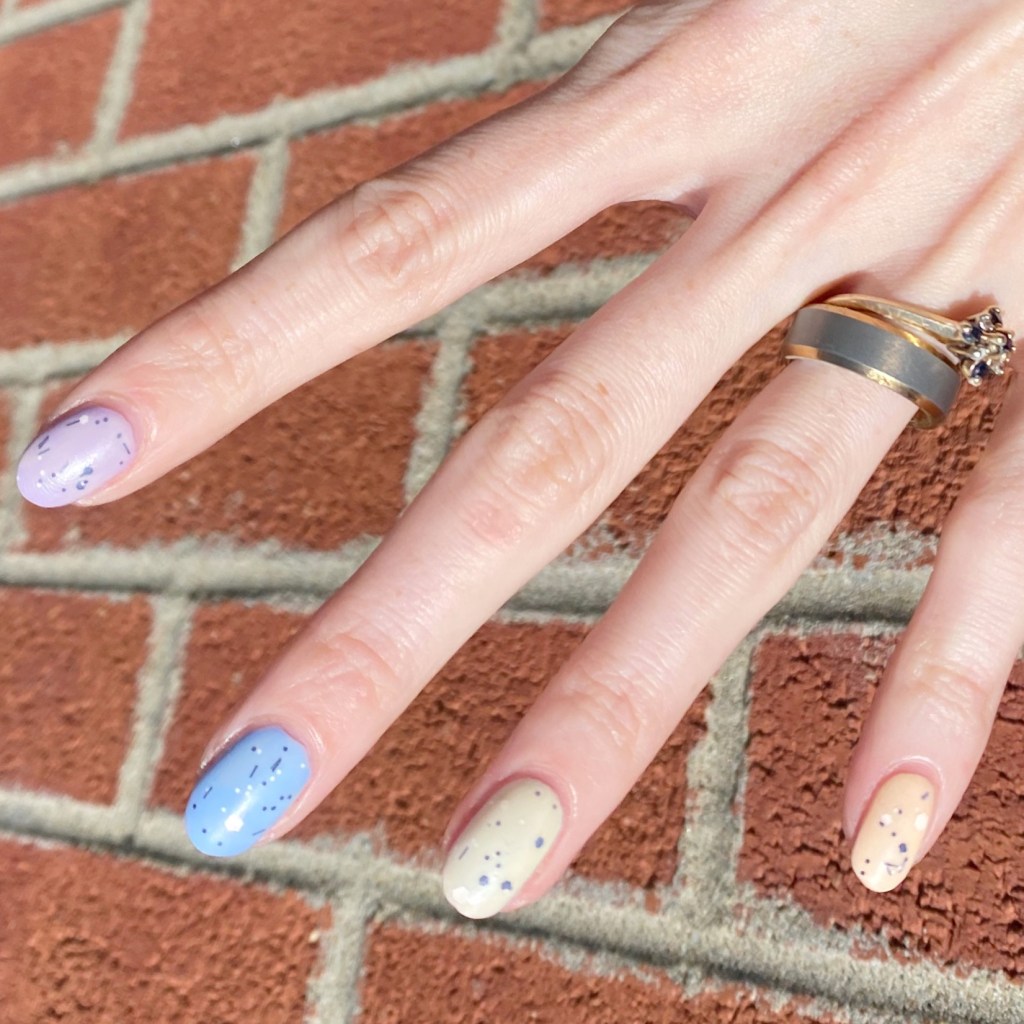
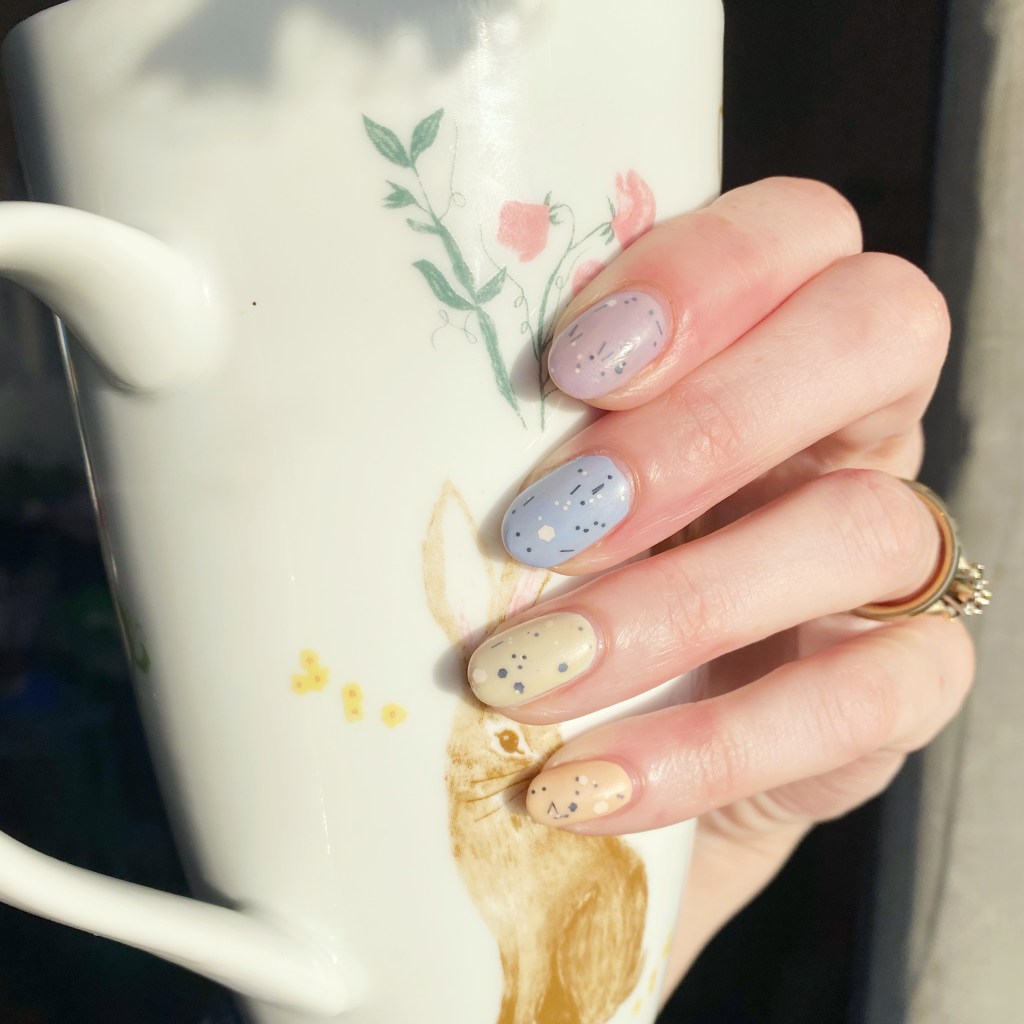
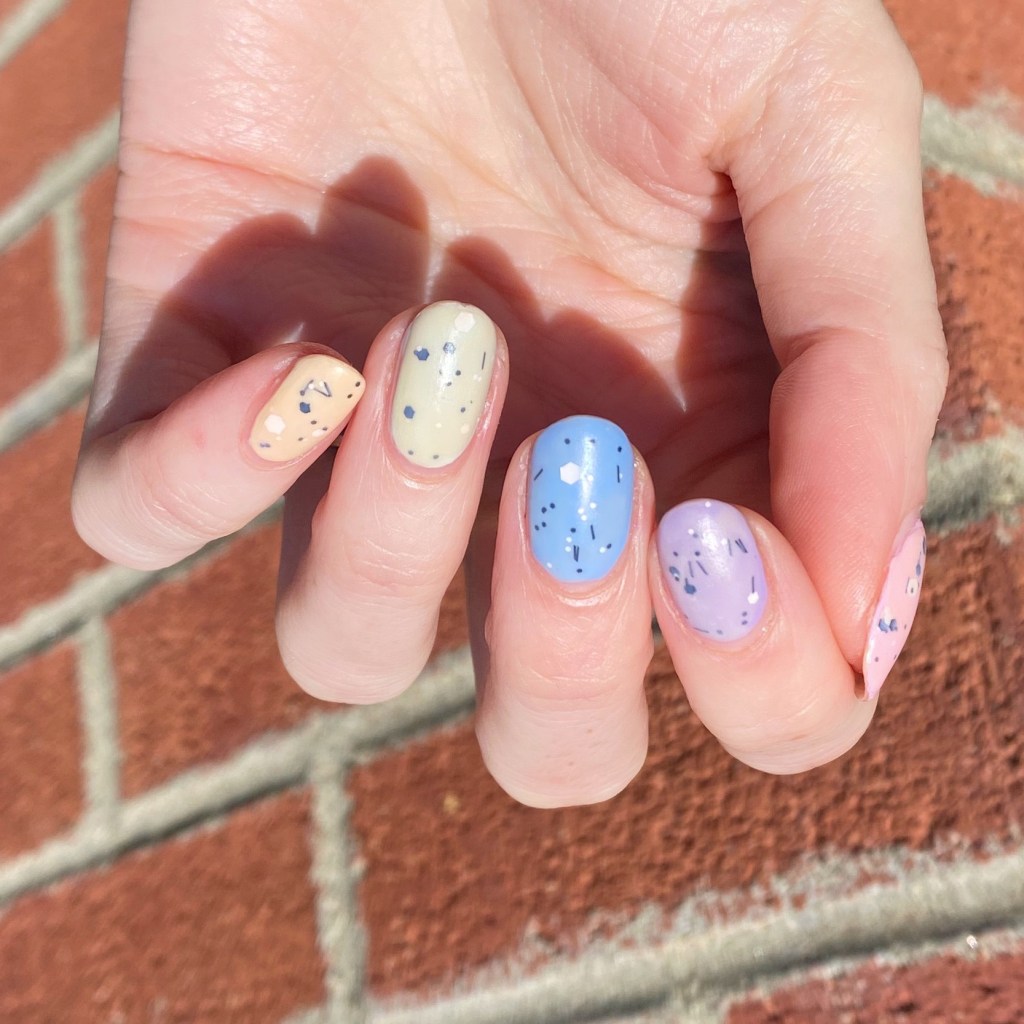
It’s the time of year again lovelies, where I recreate one of my favourite Spring/Easter designs: mini egg/speckled egg skittle nails. I’ve been doing some version of this manicure since the early days of my blog, & it never gets old to me. There is something about a speckled egg design that just screams Easter & Spring. Plus it’s so easy to do!

Today’s look was especially on the easy side, as I chose a glitter top coat for my specks.

The polishes I used for this manicure are: 

  • Base Coat: Essie Hard To Resist Glow & Shine 
  • Top Coat: Seche Vite Fast Dry Top Coat
  • Matte Top Coat: Sally Hansen Miracle Gel Matte Top Coat
  • Sally Hansen MG Sun-Shower
  • Sally Hansen MG Sweet Pea
  • Sally Hansen MG Sugar Fix
  • Sally Hansen MG Lavendoor
  • Sally Hansen MG Orchid-ing Aside
  • ACO by Ardene Meteorite
  • Wet N Wild 2% Milk

When I saw this look was super simple, I mean it was super simple. I painted each finger a different colour, applied the glitter top coat, applied Wet N Wild 2% Milk for that faded look, then finished it off with my Seche Vite (because there was a lot of layers of polish) & then added my matte top coat after about 15 minutes. Everything did take a while to dry, but it was totally worth it! I just love a good speckled nail design.

What do you think about this speckled egg design? Do you like a look like this for Easter & Spring? Are you already feeling the Spring temps where you are? It’s just starting to warm up around us, so I’m excited. I’ll be wearing my Spring dresses in no time!

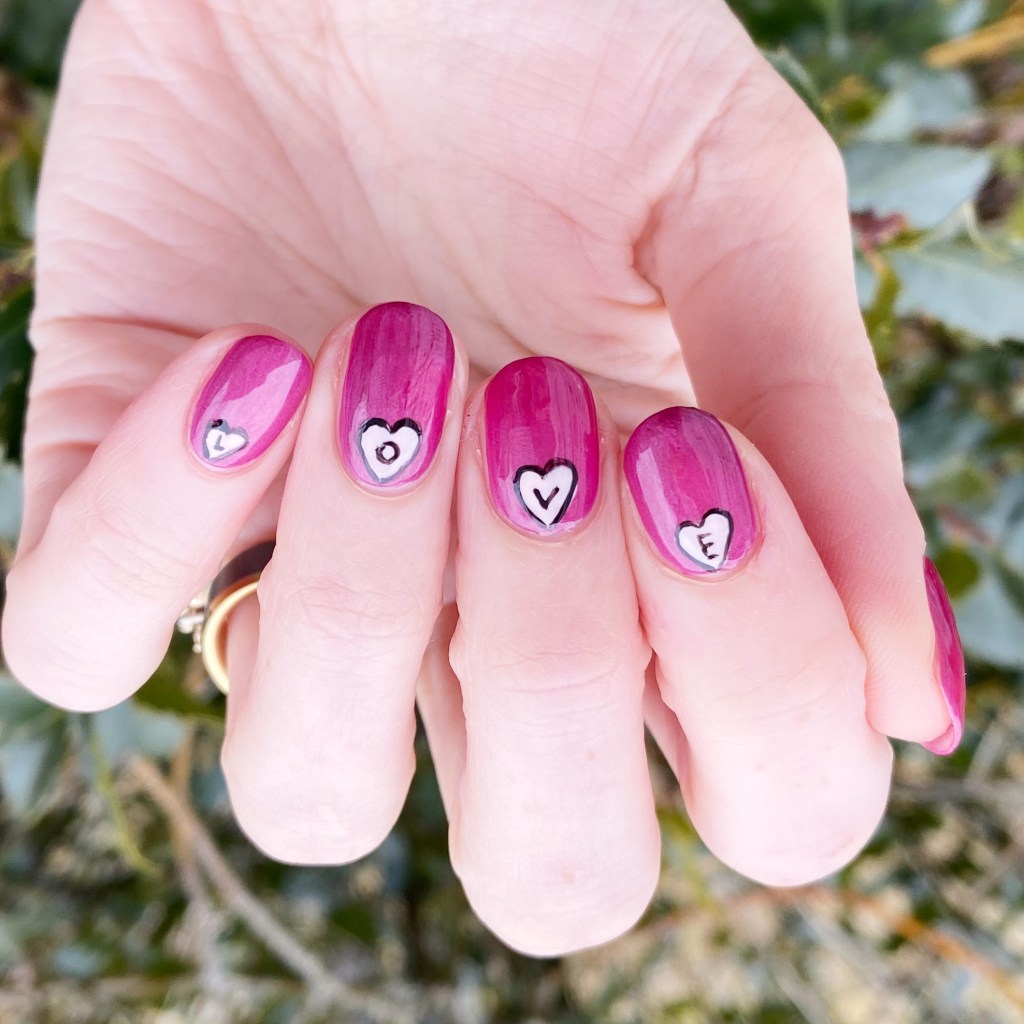
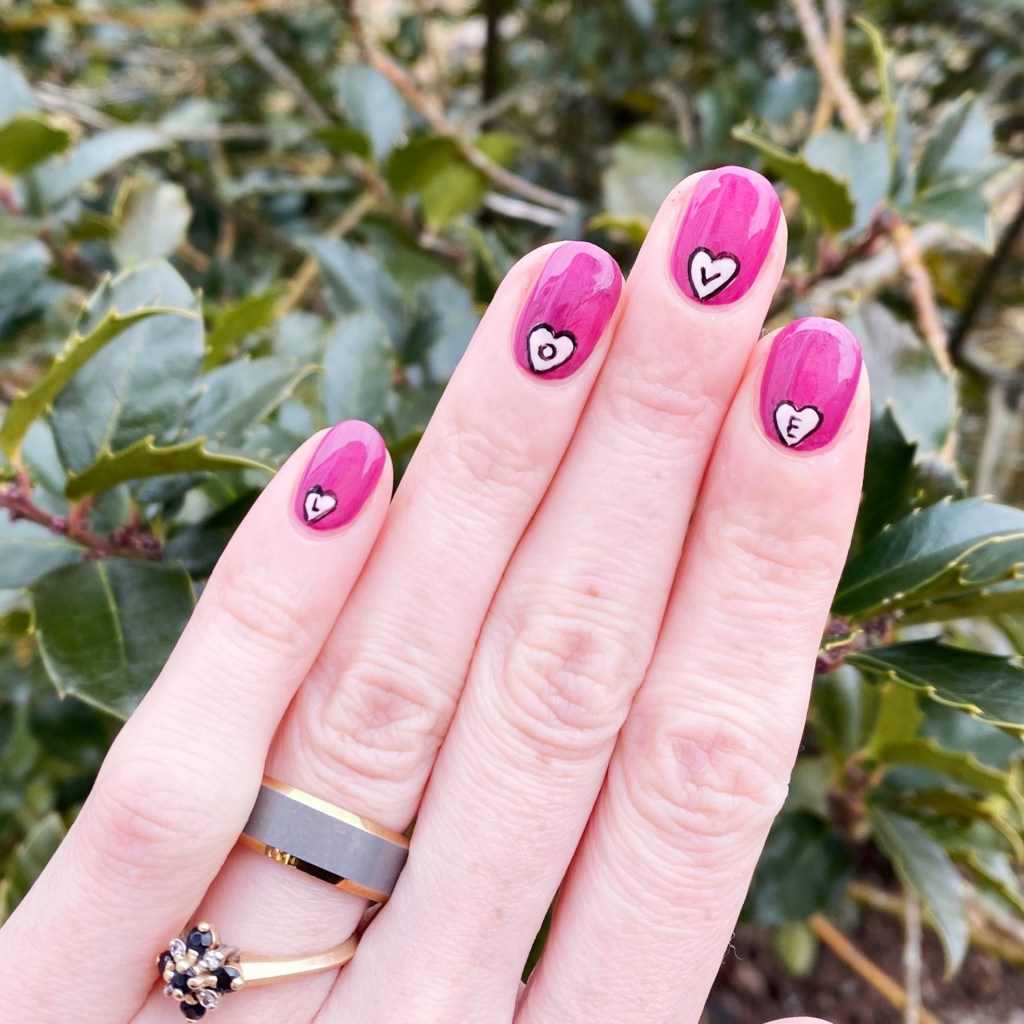
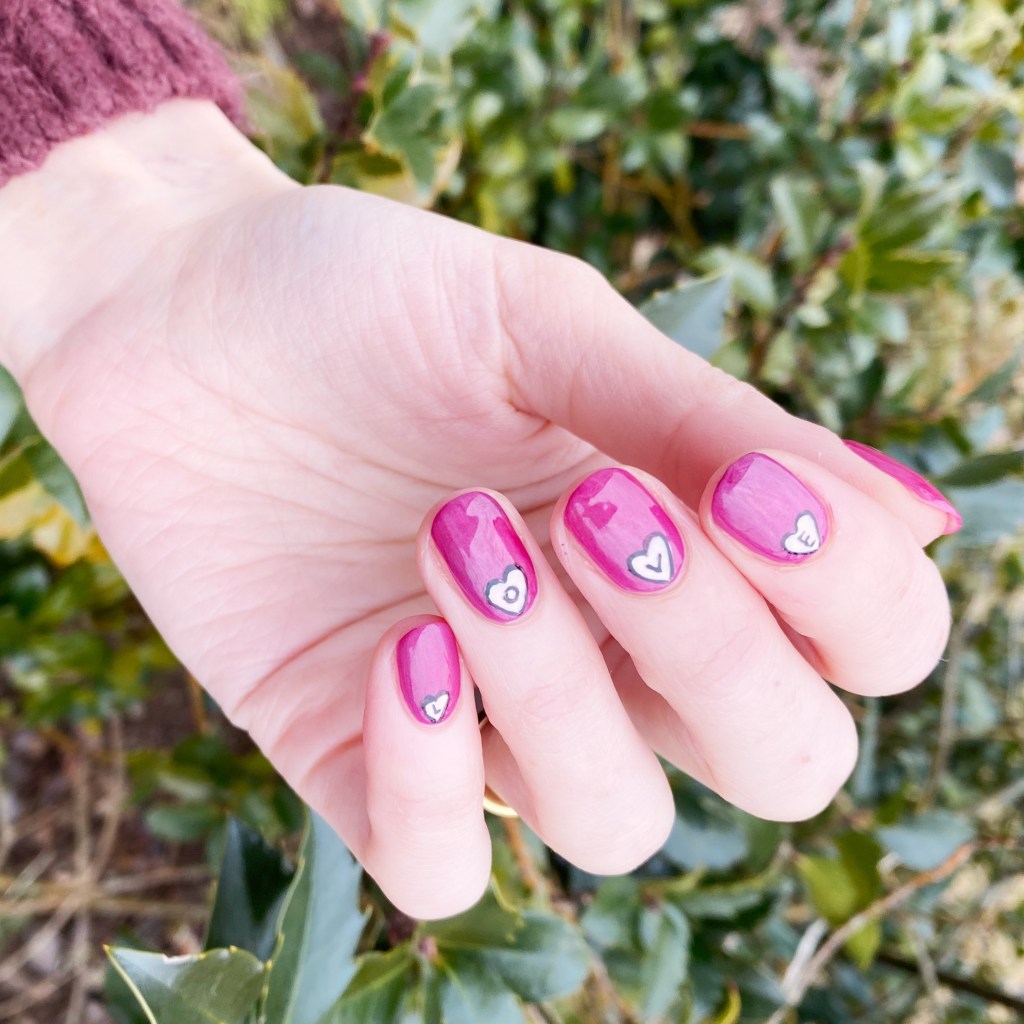
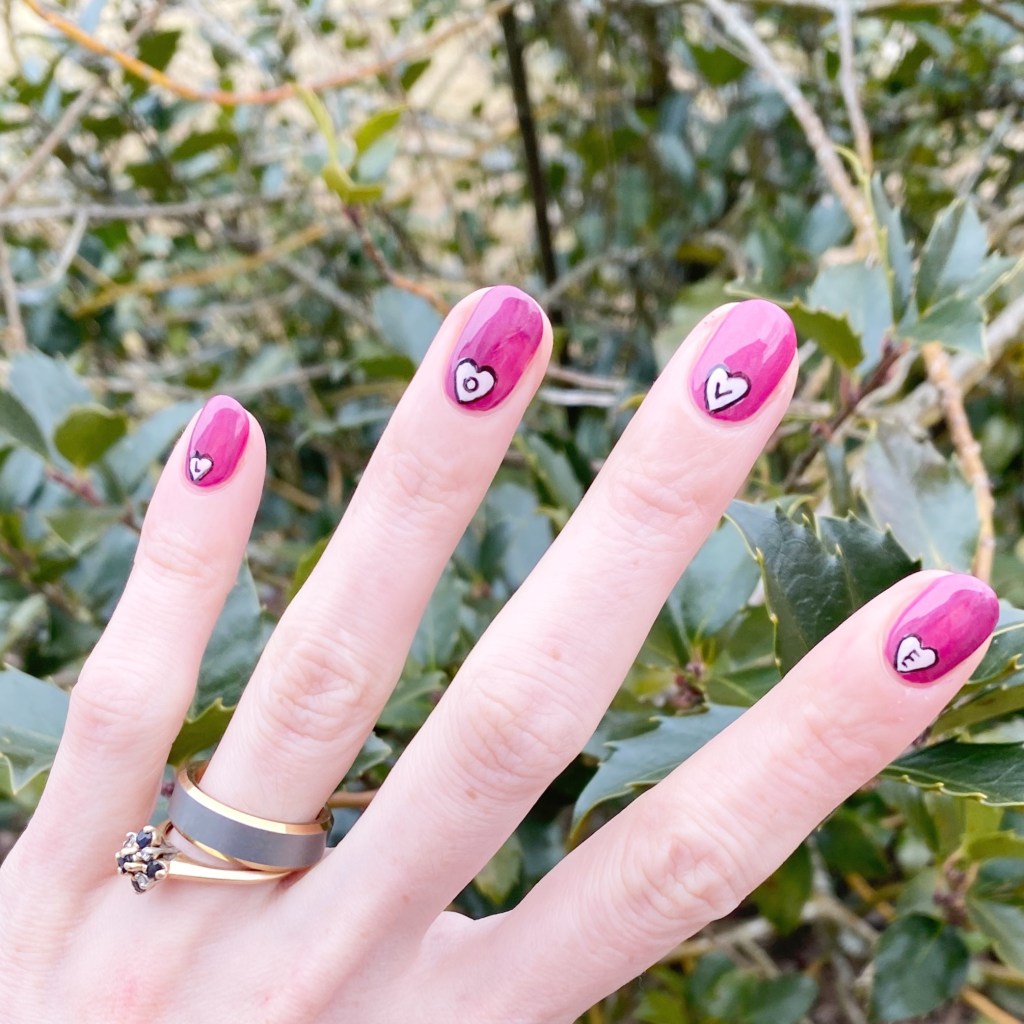
L.O.V.E. nails (Happy Valentine’s Day!) 💗

Good morning loves & happy Valentine’s Day!

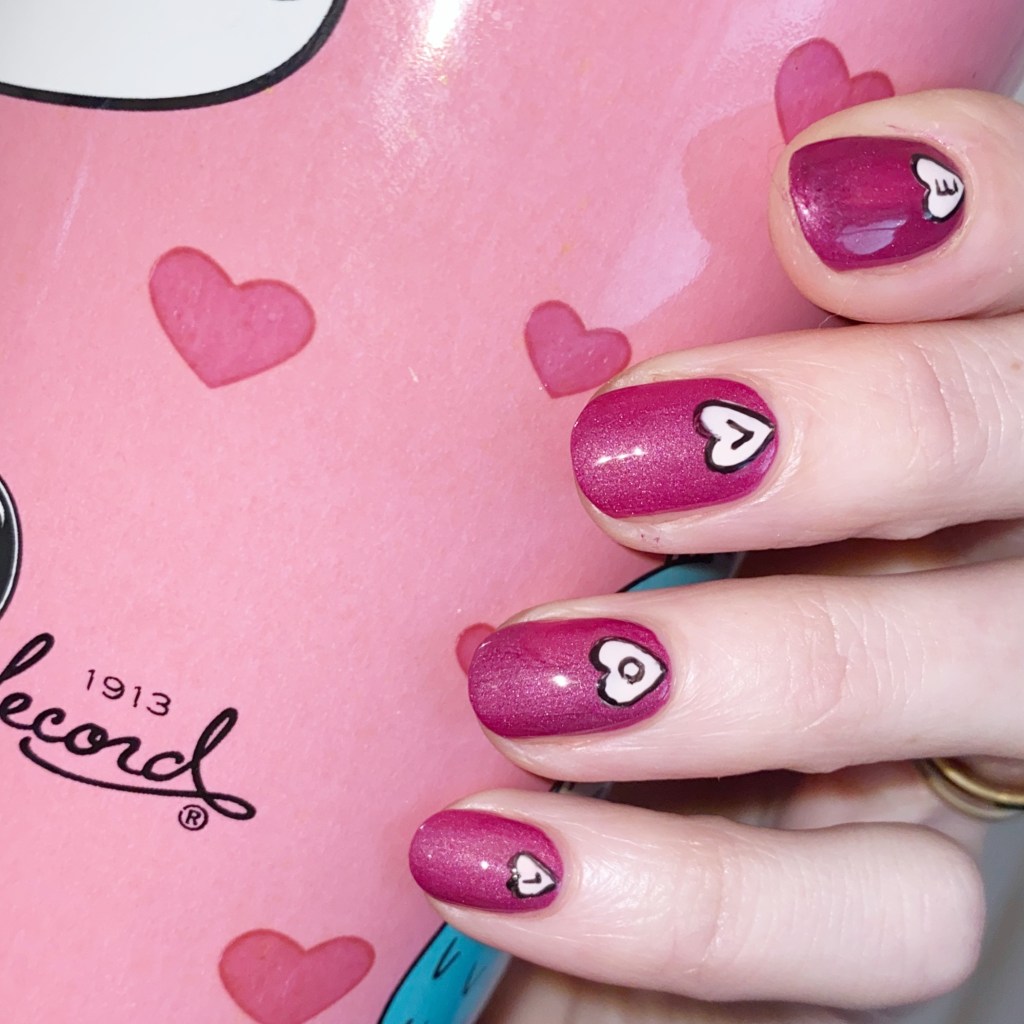
It’s a snowy Valentine’s Day here in Halifax, after a big dumping of snow. Not super impressed with the weather, but that won’t stop me from sharing my last Valentine’s Day look for this year! I really wanted to do more hearts — like accent hearts — but at the last second I decided to write L.O.V.E in the middle of them. & I’m obsessed.

They’re like heart shaped scrabble tiles! & I love it.

The polishes I used for this manicure are: 

  • Base Coat: Essie Hard To Resist Glow & Shine 
  • Top Coat: Seche Vite Fast Dry Top Coat
  • QUO Beauty Velveteen
  • ACO by Ardene Flawless
  • Starrily Vantablack
  • Dotting tool (NailStuff.ca — Dotting Tool Trio)
  • NailStuff.ca 4mm Micro Detail Brush

I’m not sure why, but I really wants to do heart accent nails at the base of my nails. But when I finished my little pale pink hearts, they looked a little basic, so I decided to outline them in black — my go to for jazzing up a manicure. BUT THEN, I thought: what if I attempted to spell out Love in my hearts. It was a risk, but it turned out so awesome, so I couldn’t be happier!

What do you think about this love themed design? Do you like this simple nail art? Let me know all your thoughts in the comments below!

I hope everyone has a happy Valentine’s Day, & if it’s not your thing then I hope you enjoy tomorrow which is 50% of chocolate day!

♥︎

GLAM NAILS CHALLENGE DECEMBER — Christmas Plaid

Good morning lovelies & happy Wednesday! & happy Day two of Glam Nails Challenge December. Also… can you believe it’s December 7th? I mean… it’s raining here on the East Coast & above freezing so it certainly doesn’t feel anything close to December. At least I have Christmas nails to keep me in a somewhat festive mood.

But onto the nails — prompt #2 is Christmas Plaid. I do love a good plaid manicure, & for today’s look I decided to go with a sparkly plaid design.

The polishes I used for this manicure are: 

  • Base Coat: Essie Hard To Resist Glow & Shine 
  • Top Coat: Sally Hansen Insta-Dri Anti-chip Top Coat
  • Quo Beauty Green With Envy
  • ACO by Ardene Crystal Fog
  • Sally Hansen Miracle Gel Red It Twice
  • Sally Hansen Miracle Gel Get Mod
  • China Glaze New Year, New Boo
  • W7 Gold Dazzle
  • Mermaid Tail Nail Brush Trio (11mm Liner Brush)

Originally I thinking of a sparkly green plaid, but as soon as I put Crystal Fog over Green with Envy it gave it a teal/turquoise colour instead. But I decided to go with it, & I think all the sparkly lines still give it the Christmas Plaid look I was hoping for. & I do love all the sparkle & shimmer of the look. If there is any time to break out the glitter, it’s obviously Christmas.

What do you think about my Christmas plaid design? What colour combination would you wear for a Christmas plaid. I feel like usually I go for more a red look, but I’ve been wearing a lot of red nails lately (& I’m sure there will be more!) so it’s fun to change things up a bit.

Don’t forget to check out all the fun #glamnailschallengedec looks on Instagram, & stay tuned because we have a whole lot more Christmas-y looks coming in the next few weeks!

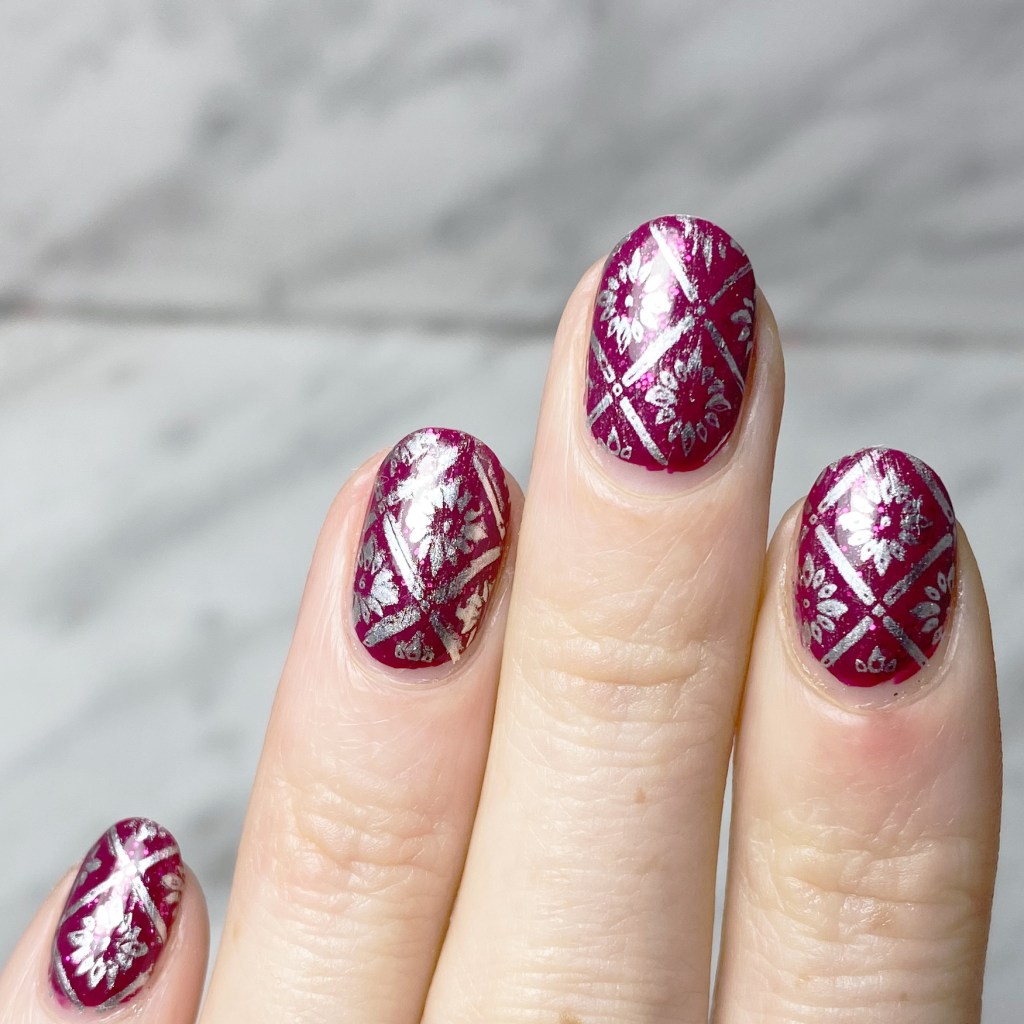
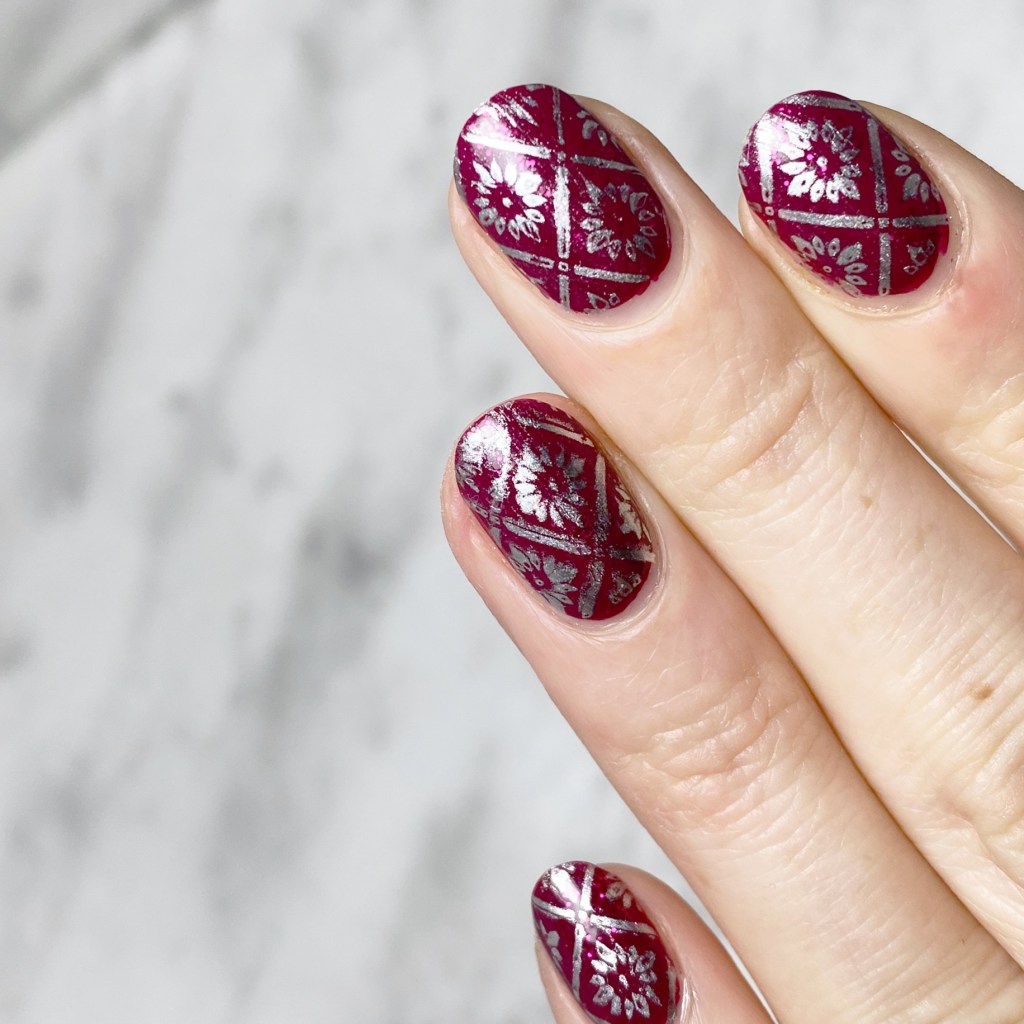
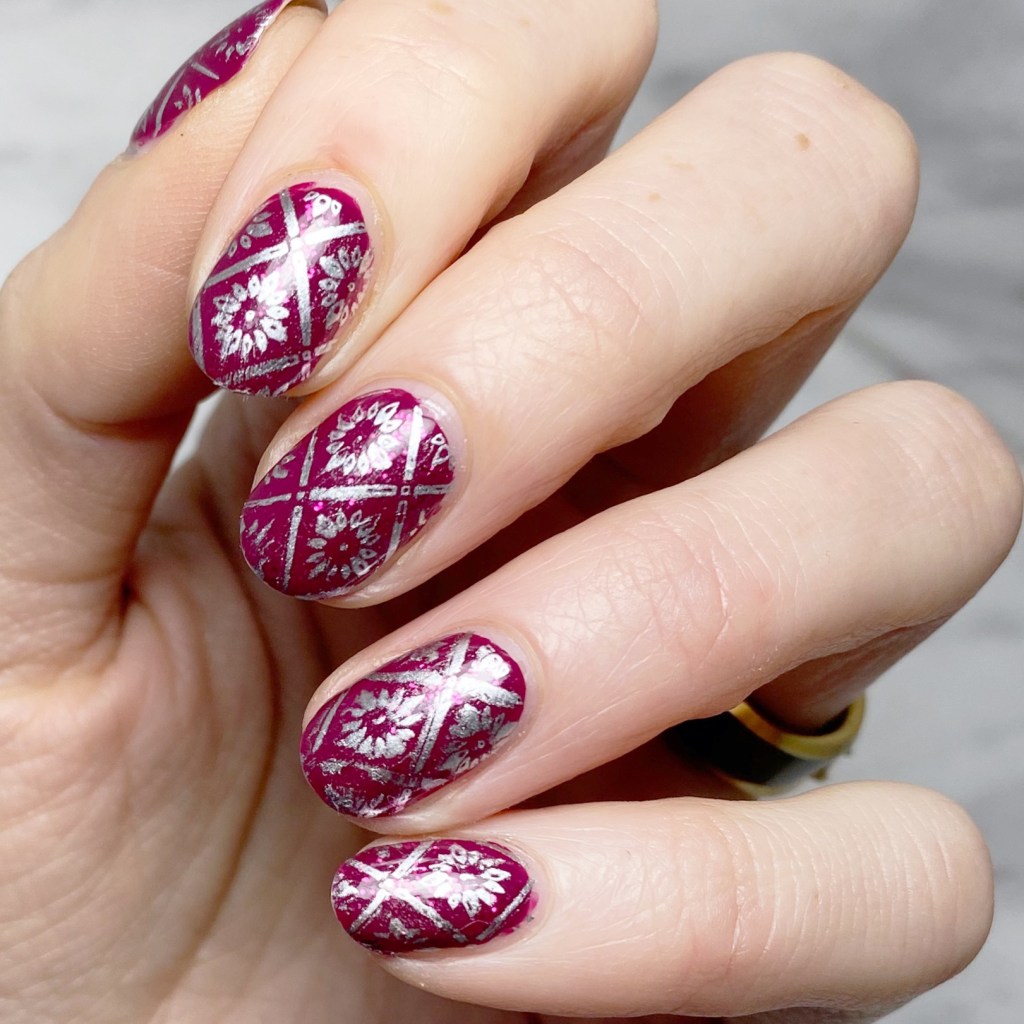
Silver Stamping & Wrapping Paper Inspired 🎁

Hello lovelies, & happy Thursday! & happy December 1st! It is officially Christmas season, & the countdown to Christmas is on. I should probably get my shopping done before it gets too crazy, haha.

But — in honour of this brand new festive month, I thought some Christmas wrapping paper inspired nails would be a fun start. I love my Christmas pattern stamping plates this time of year because they have some many fun patterns you can use, which always makes me think of wrapping paper. While I’m dedicated to doing Glam Nails Challenge December, I also want to do some fun other Christmas manicures on my off days.

The polishes I used for this manicure are: 

  • Base Coat: Essie Hard To Resist Glow & Shine 
  • Top Coat: Sally Hansen Insta-Dri Anti-chip Top Coat
  • OPI Just Be-Claus
  • ACO by Ardene Dancing Queen
  • Essie No Place Like Chrome
  • NailStuff.ca Clear Stamper 
  • Born Pretty Store Stamping Plate (no longer available)

Please excuse my ring finger which was a bit of a mess up, but that’s okay. I love the crisp silver over the sparkly base — OPI Just Be-Claus topped with ACO by Ardene Dancing Queen (which is a sparkly fuchsia pink). It definitely gives off the wrapping paper vibes I was hoping for.

& it also Christmas-y/Holiday vibes while not being out right blatant. & I like that as well.

What do you think about this stamped pattern nails? Do you enjoy the more subtle holiday designs like this, or do you like in your face Christmas vibes?

& let me know what other Holiday nail art looks you might want to see!