Hello lovelies & happy Thursday. It’s almost the weekend… who else is excited?! Of course, they’re calling for (another) big Winter storm Friday night into Saturday. So that’s… fun. I’m so over Winter & snow it’s not even funny! But you know what I’m not tired of–fun, bright nails!
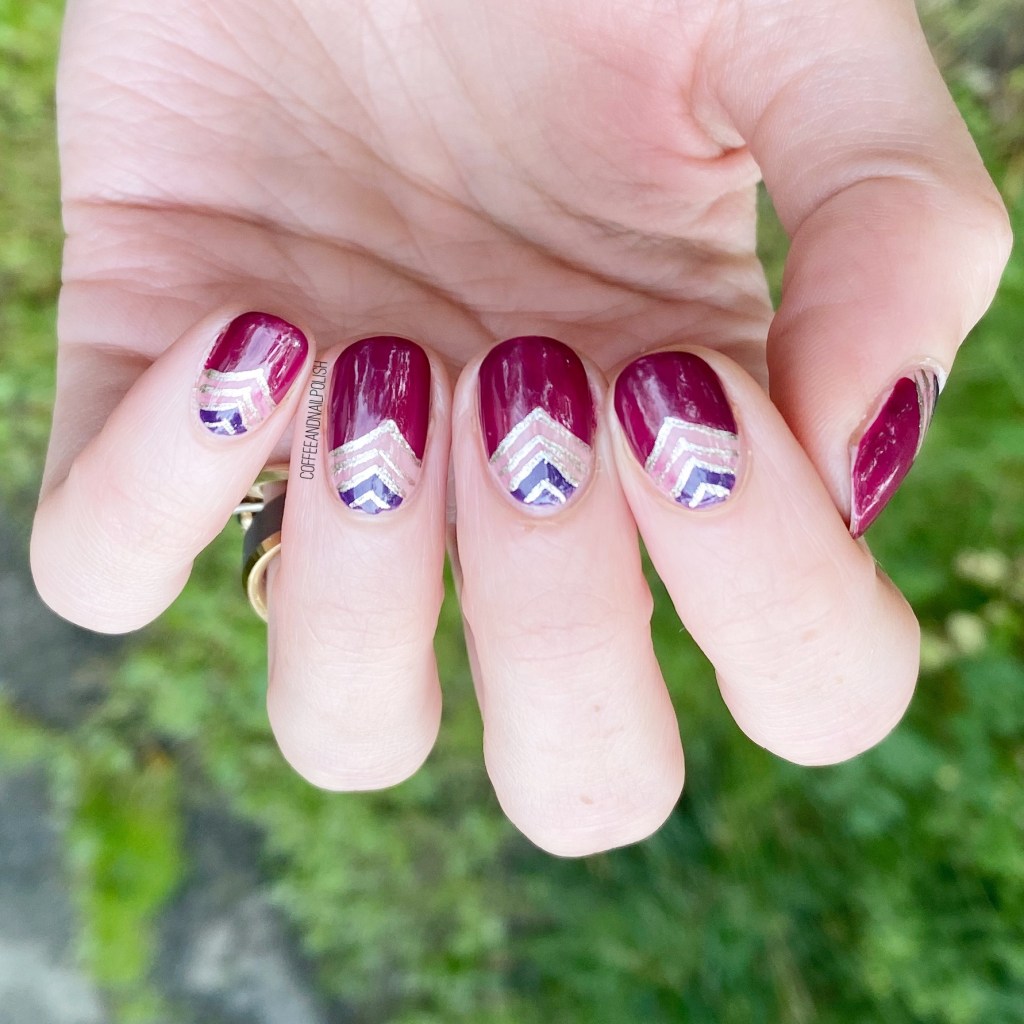
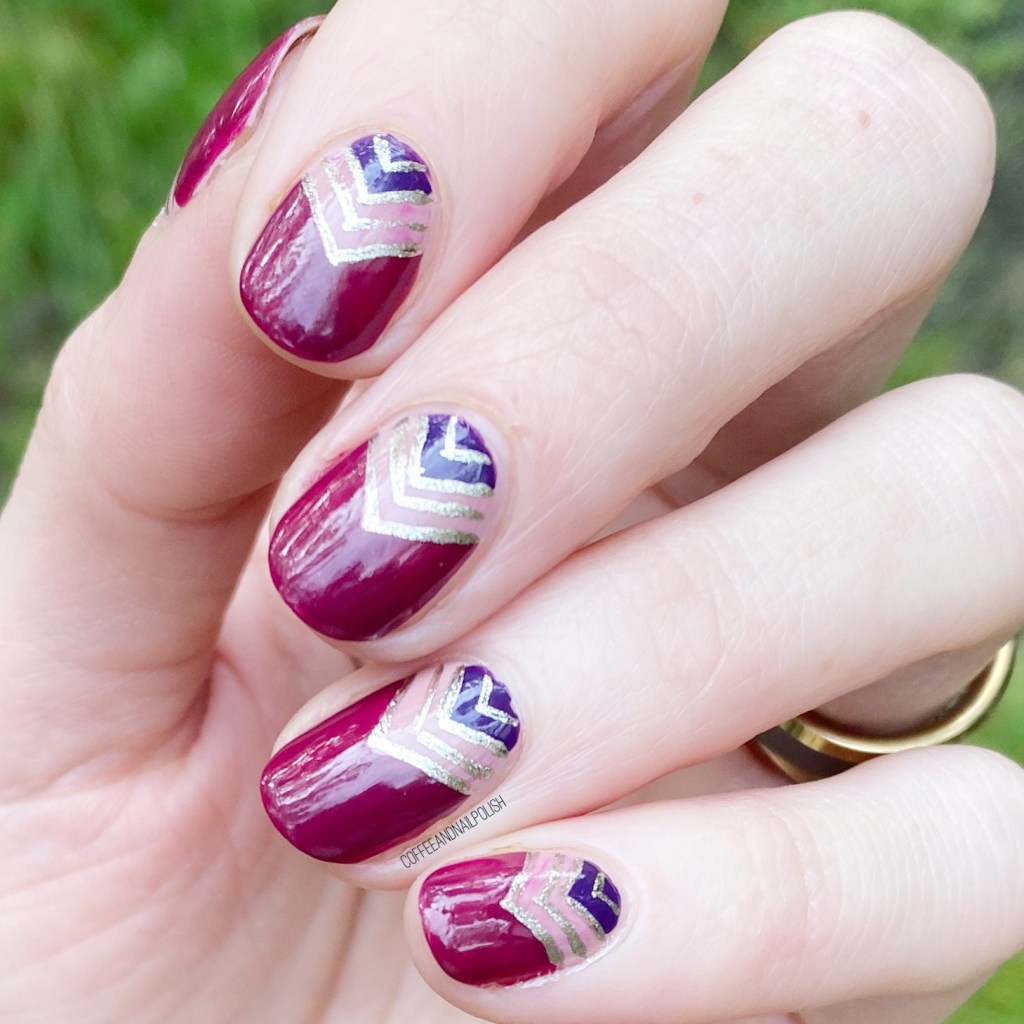
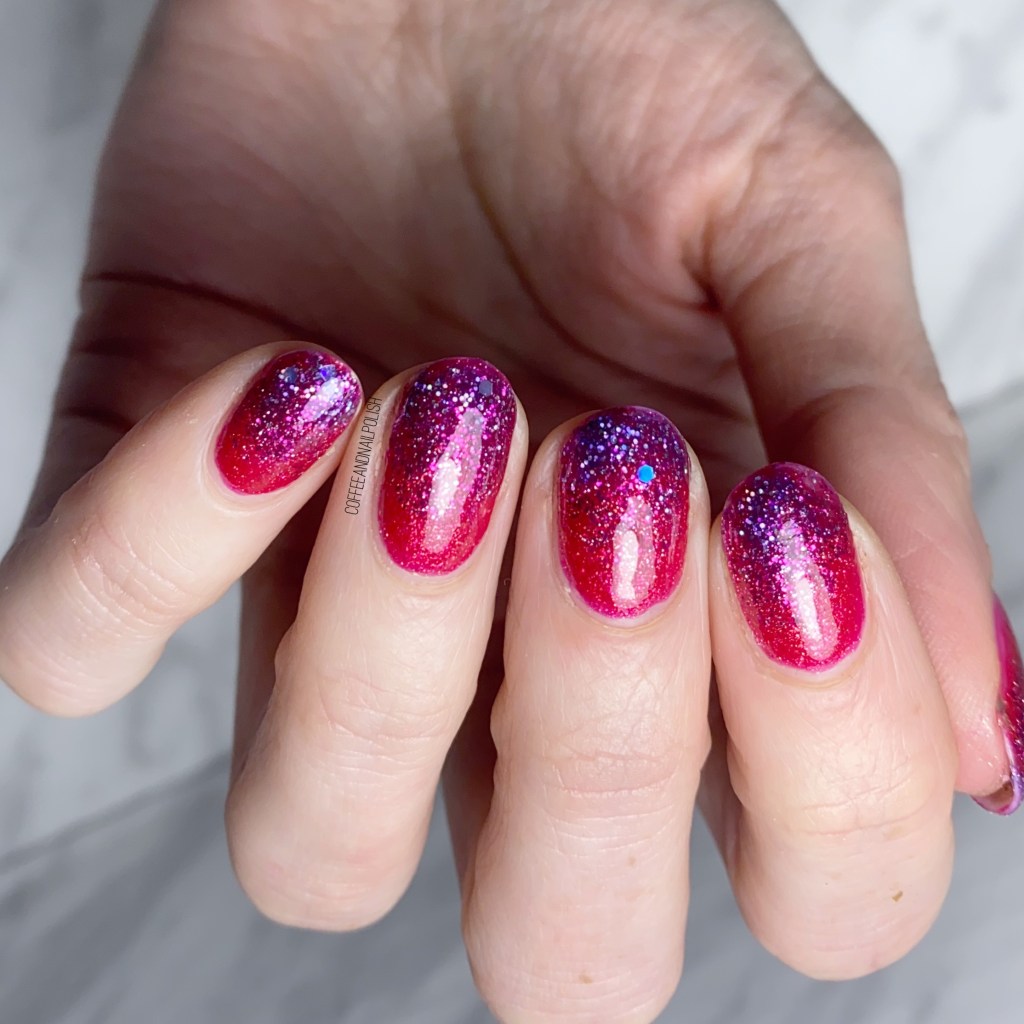
This time, I was feeling some colours I haven’t worn in ages. Coral used to be a go-to nail polish shade for me, & I’m not sure when that changed. So when going through my stash, I was feeling some coral-y shades, & this is what I ended up with. Also, yes, more abstract stripes because they’re just so easy to do.

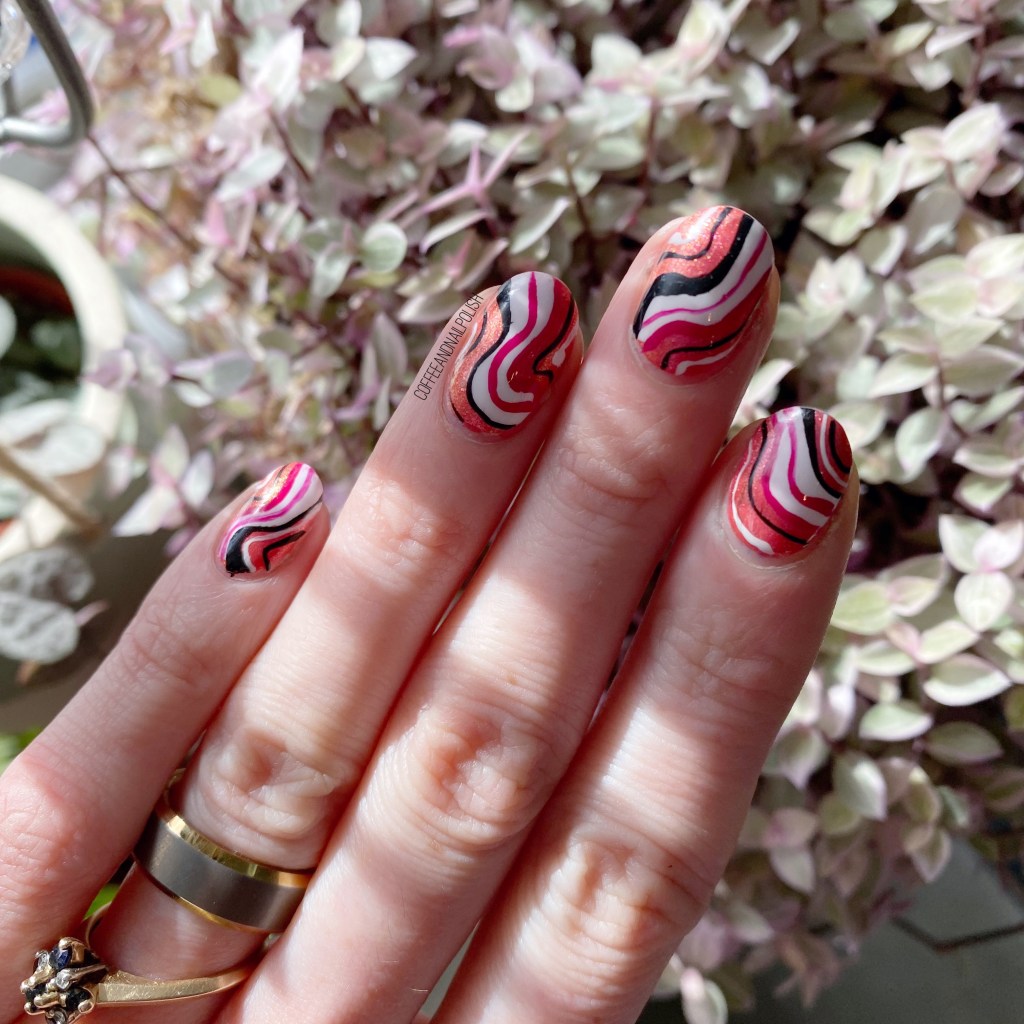
The polishes I used for this manicure are:
- Base Coat: Essie Millionails
- Top Coat: Seche Vive
- OPI I Eat Maine-ly Lobster
- OPI Can’t Hear Myself Pink
- Essie Blanc
- Starrily Vantablack
- OPI Koala Bear-y
- NailStuff.ca 16mm Striper Brush


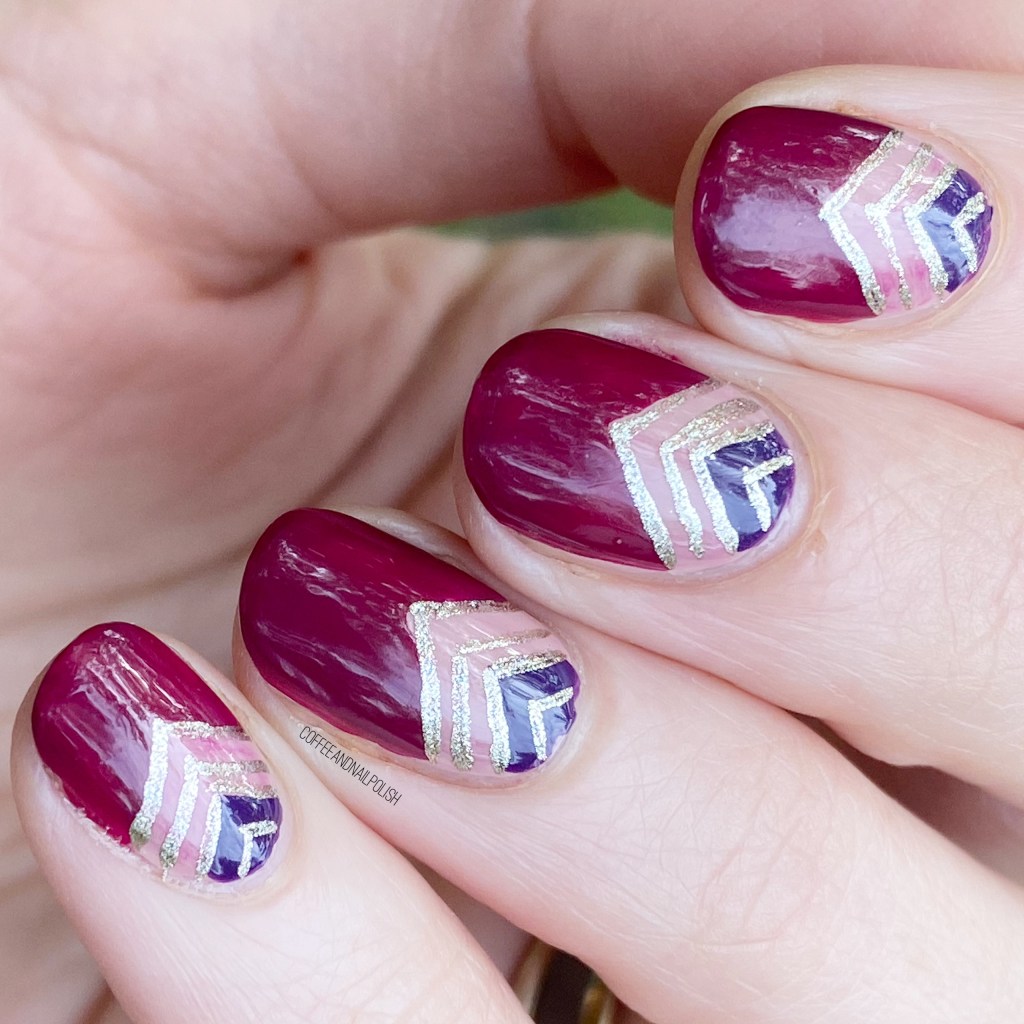
I actually ended up wearing these nails for 4 days, which is unheard of for me. Usually I’m changing my nails after day 2, maybe day 3. But I loved these so much I couldn’t actually bring myself to change them until they were really actually chipped.
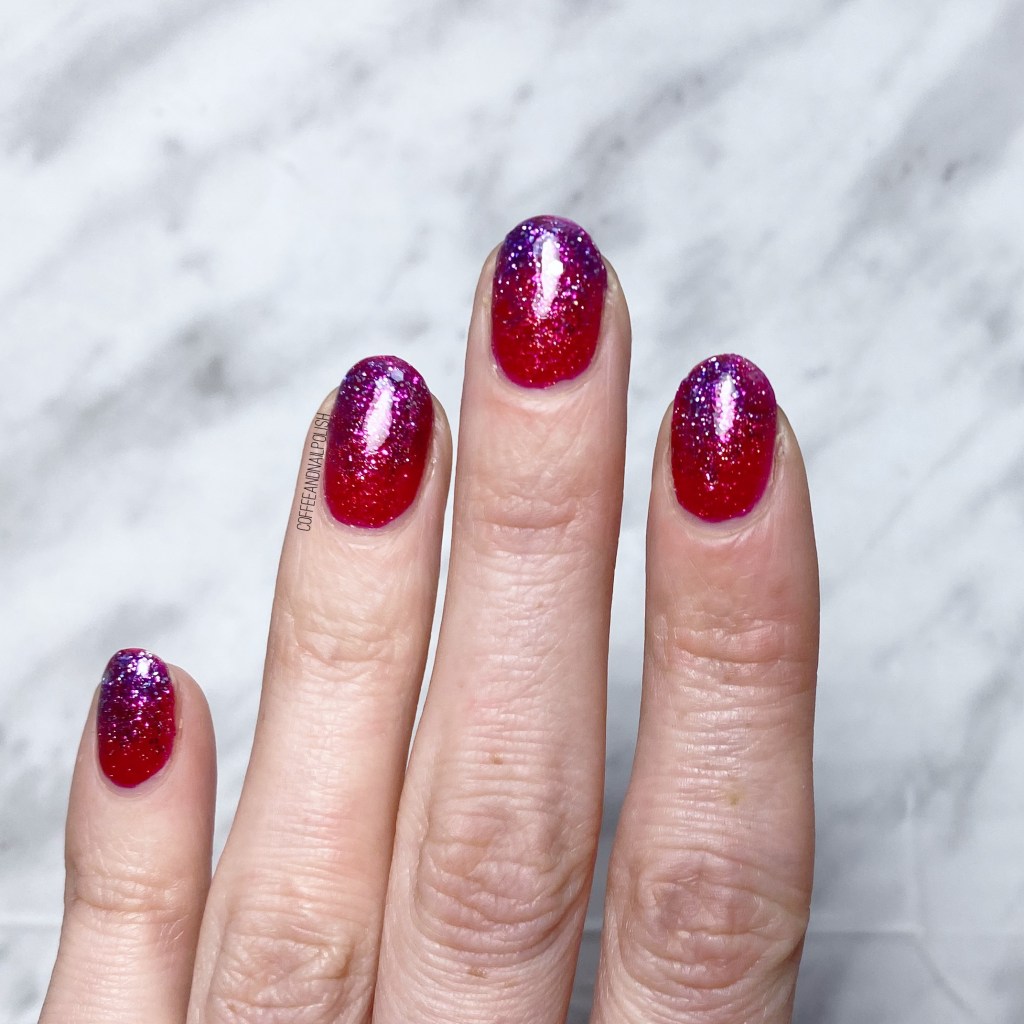
These nails remind me of nails I did years ago, that I was equally in love with. Those were definitely the inspiration for this look. I know these kind of manis are super popular on Instagram right now, & some people might be slightly sick of them, but to me they will never get old. They’re just so easy, & funky. You have no idea how many compliments I got for this look! It definitely made my nail art loving heart happy.

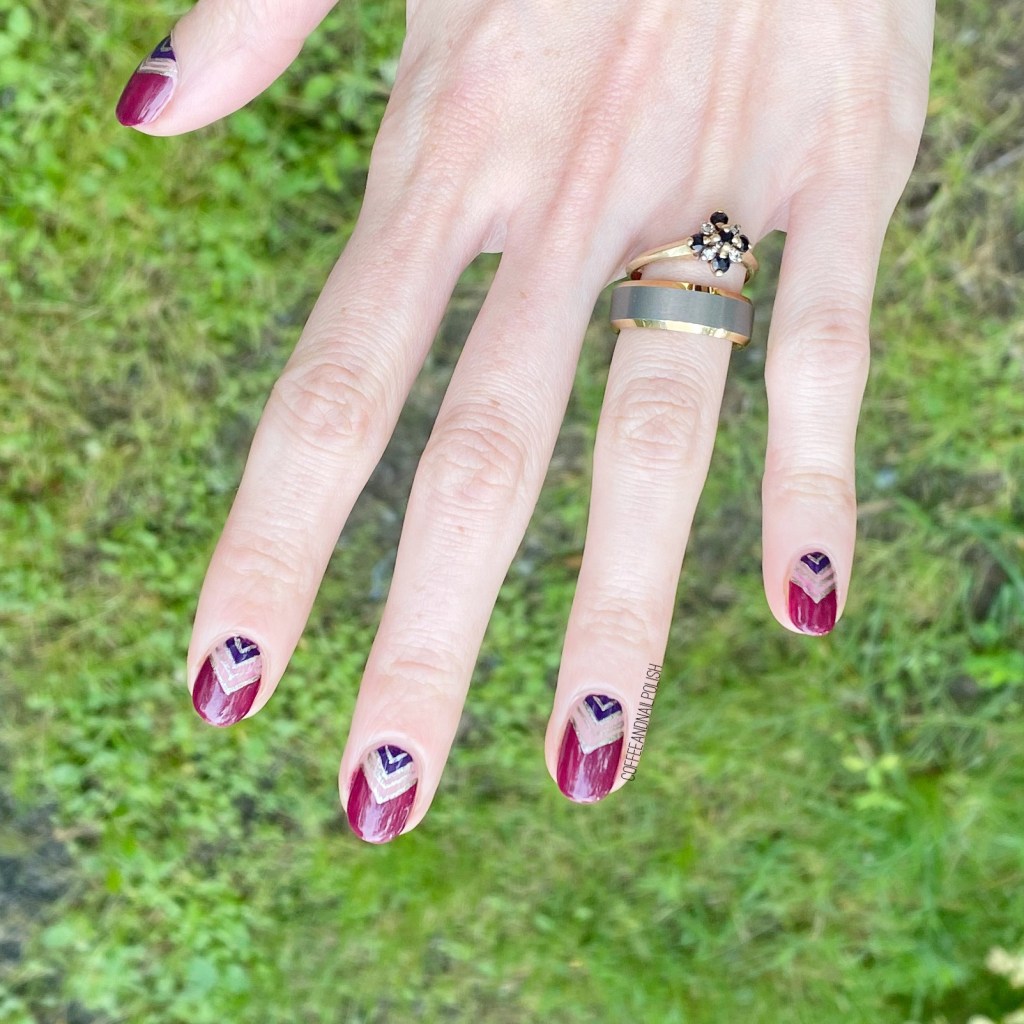
What do you think about this design? Do you enjoy these abstract stripes?
Leave a comment down in the comments below, & let me know which colour combination you would love to see as an abstract stripe design like this?